Advertisement
Bedienungsanleitung
Operation Manual
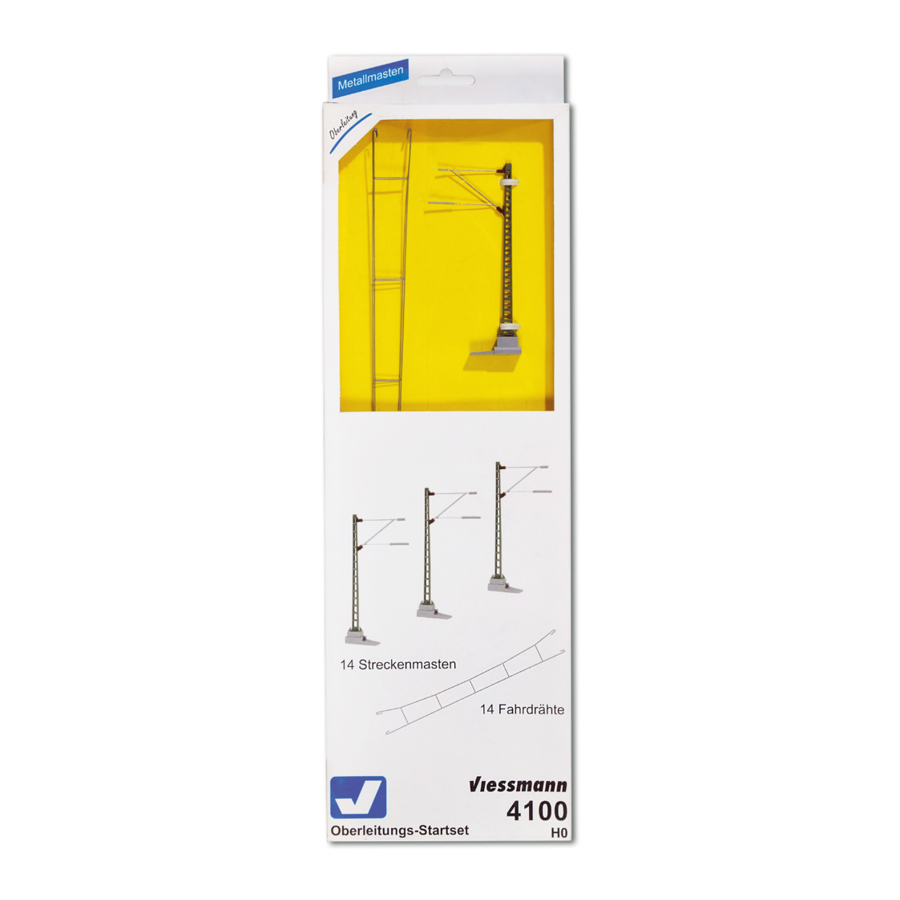
Startset Oberleitung
Start set catenary system
4100 H0
4200 TT
4300 N
1.
Wichtige Hinweise ......................................
2.
Einleitung ...................................................
3.
Montage ......................................................
4.
Gewährleistung ...........................................
1.
Important information .................................
2.
Introduction ................................................
3.
Mounting .....................................................
4.
Warranty ......................................................
2
3
4
12
2
3
4
12
Advertisement

Related Manuals for Viessmann 4100 H0


Summary of Contents for Viessmann 4100 H0
-
Page 1: Table Of Contents
Bedienungsanleitung Operation Manual Startset Oberleitung Start set catenary system 4100 H0 4200 TT 4300 N Wichtige Hinweise ........Einleitung ........... Montage ............Gewährleistung ........... Important information ......... Introduction ..........Mounting ............. Warranty ............ -
Page 2: Wichtige Hinweise
1. Wichtige Hinweise 1. Important information Bitte lesen Sie vor der ersten Anwendung des Please read this manual completely and attentive- Produktes bzw. dessen Einbau diese Bedienungs- ly before using the product for the first time. Keep anleitung aufmerksam durch und bewahren Sie this manual. -
Page 3: Einleitung
2. Einleitung 2. Introduction Die Oberleitung von Viessmann kann für alle im The Viessmann catenary wire system can be used Handel befindlichen Gleissysteme wie z. B. Mär- with all common rail systems, for example Märklin, klin, Fleischmann, Roco, Kato, Arnold oder Tillig Fleischmann, Roco, Kato, Arnold, Tillig. -
Page 4: Montage
3. Montage 3. Mounting Bei einer eingleisigen Streckenführung und einem In case of a single track and a radius of 360 mm Radius von 360 mm (H0) bzw. 310 mm (TT), wie (H0) or 310 mm (TT), like what you can find for Sie es z. - Page 5 7. Return the mount to its position and attach it und befestigen diesen mit der beiligenden with the included countersunk screw using a Senkkopfschraube und einem Kreuzschlitz- crosstip screwdriver (preferably Viessmann schraubendreher (vorzugsweise Viessmann item-No. 4199) on your layout. Art.-Nr. 4199) auf Ihrer Anlage.
- Page 6 9. Nun schieben Sie die Streckenmasten mit 9. Slide the masts into the base mounts via the dem Schwalbenschwanz auf die Grundträger. dovetail joint. Abb. 6 Fig. 6 Streckenmast auf Grundträger schieben Slide the standard mast on the base mount 10.
- Page 7 Abb. 8 Fig. 8 Streckenmast nach innen schieben Slide the standard mast to the inside 12. Die Fahrdrähte hängen Sie ein, indem Sie 12. Hang the catenary wires by positioning the deren Ösen seitlich neben dem oberen bzw. eyelets at the side next to the upper or lower unteren Arm des Auslegers positionieren.
- Page 8 14. Sind alle Fahrdrähte montiert und gespannt, 14. When all catenary wires are attached and so können Sie mit Hilfe der Fahrdraht- stretched, you can check the height and posi- montagelehre (H0: 4196, TT: 4296, N: 4396) tion of the catenary wires and the beams with die Höhe und Position des Fahrdrahtes und the mast position gauge (H0: 4196, TT: 4296, des Auslegers kontrollieren.
- Page 9 Wenn Sie die Oberleitung funktionsfähig (d.h. If you wish to use the catenary system functionally stromführend) betreiben wollen, benötigen Sie ei- (carrying current), you require a connection mast nen Anschlussmast (H0: Art.-Nr. 4111, TT: Art.-Nr. (H0: item-No. 4111, TT: item-No. 4211 or N: item- 4211 oder N: Art.-Nr.
- Page 10 Abb. 12 Fig. 12 Verwendung der Mastpositionslehre Use of the mast position gauge H0: 4197 40 mm Abstand zur Gleismitte, für Quertragwerke 40 mm from the middle of the tracks, for catenary bridges 35.4 mm from the middle of the 35,4 mm Abstand zur Gleismitte, tracks, for tensioning masts with für Abspannmasten mit Ausleger...
- Page 11 Mit der Ösen-Biegezange (4198) von Viessmann With the eye hook bending pliers (4198) from können Sie auch die Fahrdrahtlängen bzw. Ma- Viessmann you can adjust the length of the cate- stabstände indviduell Ihrer Anlage entsprechend nary wires or the distance between the masts to fit festlegen.
-
Page 12: Gewährleistung
Die aktuelle Version der Anleitung finden Sie auf The latest version of the manual can be looked up der Viessmann-Homepage unter der Artikel-Nr. at the Viessmann homepage using the item-No. Modellbauartikel, kein Spielzeug! Nicht geeignet für Kinder Modelbouwartikel, geen speelgoed! Niet geschikt voor...
Need help?
Do you have a question about the 4100 H0 and is the answer not in the manual?
Questions and answers