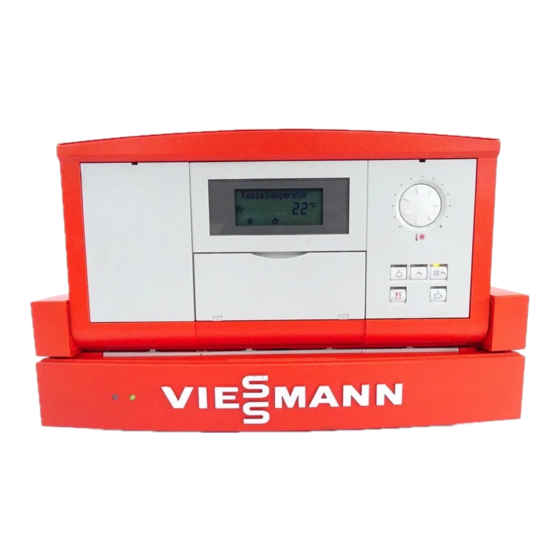
Viessmann Vitotronic 200 Quick Start Programming Manual
Vitodens 200, programming unit with vitotronic 200, h01 on-board control
Hide thumbs
Also See for Vitotronic 200:
- User manual ,
- Service instructions manual (336 pages) ,
- Installation and service instructions for contractors (136 pages)
Table of Contents
Advertisement
Quick Links
1
9
Coding Level 1 and 2
Calling up coding level 1 (Basic programming)
1
Press
and
simultaneously for approximately
2 seconds.
2
Select the required coding address with the
buttons, the address will flash, confirm
with
, the value will flash.
3
To change the value, press the
buttons,
once complete confirm with
.
4
Call up additional coding addresses with the
buttons.
5
To exit coding level 1, press
and
simultaneously for approximately 1 second.
Resetting the codes to the factory setting
1
Press
and
simultaneously for approximately
2 seconds .
2
Press factory default
button and confirm 'Base
setting? Yes' with
.
1
10
Troubleshooting
Calling up acknowledged fault messages
1
Press
for approximately 2 seconds.
2
Select the acknowledged fault code message
with the
buttons.
3
Correct each fault as per the troubleshooting
section of the Installation and Service Instructions.
4
After each fault is removed, press the reset
acknowledge.
NOTE: For additional information on troubleshooting and operating status, refer to the Operating,
Installation and Service Instructions supplied with the system.
1
1 1
Additional Functions
Heating Time Program
Domestic Hot Water Time Program
DHW Recirculation Pump Time Program
Holiday Program
Heating Curve Slope (located in Coding 2)
Heating Curve Shift (located in Coding 2)
Standby Mode
Domestic Hot Water Only
Party Mode
Energy Saving Mode
Technical information subject to change without notice.
Calling up coding level 2 (Detailed programming)
1
Press
and
simultaneously for approximately
2 seconds and confirm with
.
2
Select the required coding address with the
buttons, the address will flash, confirm
with
, the value will flash.
3
To change the value, press the
once complete confirm with
.
4
Call up additional coding addresses with the
buttons.
5
To exit coding level 2, press
and
simultaneously for approximately 1 second.
NOTE: Coding level 2 contains all of coding level 1
programming information.
NOTE: For coding level 1 and coding level 2 listings,
refer to the Installation and Service
Instructions supplied with the system.
Retrieving fault codes from the fault history
1
Press
and
simultaneously for approximately
2 seconds.
2
Select the saved fault code message with the
buttons.
3
All fault codes can be deleted by pressing .
Delete? Yes, will appear, press
to
4
To finish the fault scan, press
.
Participant Check (only on LON devices)
Boiler Sequence (on Cascade Control)
Cascade Control
Starting/Stopping DHW Heating Only
Starting/Shutting Down Heating System Only
Starting/Stopping DHW and Heating System
Remote Controls
NOTE: For information to access the additional
functions, refer to the Operating, Installation and
Service Instructions supplied with the system.
VITOTRONIC 200
Quick Start Programming Guide
for use with the Operating, Installation and Service Instructions
buttons,
Vitodens 200, Programming unit with Vitotronic 200, H01 on-board control.
1
1
A
Time program for central heating
B
Time program for DHW heating
C
Holiday program
D
Information
E
Standby mode
DHW only
F
G
Central Heating and DHW
H
Normal room temperature adjust
I
Energy saving mode ON/OFF
for yes or no.
J
Party mode ON/OFF
K
Factory default factory setting
L
Confirmation button
M
Adjustment buttons
N
DHW temperature
O
Emissions test function (heating contractors only)
P
Reduced room temperature
Time/Date
Q
NOTE: The control will display the boiler temperature when not in the programming or fault mode.
1
2
These symbols are not displayed continuously, but appear according to system type and operating status.
Risk of frost
Central heating with normal room temperature
Central heating with reduced room temperature
Frost protection heating circuit pump ON
Normal heating circuit pump ON
Reduced heating circuit pump ON
Mixing valve open
Mixing valve closed
Manual override operation
Automatic operation
NOTE: To adjust the display contrast, press and hold
5728 014 v1.0
5728 014 v1.0 09/2010
®
Vitodens 200, Vitotronic 200, H01 Control Lay-out
A
B
C
Q
P
N
O
Display Symbols
DHW heating enabled
DHW pump ON, DHW heating enabled
DHW heating via solar heating system
Burner ON
Time adjustment display
Emissions test ON
Fault indicator
1
Heating circuit number
Scanning hours run, scanning number of
burner starts and consumption
and use the
H
E
G
D
F
L
M
K
J
I
buttons for the desired setting.
Product may not appear exactly as shown.
Advertisement
Table of Contents

Summary of Contents for Viessmann Vitotronic 200
- Page 1 To change the value, press the buttons, To change the value, press the buttons, Vitodens 200, Programming unit with Vitotronic 200, H01 on-board control. once complete confirm with once complete confirm with Call up additional coding addresses with the Call up additional coding addresses with the buttons.
- Page 2 Fault Messages on Initial Start-up Changing the Temperature Display from C to On initial start-up the word Storung (fault) may To change the temperature display from appear on the display. If no fault appears, go to C to F call up coding level 2. ‘Setting the Time and Date’, otherwise follow Press buttons simultaneously...


Need help?
Do you have a question about the Vitotronic 200 and is the answer not in the manual?
Questions and answers