Advertisement
Advertisement
Table of Contents

Related Manuals for Oakcastle DVD100


Summary of Contents for Oakcastle DVD100
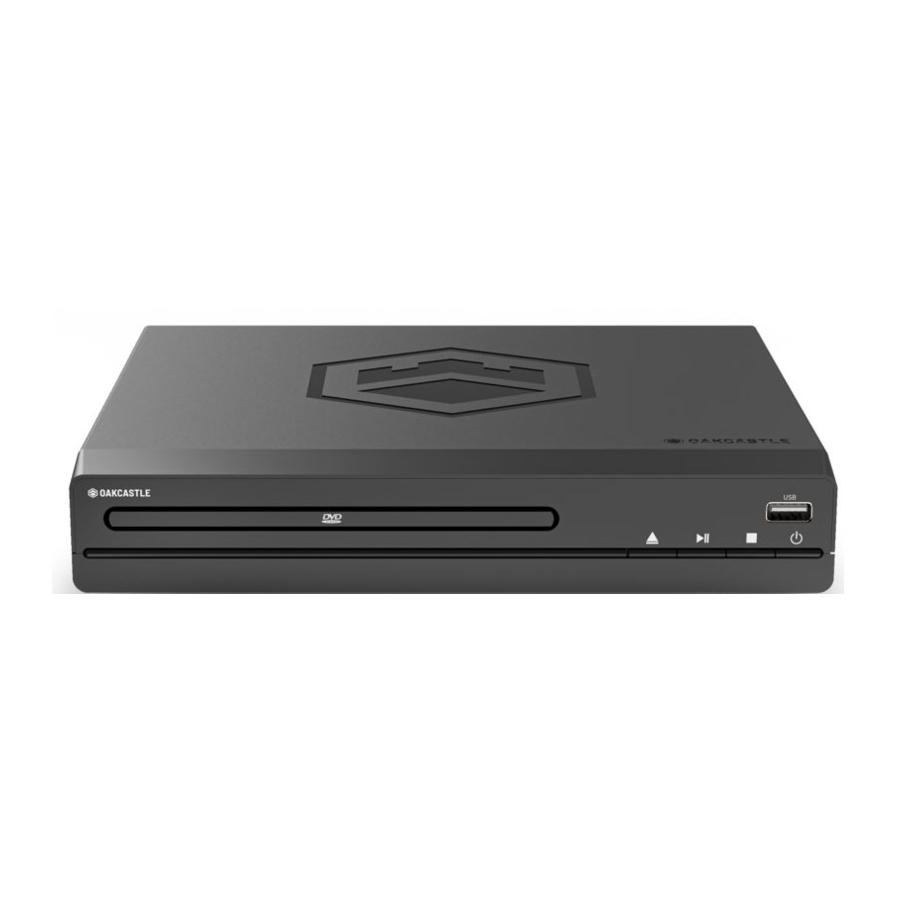
- Page 1 DVD·100 U S E R M A N U A L...
-
Page 2: Table Of Contents
Getting Started �������������������������������������������������������������������������������������������������������������� 7 DVD Operation �������������������������������������������������������������������������������������������������������������� 8 USB Operation ��������������������������������������������������������������������������������������������������������������� 9 System Set-Up ������������������������������������������������������������������������������������������������������������� 10 Troubleshooting ���������������������������������������������������������������������������������������������������������� 15 Specification & Warranty ������������������������������������������������������������������������������������������� 16 Safety Information ������������������������������������������������������������������������������������������������������ 17 YEAR Register your product online for a FREE 3 year WARRANTY extended warranty at: www.oakcastle.co.uk... -
Page 3: Box Contents
BOX CONTENTS WHAT’S IN THE BOX Oakcastle DVD100 DVD Player RCA AV Cable Remote Control Power Adapter User Manual USB Power Cable 2 x AAA Batteries... -
Page 4: Controls & Functions
CONTROLS & FUNCTIONS REMOTE CONTROL... - Page 5 CONTROLS & FUNCTIONS CONTROLS & FUNCTIONS On/Off use the arrow keys to move between Angle: Change angle in DVD mode (for Title/Chapter/Time input. discs with multi-angle recording) Next (>>I): In DVD mode, press to go to Programme (See page 7) next chapter.
- Page 6 CONTROLS & FUNCTIONS CONTROL BUTTONS DVD Tray Power On/Off Display (Y.Pb/Cb.Pr/Cr) Output Remote Sensor HDMI Output USB Port 2 x Audio Output ports Open/Close Video Output Play/Pause Power Port Stop...
-
Page 7: Getting Started
GETTING STARTED Setting Up Connect the DVD player power adapter to a wall outlet. Press the power button (Ref.44/Ref.1) on the unit or remote control to turn on your DVD player, the display on the front panel will illuminate. Follow one of the steps below for connecting your DVD player: Connecting Via RCA Cable Connect an RCA cable between the 2 channel Audio Output port and the RCA input on your TV. -
Page 8: Dvd Operation
DVD OPERATION Supported Disc Types: CD, CD-R, CD-MP3, CD+RW, DVD, DVD+R, DVD-R, DVD+RW, DVD-RW Supported File Types: MP3, MP4, DVD, DVD-R-RW, MPEG2, MPEG4 1. Ensure that your TV is set to the correct mode for DVD playback. 2. Plug in the DVD player and press the ‘Power’ button to turn the unit on. You can do this on the unit (Ref.44) or via the remote (Ref.1). -
Page 9: Usb Operation
USB OPERATION USB Playback This device has a USB port in the front interface for MP3/Movie playback. Insert a USB device into the USB port (Ref.40). Press the USB button on the remote control (Ref.35) and select ‘USB’ to switch the source to USB. -
Page 10: System Set-Up
SYSTEM SET-UP MENU OPERATION Press the SETUP button (Ref.9) on the remote control and the Settings will display. The menu options are as follows: Menu 1: System Setup Menu 2: Language Setup Menu 3: Video Setup Menu 4: Audio Setup Menu 5: Digital Setup After accessing the Setup menu, use the buttons (Ref.10)/(Ref.11)/... - Page 11 SYSTEM SET-UP MENU 1: SYSTEM SETUP TV System (NTSC/PAL/AUTO): If TV system is selected, use the Enter buttons (Ref.12) to set the TV Type to AUTO, NTSC or PAL depending on the color system of your TV. This player conforms to the NTSC and PAL color systems. However, if you are in the USA, Canada or Mexico, leave this setting on NTSC.
- Page 12 SYSTEM SET-UP MENU 2: LANGUAGE SETUP Osd Language Select a language for the on-screen display language (languages available are disc dependent). Audio Language Select a language for the audio (languages available are disc dependent). Subtitle Language Select a language for the subtitles (languages available are disc dependent). Menu Language Select a language for the menu (languages available are disc dependent).
- Page 13 SYSTEM SET-UP MENU 3: VIDEO SETUP HDMI Output Set the resolution output to match the connected TV. Video If your TV is connected to the unit via a video jack, select CVBS. If your TV is connected to the unit via Y, Pb/Cb, and Pr/Cr jacks, select YUV or YPbPr.
- Page 14 SYSTEM SET-UP MENU 4: AUDIO SETUP Downmix: Mixing audio Channels Choose between the following audio mix settings: LT/RT (Left total/Right total): If this audio mode is selected, the rear left or rear right channels on Dolby 5.1 recording DVD discs will play through both the left and right speakers.
-
Page 15: Troubleshooting
Use the Remote Control closer to the DVD player. Check the battery level of the batteries and replace if necessary. SUPPORT If you require further assistance with your new DVD player, please contact our support team on the Oakcastle website: www.oakcastle.co.uk... -
Page 16: Specification & Warranty
All products come with a standard 12 month warranty. All items must be registered on www.oakcastle.co.uk for the warranty to be valid. Once on the web page, use the menu to find “register your product”. You will also be given the... -
Page 17: Safety Information
1� Read these instructions� 2. Keep these instructions. Instructions are also avail- The apparatus shall not be exposed to dripping or able for download at www.oakcastle.co.uk splashing and no objects filled with liquid, such as 3. Heed all Warnings vases, shall be places on the apparatus. - Page 20 WWW.OAKCASTLE.CO.UK...
Need help?
Do you have a question about the DVD100 and is the answer not in the manual?
Questions and answers
It's OK I pressed "Enter" needed to be close to the player
A dvd has loaded but the player is waiting for me to choose Play or Chapters