Advertisement
Quick Links
U P
®
ASME A112.18.1 / CSA B125.1
ASME A112.18.2 / CSA B125.2
ICC/ANSI A117.1
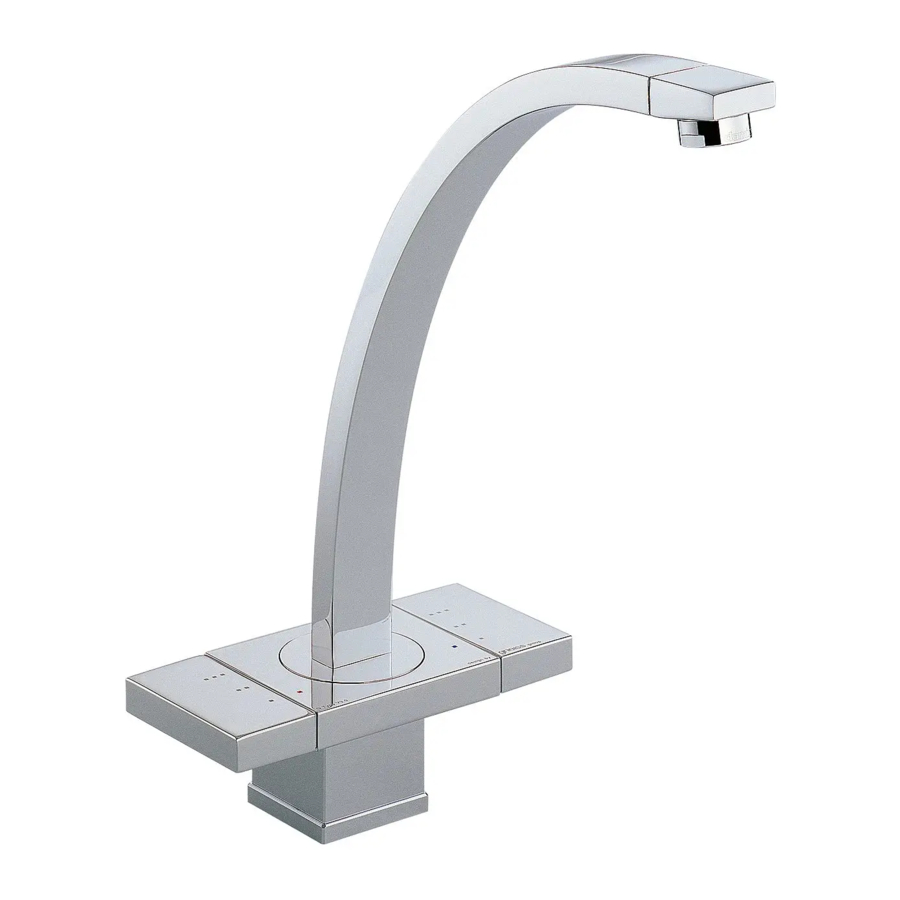
Models/Modelos/Modèles
62972LF & 65172LF
Series/Series/Seria
Loki
®
Write purchased model number here.
Escriba aquí el número del modelo comprado.
Inscrivez le numéro de modèle ici.
For easy installation of your Brizo ®
faucet you will need:
• To READ ALL the instructions completely
before beginning.
• To READ ALL warnings, care, and maintenance
information.
• To purchase the correct water supply hook-up.
Para instalación fácil de su llave
Brizo ® usted necesitará:
• LEER TODAS las instrucciones completamente
antes de empezar.
• LEER TODOS los avisos, cuidados, e
información de mantenimiento.
• Comprar las conexiones correctas para el
suministro de agua.
Pour installer votre robinet Brizo ®
facilement, vous devez:
• LIRE TOUTES les instructions avant de
débuter;
• LIRE TOUS les avertissements ainsi que toutes
les instructions de nettoyage et d'entretien;
• Acheter le bon nécessaire de raccordement.
Note: The back edge of the lavatory faucet body must be at
least 1" from the backsplash on wall in order to allow acces
to the lift rod function. This faucet fits 1 3/8" min. mounting
hole size.
Nota: La orilla posterior del mecanismo/cuerpo de la llave
de agua debe estar por lo menos a 1" del protector de yeso
de la pared para poder permitir acceso a la función de la
barrita para levantar el desagüe automático. Es possible
montar la unidad en un orificio de 1 3/8".
Note: Le côté arrière du corps du robinet doit se trouver
à au moins 1 po du dosseret sur le mur pour que la tirette
puisse bouger. Ce robinet va dans un trou d'installation de
1 3/8 po au minimum.
61936
C
®
TWO HANDLE LAVATORY AND BAR FAUCETS
LLAVES DE AGUA DE DOS MANIJAS PARA
LAVAMANOS Y BARES
ROBINETS À DEUX MANETTES POUR LAVABO
ET ÉVIER DE BAR
65172LF
You may need/Usted puede necesitar/
Articles dont vous pouvez avoir besoin:
61936
1
62972LF
(2 mm, 2.5 mm, 3 mm)
?
09/22/11
Rev. D
Advertisement

Subscribe to Our Youtube Channel
Related Manuals for Brizo Loki 62972LF


Summary of Contents for Brizo Loki 62972LF
- Page 1 Escriba aquí el número del modelo comprado. Inscrivez le numéro de modèle ici. You may need/Usted puede necesitar/ For easy installation of your Brizo ® Articles dont vous pouvez avoir besoin: faucet you will need: • To READ ALL the instructions completely before beginning.
- Page 2 This warranty excludes all industrial, commercial & business usage, whose purchasers are parts may be obtained by calling 1-877-345-BRIZO (2749) (in the U.S. and Canada) or by hereby extended a five year limited warranty from the date of purchase, with all other terms of writing to: this warranty applying except the duration of the warranty.
- Page 3 MAINTENANCE / MANTENIMIENTO / ENTRETIEN (2.5 mm) (3 mm) (2 mm) MAINTENANCE - REPLACING CERAMIC VALVES Next use a 2.5 mm Allen wrench to remove the If your faucet leaks out of the end of the spout, MAINTENANCE - SPOUT three screws (1) that hold the body (2) to the perform the following steps: If the faucet leaks around the base of the spout or to...
- Page 4 (3 mm) Using a screwdriver and small hammer, tap on Replace the old cartridge with a new one (1). For Lavatory Models: Align the lift rod knob into the top of the cartridge stem (1) to push it out Same cartridge for each side. When inserting the the slot in the back of the body.
- Page 5 1/2" (12.70mm) IPS 1/2 po (12.70mm) IPS For lavatory faucets: Insert the threaded end of the rod (1) in the hole from underneath the faucet and screw it into the lift rod knob (2). Hand tighten only. For all faucets: Ensure gasket / O-ring (3) is installed on bottom of faucet.
- Page 6 Step 3b Pop-Up Installation (Model 65172) Remove stopper (1) and flange (2). Apply silicone to underside of flange (1). Insert body (2) Remove pivot nut (1). Install horizontal rod (2) Step 3c into sink. Screw flange (1) into body (2). and stopper (3) as removable (4) or non- Screw nut (1) all the way down.
- Page 7 MAINTENANCE, HANDLE COVER To replace a handle cover, perform the following steps: Locate the small hole (4 mm) on the bottom side of the handle cover (1). With the tip of a small Allen wrench push up on the tab inside this hole and pull the cover (1) off horizontally as shown.
- Page 8 RP44141▲ RP62951▲ Lift rod, complete Aerator (model 65172) Barrita para levantar el desagüe RP36252▲ Aireador (modelo 65172) Tirette complète Aerator (model 62972) Aérateur (modèle 65172) Aireador (modelo 62972) RP44133 Aérateur (modèle 62972) Guides & O-Rings Guía y Aros O RP44133 Guide et joints toriques Guides &...
Need help?
Do you have a question about the Loki 62972LF and is the answer not in the manual?
Questions and answers