
Related Manuals for Ametek Powervar Security Plus II


Summary of Contents for Ametek Powervar Security Plus II
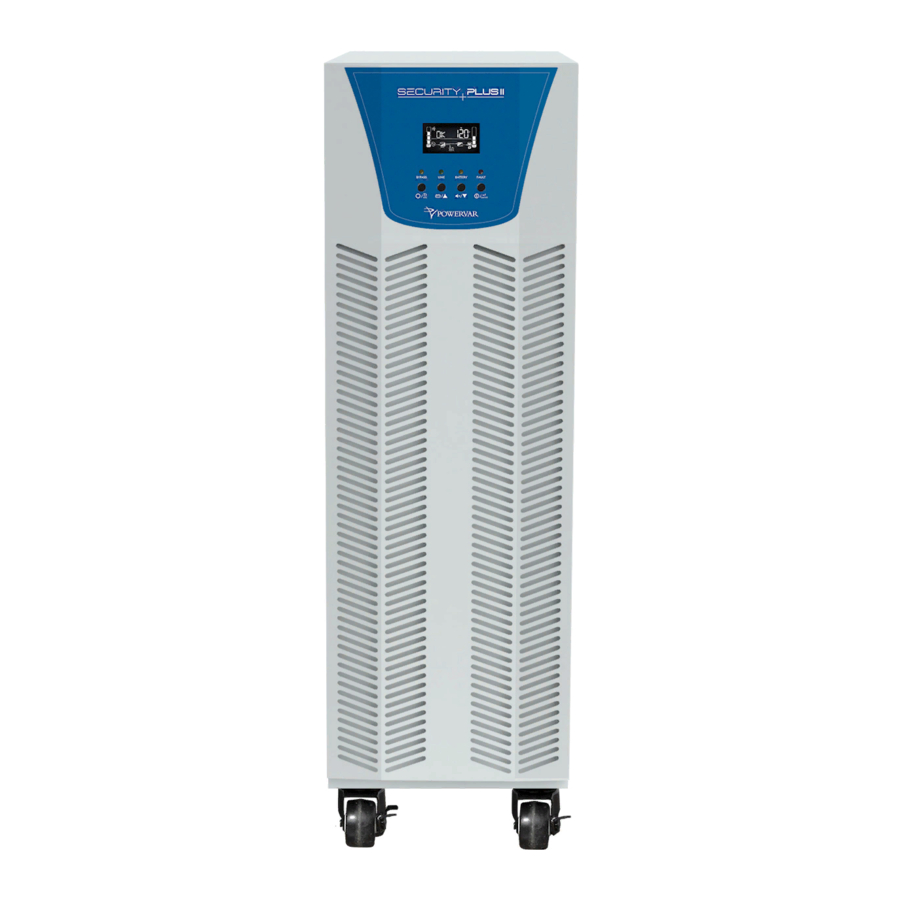
- Page 1 Security Plus II User’s Manual Online UPS with Isolation Transformer 2kVA / 3kVA / 4kVA / 5.2kVA / 6kVA / 8kVA / 10kVA...
-
Page 2: Table Of Contents
TABLE OF CONTENTS 1.0 GENERAL SAFETY INSTRUCTIONS ............3 2.0 UNPACKING AND INSPECTION ..............8 3.0 UPS PANEL LAYOUT ..................9 4.0 UPS INSTALLATION (Hardwire Units Only) ..........10 4.1 Overview ..................... 10 4.2 Wiring Diagrams .................. 12 4.3 Circuit Protection Requirements ............16 5.0 OPERATION .................... - Page 3 Thank you for your purchase of the AMETEK Powervar Security Plus II Uninterruptible Power Supply (UPS). The product you have purchased is the most advanced solution available today to protect and provide clean power to your system. We’ve prepared this document to help familiarize you with the functions and controls of this product.
- Page 4 Danger- The danger symbol is used to indicate imminently hazardous situations, locations, and conditions which, if not avoided, WILL result in death, serious injury, and/or severe property damage. DANGER Caution- The caution symbol is used to indicate potentially hazardous situations and conditions which, if not avoided, may result in injury.
-
Page 5: General Safety Instructions
1.0 GENERAL SAFETY INSTRUCTIONS Warnings in this manual appear in any of four ways: Use of this equipment in life support applications where failure of this equipment can reasonably be expected to cause the failure of the life support equipment or to significantly affect its safety or effectiveness is not recommended. - Page 6 NOTE TO USERS To ensure correct operation of the UPS, please read this instruction manual carefully. Please keep this manual handy for future reference. This UPS has dangerously high voltages on both its Input and output connections. Contact with these voltages may be life threatening.
- Page 7 Please be careful to observe the following general safety precautions during operation or maintenance 1. There are no user serviceable parts inside this UPS. Please don’t remove the covers. This system can only be maintained or repaired by an authorized AMETEK Powervar service technician. A01-00150 Rev B...
- Page 8 2. To improve electromagnetic compatibility (EMC), this UPS has an input EMI filter, which produces potentially dangerous leakage current to ground. Ensure the UPS is connected to a properly grounded input electrical source. Install this UPS indoors in an environment that is temperature and humidity controlled. 3.
- Page 9 CAUTION Ensure that no liquid or other foreign objects can enter the UPS system. WARNING The UPS is to be operated by individuals with appropriate experience. Standards * Safety Safety Conformance: IEC/EN 62040-1, UL1778 (5th Edition) Safety Markings: cTUVus, CE * Performance UPS Method of specifying the performance: IEC 62040-3:2011 * EMI...
-
Page 10: Unpacking And Inspection
2.0 UNPACKING AND INSPECTION Unpack the package and check the contents. The shipping package contains: Quick Start Guide NOTE: Before installation, please inspect the unit. Be sure that nothing inside the package is damaged during transportation. Do not turn on the unit and notify the carrier and dealer immediately if there is any damage or lacking some parts. -
Page 11: Ups Panel Layout
3.0 UPS PANEL LAYOUT 1. RS-232 communications port 2. USB communications port 3. Emergency power off connector (EPO) 4. Intelligent pocket 5. Maintenance bypass switch 6. Input circuit breaker 7. Input / output terminal block connections 8. Power stage cooling fan 9. -
Page 12: Ups Installation (Hardwire Units Only)
4.0 UPS INSTALLATION (Hardwired units only) 4.1 Overview CAUTION Installation and wiring must be performed in accordance with local electrical laws/regulations/codes. The following instructions should only be executed by qualified professional personnel. 1. Make sure the mains wire and breakers in the building are suitable for the rated capacity of the UPS to avoid the hazards of electric shock or fire. - Page 13 1 - 3 are Static Switch Output (SSO) Tap selections (must match mains inv voltage selection) - Terminal block Position 3 is called SSO or 0 4; 5; 6; 7 Next four are outputs as listed 120; 88; 0; 120 ...
-
Page 14: Wiring Diagrams
4.2 Wiring Diagrams (Hardwired units only) For North American applications, UPS models may be configured for an input voltage of 208 or 240 volts at 60 Hz. SSO tap must match customers expected line to line Output voltage. Output voltages for these models are available at 120, 208 (using the 120 &... - Page 15 1) 120V and 208V Output Figure 1: Output wiring – 120V & 208V NOTE 1: Static Switch Output (SSO) Tap Selection must match expected output voltage. Install a jumper between 0-208V or 0-240V. NOTE 2: 208 is obtained by using the 120 and 88 terminals. NOTE 3: Make sure that the wires are connected tightly to the terminals.
- Page 16 2) 120V and 240V Output Figure 2: Output wiring – 120V & 240V NOTE 1: Static Switch Output (SSO) must match the output voltage. Install a jumper between 0-208V or 0-240V. NOTE 2: Split phase wiring, load shall be balanced 50 / 50 on each side of transformer taps.
- Page 17 3) 120V Outputs Figure 3: Output wiring – 120V NOTE 1: Static Switch Output (SSO) must match the output voltage. Install a jumper between 0-208V or 0-240V. NOTE 2: There are 2 sets of 120V outputs. Each set can carry half of the total UPS capacity.
-
Page 18: Circuit Protection Requirements
4.3 Circuit Protection Requirements (Hardwired units only) All AMETEK Powervar Hardwired Security Plus II UPS system’s mains INPUT must be protected by proper sized branch circuit breakers in the building installation. The recommended branch circuit ratings at full rated load are listed below:... - Page 19 All AMETEK Powervar Hardwired Security Plus II UPS system’s OUTPUT must be protected by proper sized AC disconnect device. The recommended disconnect device ratings at full rated load are listed below: ABCDEF2002-11 20 AMP ABCDEF2002-22 10 AMP ABCDEF3002-11 30 AMP...
-
Page 20: Operation
5.0 OPERATION 5.1 Button Operation Button Button Function ON/Enter Button Turn on the UPS: Press and hold the button at least 0.5 seconds to turn on the UPS. Enter Key: Press this button to confirm the selection in setting menu. OFF/ESC Button Turn off the UPS: Press and hold the button at least 0.5 seconds to turn off the UPS. -
Page 21: Led Indicators And Lcd Panel
5.2 LED Indicators and LCD Panel LCD panel LED indicators LED Indicators: There are 4 LEDs on front panel to show the UPS working status: Mode Bypass Line Battery Fault ● ● ● ● UPS Startup ○ ○ ○ ○ No Output mode ○... - Page 22 LCD Panel: Display Function Backup Time Information Indicates battery discharge time in numbers. H: hours, M: minutes, S: seconds Fault Information Indicates that the warning and fault occurs. Indicates the fault codes, and the codes are listed in details in section 3-9. Mute Operation Indicates that the UPS alarm is disabled.
-
Page 23: Audible Alarm
Display Function Mode operation information Indicates the UPS connects to the mains. Indicates the battery is working. Indicates the bypass circuit is working. Indicates the ECO mode is enabled. Indicates the Inverter circuit is working. Indicates the output is working. Battery information Indicates the Battery capacity by 0-25%, 26-50%, 51-75%, and 76-100%. -
Page 24: Single Ups Operation
5.4 Single UPS Operation 1. Turn on the UPS with utility power supply (in AC mode) 5. After the Utilities supply has been connected, toggle the AC input breaker to the “ON” position, UP. Then toggle the battery cabinet breaker to the “ON” position, UP. At this point the UPS output is active. -
Page 25: Connect Devices To Ups
5.5. Connect Devices to UPS Once the UPS is connected to its AC source, connect load devices to UPS. 1. Turn on the UPS first and then switch on the devices one by one, the LCD panel will display total load level. 2. -
Page 26: Battery Mode Operation
5.7. Battery Mode Operation 1. When the UPS is in Battery mode, the buzzer will beep according to different battery capacity. If the battery capacity is more than 25%, the buzzer will beep once every 4 seconds; If the battery voltage drops to the alarm level, the buzzer will beep quickly (once every sec) to remind users that the battery is at low level and the UPS will shut down automatically soon. -
Page 27: Turn Off The Ups Without Utility Power Supply In Battery Mode
NOTE 1: If the UPS has been set to enable the bypass output, it will supply bypass voltage from utility power to output terminal even though you have turned off the UPS (inverter). NOTE 2: After turning off the UPS inverter, please be aware that the UPS is operating in Bypass mode and connected devices are not backup. -
Page 28: Operation In Fault Mode
UPS. Check the troubleshooting table in Section 8 for a list of fault codes. 2. If still problem still exists, contact AMETEK Powervar Technical Support. 5.14 Operation of Changing Charging Current... -
Page 29: Lcd Setting
6.0 LCD SETTING There are three parameters to set up the UPS. Refer to following diagram. Parameter 1 Parameter 2 Parameter 1: Program alternatives. Refer to below table. Parameter 2: Setting values for each program. 15 Programs Available List for Parameter 1: Battery Code Description... - Page 30 NOTE: Parameter settings will be saved only when UPS shuts down normally with internal or external battery connection. (Normal UPS shutdown means turning off input breaker in bypass/no output mode). 01: Output Voltage Interface Setting Parameter 2: Output voltage You may choose the following output voltage in parameter 2: 208: Output voltage is 208VAC 220: Output voltage is 220VAC...
- Page 31 02: Output Frequency Interface Setting 60 Hz, CVCF mode Parameter 2: Output Frequency Setting the output frequency. You may choose following three options in parameter 2: 50CF: Setting UPS to CVCF mode and output frequency will be fixed at 50 Hz. The input frequency can range from 46 Hz to 64 Hz.
- Page 32 03: Voltage Range for Bypass Interface Setting Parameter 1 & 2: Setting acceptable voltage range for bypass mode. Set up the range by setting high and low points. When it shows “LLS” in parameter 2, please press “Enter” key and it will show “LS” in parameter 1.
- Page 33 05: ECO Mode Enable/Disable Interface Setting Parameter 2: Enable or disable ECO function. You may choose following two options: DIS: disable ECO function ENA: enable ECO function If ECO function is disabled, voltage range and fre- quency range for ECO mode still can be set, but it is meaningless unless the ECO function is enabled.
- Page 34 07: Frequency Range for ECO Mode Interface Setting Parameter 1 & 2: Setting acceptable frequency range for ECO mode. Set up the range by setting high and low points. When it shows “LLS” in parameter 2, please press “Enter” key and it will show “LS” in parameter 1.
- Page 35 09: Battery Backup Time Setting Interface Setting Parameter 2: 000~999: Set the maximum backup time from 0min to 999 min. UPS will shut down to protect battery after backup time arrives. The default value is 990 min. DIS: Disable battery discharge protection and backup time will depend on battery capacity.
- Page 36 13: Charging Current Setting Interface Setting After it shows “17” in parameter 1 and “Cur” in parameter 2, please press “Enter” key first. Then, you may select 01, 02, 03 or 04 to set the charging current from 1A to 4A in Parameter 1. Then, calibrate the charging current by selecting “+”...
-
Page 37: Operaton Mode/Status Description
7.0 OPERATION MODE/STATUS DESCRIPTION OPERATING MODE/STATUS Description LCD Display AC Mode When the input voltage is within acceptable range, UPS will provide pure and stable AC power to output. The UPS will also charge the battery at AC mode. ECO Mode When the input voltage is within voltage regulation range and ECO mode is enabled,... - Page 38 OPERATING MODE/STATUS Description LCD Display Battery Mode When the input voltage is beyond the acceptable range or power failure, UPS will backup power from battery and alarm will beep every 4 seconds. Bypass Mode While input voltage is within acceptable range and bypass is enabled, turn off the UPS and it will enter Bypass mode.
-
Page 39: Fault Code
8.0 FAULT CODE Fault Fault Fault Event Code Icon Fault Event Code Icon Battery SCR short Bus start failure None None circuited Bus over None Inverter relay short None circuited Bus under None Charger short circuited None Bus unbalance None Can communication None fault... -
Page 40: Warning Code
Icon Warning (Flashing) Alarm EPO enable Beeping every second Fan failure/Over Beeping every second temperature Charger failure Beeping every second I/P fuse broken Beeping every second Overload 3 times in 30min Beeping every second 8.2 Warning Code Warning Warning Code Warning Event Code Warning Event... -
Page 41: Troubleshooting
9.0 TROUBLESHOOTING If the UPS system does not operate correctly, please solve the problem by using the table below. Symptom Possible Cause Remedy The AC input power is No indication and alarm Check if input cable in the front display panel not connected well. - Page 42 Symptom Possible Cause Remedy Fault code is shown The UPS shut down Check output wiring and as 14 on LCD display, automatically because if connected devices are and alarm beeps short circuit occurs on in short circuit status. continuously. the UPS output. Fault code is shown A UPS internal fault has Contact Technical...
-
Page 43: Storage And Maintenance
10.0 STORAGE AND MAINTENANCE 10.1. Storage Before storing, charge the UPS at least 7 hours. Store the UPS covered and upright in a cool, dry location. During storage, recharge the battery in accordance with the following table: Storage Temperature Recharge Frequency Charging Duration -25°C - 40°C Every 3 months... - Page 44 CAUTION Verify that no voltage between the battery terminals and the ground is present before maintenance or repair. In this product, the battery circuit is not isolated from the input voltage. Hazardous voltages may occur between the battery terminals and the ground. CAUTION Batteries may cause electric shock and have a high short-circuit current.
-
Page 45: Warranty
Security Plus II Series products (hereafter referred to as “Product”) are warranted to be free from defects in material and workmanship for three (3) years from date of shipment from AMETEK Powervar, on the chassis and electronic components and two (2) years from date of shipment from AMETEK Powervar on the batteries. - Page 46 If this is not possible, the UPS must be connected to a power source for 24 hours at least once every 4 months, or every 2 months if the ambient temperature is more than 30°C (86°F). Additionally, AMETEK Powervar’s warranty on batteries applies only to Products that are continuously connected to AC mains power, except during utility power outages.
- Page 47 A01-00150 Rev B...
- Page 48 Unit 5, Birch-Kembrey Park www.powervar.com Swindon, Wilts SN2 8UU UK A01-00150 Rev A – 12/2020 - © 2020 AMETEK Powervar, Inc. (P) +44 1793 553980 (F) +44 1793 535350 Mexico Address: Camino a la Montana No.
Need help?
Do you have a question about the Powervar Security Plus II and is the answer not in the manual?
Questions and answers