Table of Contents
Advertisement
Quick Links
INSTALLATION &
OPERATION
MANUAL
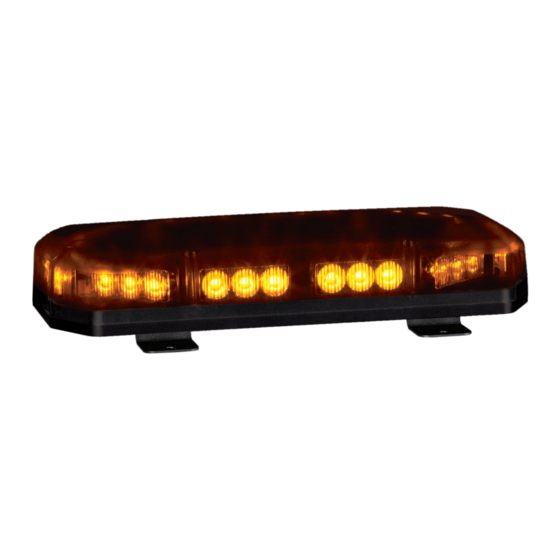
SHL10 Series LED Warning Light
IMPORTANT:
Contents:
Introduction................................................................................2
Features and Specifications.....................................................2
Current Draw..............................................................2
Installation & Mounting.........................................................3
Wiring..................................................................................3
Operation.............................................................................4
Maintenance.........................................................................4
Troubleshooting.................................................................4
Flash Patterns..........................................................................5
Dimensions...................................................................6
Notes................................................................7
Warranty................................................................8
Read all instructions and warnings before installing and using.
INSTALLER:
This manual must be delivered to the end user of this equipment.
1
Advertisement
Table of Contents

Related Manuals for Code 3 Shield SHL10 Series


Summary of Contents for Code 3 Shield SHL10 Series
-
Page 1: Table Of Contents
INSTALLATION & OPERATION MANUAL SHL10 Series LED Warning Light Contents: Introduction................2 Features and Specifications.............2 Current Draw..............2 Installation & Mounting............3 Wiring..................3 Operation................4 Maintenance.................4 Troubleshooting..............4 Flash Patterns................5 Dimensions..............6 Notes..............7 Warranty..............8 IMPORTANT: Read all instructions and warnings before installing and using. INSTALLER: This manual must be delivered to the end user of this equipment. -
Page 2: Introduction
WARNINg! Code 3 , Inc., assumes no liability for any loss resulting from the use of this warning device. Proper installation is vital to the performance of this warning device and the safe operation of the emergency vehicle. -
Page 3: Installation & Mounting
A glossy, highly waxed surface will reduce the magnet's holding power. The standard Code 3 magnetic mounting kit for the Shield Mini-Bar is capable of providing a combined holding force of up to 200lbs. To ease installation and to avoid scratching the vehicle's paint when positioning the beacon it is recommended that a thin piece of cardboard be placed under each magnet until the beacon is positioned as desired. -
Page 4: Wiring
Wiring Instructions Magnetic Mounting: The magnetic mount beacon is equipped with a lighter plug with two rocker switches, that plugs into a 12 Volt DC cigarette lighter outlet; rotate and push with reasonable moderate force to insure the best possible connec- tion. -
Page 5: Maintenance
Maintenance: The Shield™ LED Mini-Bar is designed to be weather proof and maintenance free under normal operating con- ditions. Refer to the guide below for help with troubleshooting. Should the unit be diagnosed as malfunctioning, the unit should be removed from service and replaced with a new unit. LED module housings may become hot with extended use. -
Page 6: Dimensions
Dimensions (shown with permanent mount brackets) Permanent Mounting Hole Locations... -
Page 7: Notes
NOTES... -
Page 8: Warranty
*Code 3, Inc. reserves the right to repair or replace at its discretion. Code 3, Inc. assumes no responsibility or liability for expenses incurred for the removal and /or reinstallation of products requiring service and/or repair.; nor for the packaging, handling, and shipping: nor for the handling of products return to sender after the service has been rendered.
Need help?
Do you have a question about the Shield SHL10 Series and is the answer not in the manual?
Questions and answers