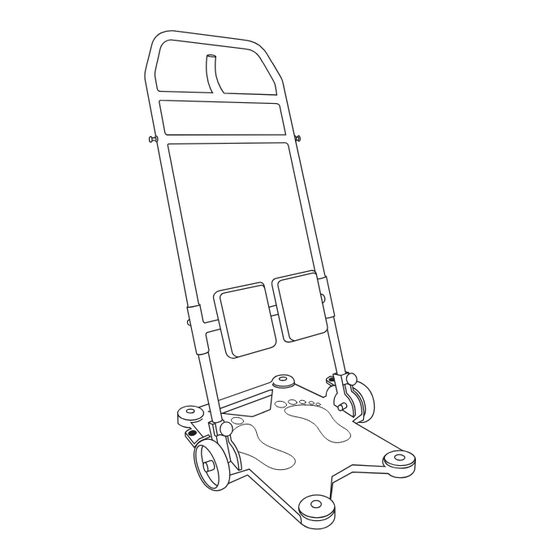
Joerns Hoyer Switch Service Manual
Hide thumbs
Also See for Hoyer Switch:
- User instruction manual (8 pages) ,
- User manual (4 pages) ,
- User instruction manual (4 pages)
Advertisement
Quick Links
Advertisement

Subscribe to Our Youtube Channel
Summary of Contents for Joerns Hoyer Switch
- Page 1 Service Manual Hoyer Switch ®...
- Page 2 Hoyer ® Switch Contents Inspection Criteria............................3 Service / Repair Schedule ......................... 4 Torque Settings............................8 Notes ............................... 10...
- Page 3 Switch Inspection Criteria Joerns Healthcare Ltd recommends the Hoyer Switch and its accessories are subjected to inspection and maintenance, as detailed in this manual, at appropriate intervals depending on a risk assessment of the frequency of use and environmental factors. This will ensure the equipment is adequately maintained and remains safe for use as detailed in PUWER (Provision and Use of Work Equipment Regulations).
- Page 4 Hoyer ® Switch Service / Repair Schedule Tools Required • 5mm hex key • 6mm hex key • 8mm A/F combination wrench • 2 x 10mm A/F combination wrench • 14mm A/F combination wrench • 16mm A/F combination wrench • 0-50Nm range torque wrench •...
- Page 5 Hoyer ® Switch Center Wheels NOTE: The frame must be removed to enable removal of the center wheels as detailed in the ‘Frame Removal’ procedure. Removal 1. Unscrew the center wheel bolt using a 6mm hex key and a 16mm A/F combination wrench. 2.
- Page 6 9. Fit the M8 brake pedal domed securing nut to the brake pedal securing bolt and tighten to 20Nm using a 14mm A/F combination wrench. Repeat the ‘Brake Pedal/Pad Removal/Replacement’ procedure for the left hand brake pedal. WARNING Ensure the brakes operate correctly before returning the Hoyer Switch to service.
- Page 7 Hoyer ® Switch Base Removal 1. Remove the frame as detailed in the ‘Frame Removal’ procedure. 2. Remove the 4-off corner casters as detailed in the ‘Corner Casters Removal’ procedure. 3. Remove the 2-off center wheels as detailed in the ‘Center Wheels Removal’ procedure. 4.
- Page 8 Hoyer ® Switch Knee Pad Positioning Spring-Loaded Quick Release Pins Removal 1. Unscrew the knee pad positioning spring-loaded quick release pin from the knee pad sliding section using an 8mm A/F combination wrench. Replacement 1. Assemble the knee pad positioning spring-loaded quick release pin to the thread on the knee pad sliding section.
- Page 9 Hoyer ® Switch Torque Settings Tighten the brake pedal securing nuts to 20Nm - 2 places Tighten the corner caster securing nut to 25Nm - 4 places Tighten the center Tighten the caster wheel securing nut spindle securing nut to 25Nm - 2 places to 20Nm - 4 places Tighten the knee pad spring-loaded quick release pins to 10Nm - 2 places...


Need help?
Do you have a question about the Hoyer Switch and is the answer not in the manual?
Questions and answers