Table of Contents
Advertisement
Quick Links
SUPPLIED MATERIAL
1
Allen key / Ll a ve allen / Inbusschlüssel
2
Spanner tighten / Ll a ve de apriete / Schraubenschl ü ssel
Wiring box / Caja de conexión / Klemmenkasten
3
4
Inset casi n g / Cuerpo de empotrar / Einbausockel
Lamp structure / Estructura luminaria / Leuchten-Struktur
5
TECHNICAL SPECIFICATIONS
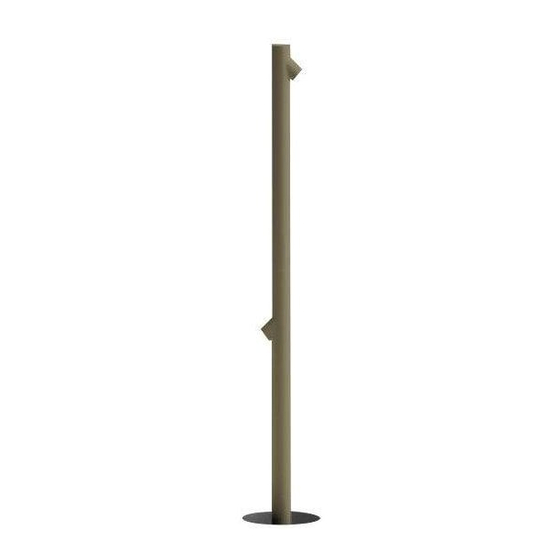
Bamboo
Design by Antoni Arola & Enric Rodríguez
ASSEMBLY INSTRUCTIONS
MONTAGEANLEITUNG
MATERIAL SUMINISTRADO
ESPECIFICACIONES TÉCNICAS
1.
2.
4802
4803
1 un.
1 un.
1 un.
1 un.
1 un.
1 un.
1 un.
1 un.
1 un.
1 un.
GELIEFERTES MATERIAL
3.
4.
4804
4805
1 un.
1 un.
1 un.
1 un.
1 un.
1 un.
1 un.
1 un.
1 un.
1 un.
TECHNISCHE DATEN
5.
Advertisement
Table of Contents

Summary of Contents for VIBIA Bamboo 4802
- Page 1 Bamboo Design by Antoni Arola & Enric Rodríguez ASSEMBLY INSTRUCTIONS INSTRUCCIONES DE MONTAJE MONTAGEANLEITUNG SUPPLIED MATERIAL MATERIAL SUMINISTRADO GELIEFERTES MATERIAL 4802 4803 4804 4805 1 un. 1 un. 1 un. 1 un. Allen key / Ll a ve allen / Inbusschlüssel 1 un.
- Page 2 ASSEMBLY INSTRUCTIONS INSTRUCCIONES DE MONTAJE MONTAGEANLEITUNG IMPORTANT NOTICE: Switch of the mains before installing the lamp. 1. Dismount cover (B) by removing the three screws (A) using the allen key supplied. 2. Make a hole in the ground of Ø21,5 cm and 25,5 cm deep to set the casing (C) into, and provide a gravel drainage system 20-30cm deep if the ground is sandy.
- Page 3 ASSEMBLY INSTRUCTIONS INSTRUCCIONES DE MONTAJE MONTAGEANLEITUNG 3. Insert the casing (C) in the resulting hole, running the power cable (D) through inside it. Enough length of cable must stick out above the ground to make the power connection. Fill in the hole with cement until it is flush with the ground.
- Page 4 ASSEMBLY INSTRUCTIONS INSTRUCCIONES DE MONTAJE MONTAGEANLEITUNG 6. Insert the sealed wiring box and fit the cables inside the casing set into the ground. Leave the connector (H) resting outside. 7. Insert the tube (I) of the light fitting into the pivot (J) in the base, so that the connector remains outside.
- Page 5 ASSEMBLY INSTRUCTIONS INSTRUCCIONES DE MONTAJE MONTAGEANLEITUNG 8. Rotate tube (I) to point the spotlight or spotlights in the direction to be lit. IMPORTANT: Don´t rotate the tube by the spotlights Use the spanner supplied to tighten nut (K) on the clamp fitted in the base, fixing the tube in place so that it cannot move in any direction.
- Page 6 ASSEMBLY INSTRUCTIONS INSTRUCCIONES DE MONTAJE MONTAGEANLEITUNG 11. Insert cover (B) into the top of the tube and slide it down as far as the base. A rubber seal is fitted inside so that the tube is not scratched. Remove and throw away this seal when installation is complete. 12.


Need help?
Do you have a question about the Bamboo 4802 and is the answer not in the manual?
Questions and answers