Advertisement
(6)
A
(6)
B
(12)
C
( 2 )
C1
(6)
D
(6)
D1
You will also need a phillips-head screwdriver
( not included )
Figure 1
1 - Attach part ( K ) , Left Leg Assembly , to part ( G ) Left
Arm Assembly as shown in figure 1. First place arm on
clean flat surface, align the holes on left leg assembly
with the holes on the under arm brace using ( 2 ) of
screws ( C ) tighten using a phillips-head screwdriver.
Second using ( 1 ) of screw ( C1 ) insert into ( Decorative
piece ) screw into the arm using a phillips-head
screwdriver as shown in figure 1. Follow the same
instructions for Right Leg and arm assembly.
( Decorative
Piece)
2nd
C1
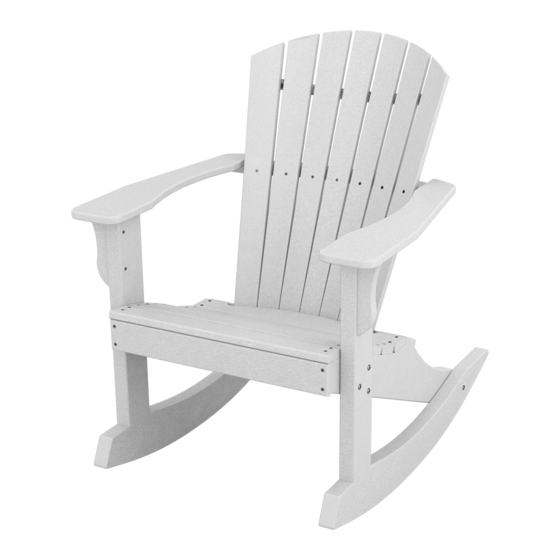
Hardware and Parts
3.50
2.75
1.50
1.00
( Right Leg Assembly )
(6)
E
ALLEN WRENCH
( included )
Assembly Instructions
K
( Left Leg Assembly )
( Left Arm Assembly )
G
1st
C
Assembly Instructions
Hyannis Adirondack Rocker
( Right Arm Assembly )
F
J
H
( Seat Bottom )
WRENCH
( not included )
Figure 2
2 - Attach part ( J ) ( K ) , Left Arm & Leg Assembly , to
Assembly from figure 2 as shown in figure 2. Align and
insert 3 of bolt ( A ) into holes and insert washers (D),
(D1) and hex nuts (E) from the other side, see detail 1
tighten bolts using an allen wrench and also an
adjustable wrench. Follow the same instruction for
Right Arm & Leg Assembly.
A
D
D1
E
Item No: MHYA-A-R
( Seat Back )
I
K
( Left Leg Assembly )
Do not use
any hand drill
on this product
( Detail 1 )
( Left Arm & Leg Assembly )
G
( Left Arm
Assembly )
L
( Base Rocker )
Advertisement
Table of Contents

Related Manuals for Sister Bay Hyannis Adirondack Rocker


Summary of Contents for Sister Bay Hyannis Adirondack Rocker
- Page 1 Assembly Instructions Item No: MHYA-A-R Hyannis Adirondack Rocker Hardware and Parts ( Seat Back ) 3.50 ( Right Arm Assembly ) 2.75 1.50 (12) ( Left Arm 1.00 Assembly ) ( 2 ) ( Right Leg Assembly ) ( Base Rocker )
- Page 2 To clean your product, use mild soap and water. For heavy soil build-ups use any non-abrasive household cleaners or ask your Sales Representative about Sister Bay Furniture Cleaner. Please contact our Customer Service Department for assembly assistance, questions or replacement parts at 1-866-947-7632...
Need help?
Do you have a question about the Hyannis Adirondack Rocker and is the answer not in the manual?
Questions and answers