Yealink W60 Setup Instructions
Dect ip phone
Hide thumbs
Also See for W60:
- Instructions manual (35 pages) ,
- Manual to using (16 pages) ,
- User manual (4 pages)
Advertisement
Advertisement
Table of Contents

Related Manuals for Yealink W60


Summary of Contents for Yealink W60
- Page 1 Yealink DECT IP Phone (W60) Set-up instructions...
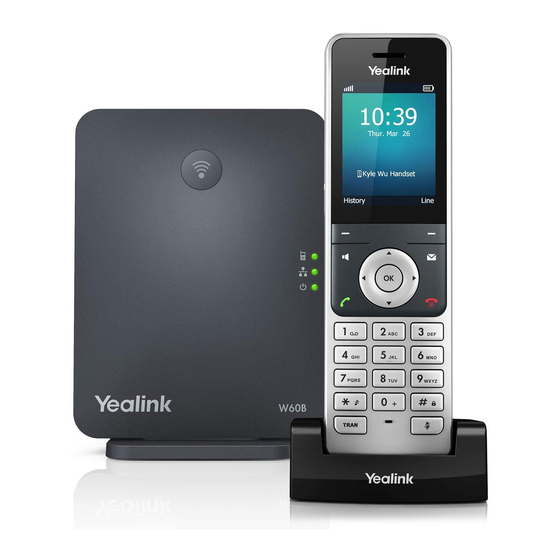
- Page 2 Yealink DECT IP Phone (W60) Set-up instructions Assemble handset(s) and base. Assemble your base & all handset(s) by following ‘Yealink Quick Start Guide’ included in the W60P box until you reach the Getting Started section. You are ready for the next step when all the LED lights on the base are solid green.
- Page 3 Register device. Auto Provision Username: Press OK (menu icons will appear), then press 6 (Settings), then 8 (System Setting). Pause until the screen loads, then press 6 (Auto provision), enter this PIN: 0000, and select the Done soft key. This will bring you to the Auto Provision menu: *Note: You only need to register one handset as the additional Cancel...
- Page 4 Provisioning successful. a. The following screen indicates that the device has been provisioned successfully. b. You will know provisioning has been successful if you can see your username and menu options Provision Successful displayed on the screen by pressing *Note: If you receive an error, the phone may still be provisioning – wait 2 minutes. If successful, the phone will reboot, indicated by the Network and Phone LEDs on the base turning off.
Need help?
Do you have a question about the W60 and is the answer not in the manual?
Questions and answers