Table of Contents
Advertisement
Quick Links
Advertisement
Table of Contents

Related Manuals for D-Link DPS-520


Summary of Contents for D-Link DPS-520
- Page 1 Quick Installation Guide for Redundant Power System DPS-520...
- Page 2 Information in this document is subject to change without notice. Reproduction in any manner whatsoever, without the written permission of D-Link Corporation, is strictly forbidden. Trademarks used in this text: D-Link and the D-LINK logo are trademarks of D-Link Corporation; Microsoft and Windows are registered trademarks of Microsoft Corporation.
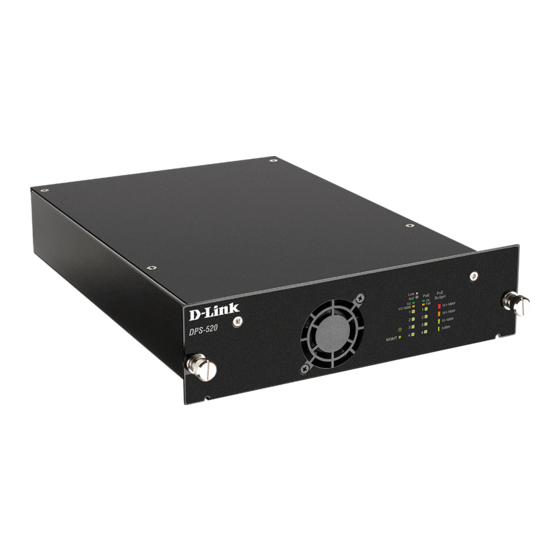
- Page 3 About This Guide Rack Installation The D-Link DPS-520 is a Redundant Power System (RPS) The DPS-520 can be installed on a desktop or into a provides an affordable, 90 Watt, Power over HDBaseT standard switch rack by inserting it into an additional (PoH), rack-mountable, RPS solution.
- Page 4 RPS Cable Pin Assignment Insert one end of the DC-powered, PoH, Ethernet cable into one of the LAN ports on the DPS-520 and insert the Any standard Category 5e or higher Ethernet cable can be used to connect the RPS to the switch where the RPS other end into the PoH-capable input port on the switch supplies PoH power to the switch.
- Page 5 Enter key. Figure 6 - IP address in Internet Explorer NOTE: The default IP address of the DPS-520 is 10.90.90.90 (subnet mask 255.0.0.0). After successfully connecting to the Web UI, the following is displayed: Figure 7 - Web User Interface (Web UI)
- Page 6 Apply button to upgrade the firmware on the RPS. Important: The DPS-520 needs to be restarted for the software changes to take effect. To restart the DPS-520, the AC power cord needs to be removed and then re-inserted into the AC power port on the back panel.
- Page 7 • Always unplug the product from mains power before cleaning and use a dry lint free cloth only. European Community Declaration of Conformity D-Link hereby declares that this product, accessories, and software are in compliance with directive 2014/53/EU. More information about EU Declaration of Conformity please visit...
- Page 8 Ver.1.00(WW)_90x130 2020/08/11 6DPS520Q..01G...
Need help?
Do you have a question about the DPS-520 and is the answer not in the manual?
Questions and answers