Advertisement
Quick Links
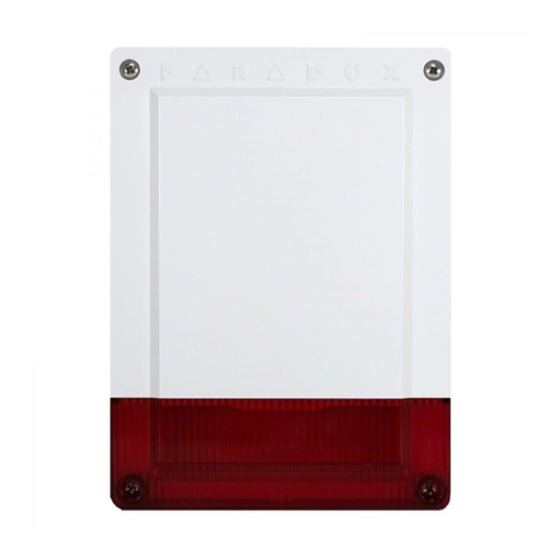
SR250 Wireless Siren w/Built-In Strobe Light
Introduction
The SR250 is a weatherproof, stand-alone, fully supervised outdoor
wireless siren with built-in strobe light and wireless transceiver. The SR250
uses 2-way wireless communication, which provides continuous
supervision between the panel and siren with fast response to alarm
signals within four seconds. With its tough weatherproof construction, the
SR250 operates reliably from -30 ºC to 50 ºC (-22 ºF to 122 ºF) when using
alkaline batteries or power supply.
With normal use, the SR250 will function up to 3 years without the need to
replace the batteries (battery life can be extended by using an optional AC
or DC power supply). This guide describes how to install and configure the
SR250 wireless siren.
Overview
1
2
3
4
5
Figure 1: SR250 Overview
Number
1
100 dB siren
Battery pack (3 "D" size alkaline batteries)
2
For EN installations, 3 "D" batteries must be installed.
3
Power supply input (8-16 Vac / 9-20 Vdc)
4
Infield connector
Dual-action tamper switch (detects when cover is removed
5
and when unit is removed from wall)
6
Strobe lights
Antenna (Can be extended using an RG6 or RG59 coaxial
7
cable with standard male F connectors. Attach the antenna
using a female/female F adapter)
8
Status and Signal Strength LEDs
9
Learn switch
SR250-EI00 01/2021
Lenses
Overview Description
Installation
Only qualified persons should install, operate, maintain, and repair this
Red
equipment.
1. Write down the serial number (on the back of the unit) and location
Blue
of the SR250 for later reference, to insert into the Paradox BabyWare
software.
2.
Loosen the four screws from the cover from the siren and remove
cover.
Amber
3. Loosen the four screws from the PCB cover and remove.
Clear
4. Screw the SR250 siren onto the wall through the five provided holes
(four wall and one Tamper Spacer).
5. Ensure that the Tamper switch is screwed onto the wall through the
Tamper Spacer.
6. Batteries:
a. If the siren already has batteries installed:
• Remove the plastic tab between the top battery terminals and
the battery compartment
• Leave the cover off until you learn the siren
b. If the siren does not have batteries installed:
• Insert the batteries - ensure correct polarity
• Leave the cover off until you learn the siren
Note: We recommend to replace the battery every three years to
avoid leakage.
7. After programming the siren (see Programming section): Reinstall the
PCB cover.
9
8. Reinstall the top cover.
LED Feedback
8
7
6
The following table describes LED Status Indicators.
LED
Indicator
TX
RX
PSSI
Status
Figure 2: LED Status Indicators
Description/Status
Sending data
Receiving data
Signal strength siren receives from control panel
Flash 4x - strong signal
Flash 3x - good signal
Flash 2x - weak signal
Flash 1x - very weak signal (relocate)
No flash - no signal
Flash once/sec. - processor is on
Flash once/4 sec. - power save mode
PARADOX.COM
Advertisement

Related Manuals for Paradox SR250


Summary of Contents for Paradox SR250
- Page 1 With its tough weatherproof construction, the SR250 operates reliably from -30 ºC to 50 ºC (-22 ºF to 122 ºF) when using 4. Screw the SR250 siren onto the wall through the five provided holes alkaline batteries or power supply.
- Page 2 Press and hold the Learn switch for 3 seconds after entering the section to learn the siren. If a tamper is detected, the SR250 will sound an alarm and the strobe light WARNING: When pressing the Learn switch, the will flash for 4 minutes. The control panel will follow the global supervision SR250 squawks and the strobe light flashes five options set in the panel.
Need help?
Do you have a question about the SR250 and is the answer not in the manual?
Questions and answers