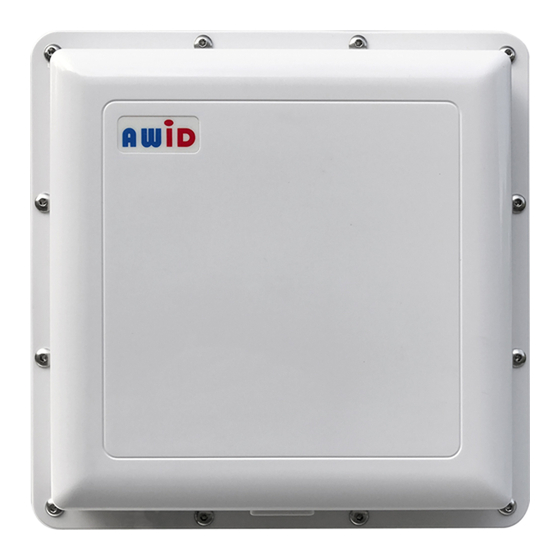
AWID LR-3000 Quick Installation Manual
Reader and tags
Hide thumbs
Also See for LR-3000:
- Installation & owner's manual (20 pages) ,
- Quick start manual (4 pages)
Advertisement
APPLIED WIRELESS ID
LR-3000 Reader and Tags – Quick Installation Guide
If you are new to the LR-3000 Reader, or if this is your first long-range reader installation,
The LR-3000 Reader is a long-range Radio Frequency Identification reader that uses AWID's UHF vehicle tags and hand-held cards.
This Guide describes installation using the
Before you start the installation, download and study the LR-3000 Installation & Operation Manual.
Preparation
Layout
Plan: Ideal conditions for the installation site are –
► 1 vehicle length or more between the reader and the gate.
► Vehicles driving in the lane that is nearest the reader, in a straight line, at up to 15 miles per hour.
► Reader mounted on a bracket with pan-and-tilt adjustable head for aiming the reader.
► Reader location and height to match vehicle type and tag type.
► Reader and tags aligned, facing each other head-on (parallel to each other) at the reading distance – up to 25 feet.
► Good tag location in vehicles determined by tests before attaching the tags.
Power
Supply: A separate dedicated DC power supply for each LR-3000 reader, connected to nothing else. For a 12-14 volt DC
supply, current rating = 2 amperes or more, linear rated, regulated DC out. Install power supply 12 feet or more from the reader.
Cable: May be separate cables for data and for power, or may be combined for data and power together. Max. length = 500 feet.
For power alone – 18 gauge, 2 conductors, stranded wires, color-coded, overall 100% shielded, high quality.
For data alone – 22 gauge, 3 conductors, stranded wires, color-coded, not twisted pairs, overall 100% shielded, high quality.
For combined cable – 18 gauge, 5 conductors, stranded wires, color-coded, not twisted pairs, overall 100% shielded, high quality.
Mounting: Adjustable pan-and-tilt bracket (Part No. LR-MB-0-0), required in most installations.
Pre-Installation Testing
Before installing at the site, run these tests at your shop. Cut off and discard the connector on the reader's cable.
1.
Installation Kit (Pt.No. LR-KIT-0-0): Provides beep and LED color. No need to mount the reader or interface to the system.
2.
Connections: Connect the 3 negative wires (black wires) on the reader, test unit, and power supply, plus the reader's
Connect the reader's
orange
Connect the 3 positive power wires
3.
Holding test tags: Squeeze in fingertips at edge of tag. Hold tag at arm's length to your side. Tag and reader facing each other.
4.
Procedure: When the test unit's LED is lighted red, present one of the test tags from the Kit to the reader. Measure (a) the
maximum distance "R" where reads occur, and (b) the width "W" of the effective RF field at half of maximum reading distance.
5.
Results: Tags should read at about 3 reads per second, inside the "balloon" (Figure 2). Maximum range "R" may be 35-40 feet.
Figure 1. Connections for Pre-Installation Testing
LR-3000 Quick Installation Guide
18300 Sutter Blvd. – Morgan Hill, CA 95037 Voice 1-408-825-1100 Fax 1-408-782-7402 www.awid.com
we suggest that you call AWID Technical Support at 408-825-1100.
Wiegand
(See Quick Installation Guide for LR-KIT Installation Kit)
wire to the test unit's
(red
wires) on the reader, test unit, and power supply. See Figure 1 for test wiring.
Applied Wireless Identifications Group, Inc.
interface. For RS-232 interface, download AWID's Technical Reference.
orange
wire.
Version 1.2
Figure 2. Effective RF Field for LR-3000 Reader
yellow
wire.
Page 1 of 2
Advertisement
Table of Contents

Summary of Contents for AWID LR-3000
- Page 1 Power Supply: A separate dedicated DC power supply for each LR-3000 reader, connected to nothing else. For a 12-14 volt DC supply, current rating = 2 amperes or more, linear rated, regulated DC out. Install power supply 12 feet or more from the reader.
- Page 2 (Study Figure 3 carefully. There is no wiring for the reader’s LEDs.) Check the power supply and cable(s) for power and data to be certain that they meet AWID’s specifications (“Preparation”, p. 1). Connect the wires -- yellow to black at the reader; black and to the power supply;...


Need help?
Do you have a question about the LR-3000 and is the answer not in the manual?
Questions and answers