Table of Contents
Advertisement
Quick Links
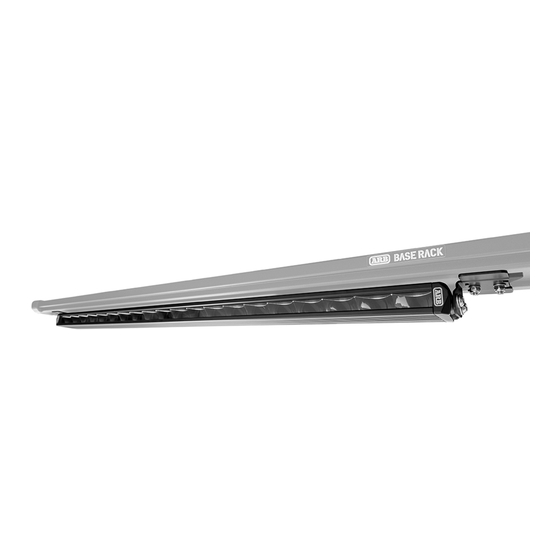
ARB SLIMLINE ROOF RACK LIGHTBAR
SPECIFICATIONS PN#: 1780500
Input Voltage
Power
Current Draw
Output - RAW
Output - Effective
Dist @ 1Lux (Single Light)
Spread
Input Cable Length
Operating Temperature
Colour Temperature
Runtime
Weight
Connector
Dimensions
Width
Length
Height
Certifications
Description
36inch Lightbar
Mount bracket
Mount bracket (opposite)
Extended bracket
Extended bracket (opposite)
Clamp bracket
M6 Coach bolt
There are no user serviceable components inside the Lightbar - DO NOT disassemble.
Clean with warm soapy water and sponge or soft brush. DO NOT use solvents, scourers or hard
bristle brushes. DO NOT use harsh wash chemicals, these will remove the protective clear coat from
the Lens.
Ensure all electrical connectors and wiring loom are secured away from sharp edges.
Regularly check all mounting and adjusting bolts to ensure they are secured and tight.
If your Lightbar requires further service or repair, return it to your local ARB distributor.
WIRING HARNESSES
ARB recommends the use of the ARB wiring
loom #3500810.
The ARB extension harness #3500820 may also
be required depending on the mounting location.
January 2020
12-48V
130 W
9.2A @ 14.4V
9279 Lumens
8552 Lumens
1 Lux @ 728m (NATA Test)
Horizontal 8° & Vertical 6°
330mm (male terminal)
-40°C to +65°C (-40°F to +145°F)
5500-6000K
50,000hrs
3.07kg
2-pin overmold waterproof
954mm (37.55")
67mm (2.63")
34mm (1.33)"
R10, CE, ROHS
SUPPLIED PARTS
Quantity
1
1
1
1
1
2
4
CARE AND MAINTENANCE
Description
M6 Security bolt
M6 Nyloc nut
M6 Washer
M8 Security bolt
M8 Double washer
M6 Security tool
M8 Security tool
TORQUE SETTINGS
M6 bolts
M8 bolts
Quantity
4
4
8
4
2
1
1
9 N.m / 7 lb.ft
22 N.m / 16 lb.ft
TABLE 1.
Advertisement
Table of Contents

Related Manuals for ARB 1780500


Summary of Contents for ARB 1780500
- Page 1 Ensure all electrical connectors and wiring loom are secured away from sharp edges. Regularly check all mounting and adjusting bolts to ensure they are secured and tight. If your Lightbar requires further service or repair, return it to your local ARB distributor. WIRING HARNESSES TORQUE SETTINGS ...
- Page 2 INSTALLATION Three mounting options are possible with the brackets supplied. Please select your required mounting option and follow the steps below for installation and adjustment. BASE RACK Forward. BASE RACK Beneath. Pedestal Mount. BASE RACK Forward Installation. Step 1. Insert M6 Coach bolts into Extended bracket. Insert Extended bracket into BASE RACK channel (Figure 1) and twist bracket into position (Figure 2).
- Page 3 BASE RACK Beneath Installation. Step 1. Insert M6 Coach bolts into Mount bracket. Insert Mount bracket into BASE RACK channel (Figure 5) and twist bracket into position (Figure 6). Complete for opposite bracket. FIGURE 5. Step 2. Install Lightbar on Mount brackets. Use M8 Security bolts and M8 Double washer to secure Lightbar onto Mount brackets.
- Page 4 Fax: 03 9721 9090. www.arb.com.au The period within which a defect in the ARB Products must appear if the customer is to be entitled to claim the warranty is 3 years starting on the date of purchase unless: The ARB Product is used in Commercial Use. Commercial Use means use in industry or commerce including (without limitation) use in the mining industry or as a hire vehicle.
Need help?
Do you have a question about the 1780500 and is the answer not in the manual?
Questions and answers