DoorBird D21 Series Manual
Replacing the display module
Hide thumbs
Also See for D21 Series:
- Installation manual (88 pages) ,
- Manual (4 pages) ,
- Quick start manual (2 pages)
Advertisement
Available languages
Available languages
Manual
REPLACING THE DISPLAY MODULE
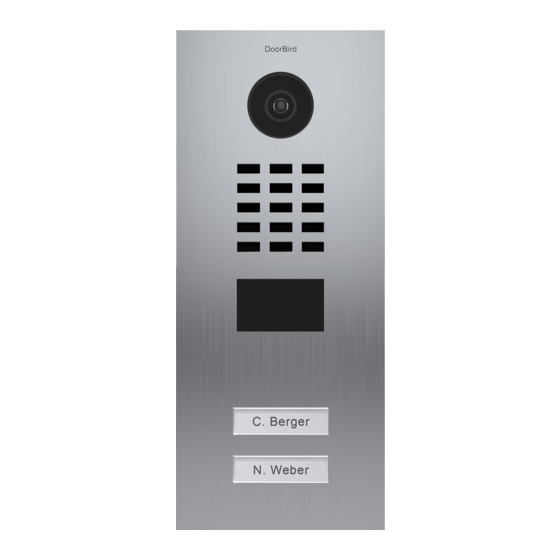
D21x series
TECHNISCHE DATEN
Before replacing the display the
existing cable connection has to
be removed.
1
Loosen the four nuts of the dis-
play protective housing.
2
Remove the display protective
housing.
3
Remove the metal mounting sheets.
4
Replace the display unit.
To assemble, follow these steps in
reverse order.
www.doorbird.com
Errors and omissions excepted. |
Stand 05/2018 – Copyright © 2018 Bird Home Automation GmbH – www.doorbird.com
Advertisement
Table of Contents

Related Manuals for DoorBird D21 Series


Summary of Contents for DoorBird D21 Series
- Page 1 Remove the display protective housing. Remove the metal mounting sheets. Replace the display unit. To assemble, follow these steps in reverse order. www.doorbird.com Errors and omissions excepted. | Stand 05/2018 – Copyright © 2018 Bird Home Automation GmbH – www.doorbird.com...
- Page 2 Entfernen Sie das Schutzgehäuse. Entfernen Sie die Montagebleche. Tauschen Sie die Displayeinheit aus. Für den Zusammenbau befolgen Sie diese Schritte in umgekehrter Reihenfolge. www.doorbird.de Irrtümer und Änderungen vorbehalten. | Stand 05/2018 – Copyright © 2018 Bird Home Automation GmbH – www.doorbird.com...
Need help?
Do you have a question about the D21 Series and is the answer not in the manual?
Questions and answers