DoorBird D21 Series Manual
Hide thumbs
Also See for D21 Series:
- Installation manual (88 pages) ,
- Manual (4 pages) ,
- Quick start manual (2 pages)
Advertisement
Available languages
Available languages
Table of Contents
- 1 Replacing the Info Module
- 2 Before Replacing the Info Module
- 3 Replace the Info Module Label.
- 4 Loosen the Four Nuts and the Screw of the Protective Housing.
- 5 Remove the Keypad Protective Housing.
- 6 Insert the Transparent Rubber Seal.
- 7 If Present, Remove the Black Rubber Seal.
- 8 To Assemble, Follow These Steps in Reverse Order.
- Download this manual
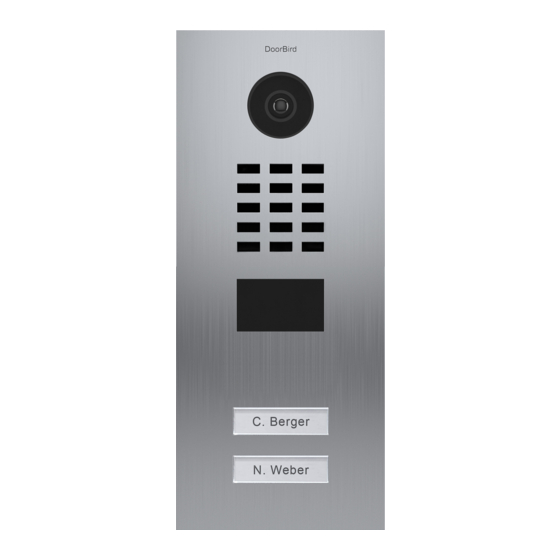
REPLACING THE INFO MODULE
D21x series
Before replacing the Info Module
the existing cable connection has
to be removed.
1
Replace the info module label.
2
Loosen the four nuts and the screw
of the protective housing.
3
Remove the keypad protective housing.
4
Insert the transparent rubber seal.
5
If present, remove the black
rubber seal.
To assemble, follow these steps in reverse order.
www.doorbird.com
Errors and omissions excepted. | Last update 08/2020 - Copyright © 2019 Bird Home Automation GmbH – www.doorbird.com
Advertisement
Table of Contents

Related Manuals for DoorBird D21 Series


Summary of Contents for DoorBird D21 Series
- Page 1 Remove the keypad protective housing. Insert the transparent rubber seal. If present, remove the black rubber seal. To assemble, follow these steps in reverse order. www.doorbird.com Errors and omissions excepted. | Last update 08/2020 - Copyright © 2019 Bird Home Automation GmbH – www.doorbird.com...
- Page 2 Setzen Sie die transparente Gummidichtung ein Falls vorhanden, entfernen Sie die schwarze Gummidichtung. Für den Zusammenbau befolgen Sie diese Schritte in umgekehrter Reihenfolge. www.doorbird.com Irrtümer und Änderungen vorbehalten. | Stand 08/2020 – Copyright © 2019 Bird Home Automation GmbH – www.doorbird.com...
Need help?
Do you have a question about the D21 Series and is the answer not in the manual?
Questions and answers