DoorBird D10 Series Connection Manual
Connect synology
Hide thumbs
Also See for D10 Series:
- Installation manual (90 pages) ,
- Manual (10 pages) ,
- Installation manual (94 pages)
Advertisement
DoorBird Connect
Synology
SYSTEM REQUIREMENTS
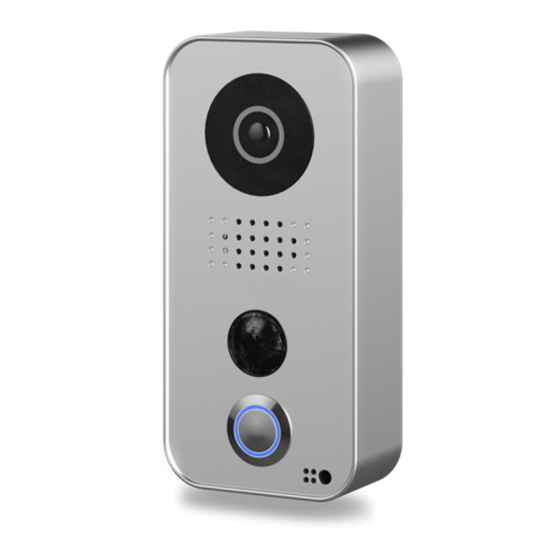
DoorBird IP Video Door Station D10x/D11x/D20x/D21x-Series
•
Synology Network Video Recorder (NVR) or Network-Attached Storage (NAS)
•
ADDITIONAL INFORMATION
The following guide will take you through the steps of setting up a DoorBird IP Video Door Station in connection with
a Synology Network Video Recorder (NVR) or Network-Attached Storage, referred to simply as"Synology device"
throughout this manual.
Please make sure that the Synology device receives an IP address and is connected to your network. Please also
make sure that your DoorBird IP Video Door Station is online, using this service:
https://www.doorbird.com/checkonline
The local IP address of your DoorBird IP Video Door Station is available from the same page.
FIRMWARE INFORMATION
This manual was tested using the following firmware versions:
DoorBird IP Video Door Station: 000120
Synology: DSM 6.2.2-24922 Update 3
1. SETTING UP THE EXTERNAL VIDEO SERVICE (NVR)
For the DoorBird IP Video Door Station to be properly recognized by the Synology device, the "NVR"-setting of the
DoorBird IP Video Door Station must be activated.
1.
Open the DoorBird App and log into the administration area under
using the administrator user and password credentials from the
that was shipped with your DoorBird IP Video Door Station.
2.
Find the
"External video service
menu and switch it on.
2. SETTING UP THE SYNOLOGY DEVICE
1.
Open the Synology web interface by entering the IP address of the Synology device in your
browser and enter the
2.
On the main screen of the
3.
Click
"Add→Add Camera"
All companies, logos and product names are registered trademarks of the respective companies.
Errors and omissions excepted – Last Update 10/2020 - Copyright © 2020 - Bird Home Automation GmbH – www.doorbird.com
(NVR)"-toggle under
"Surveillance
Station".
"Surveillance
Station", click on
to add a new device.
"Settings → Administration"
"DIGITAL PASSPORT"
"DOORBIRD CONNECT"
"IP
Camera".
1
document
from the main
Advertisement
Table of Contents

Related Manuals for DoorBird D10 Series


Summary of Contents for DoorBird D10 Series
- Page 1 • ADDITIONAL INFORMATION The following guide will take you through the steps of setting up a DoorBird IP Video Door Station in connection with a Synology Network Video Recorder (NVR) or Network-Attached Storage, referred to simply as”Synology device” throughout this manual.
- Page 2 User name of DoorBird user, e.g. user0001 Password: password associated with the user All companies, logos and product names are registered trademarks of the respective companies. Errors and omissions excepted – Last Update 10/2020 - Copyright © 2020 - Bird Home Automation GmbH – www.doorbird.com...
- Page 3 “Rule type” “Action type” at their defaults. Click “Next”. All companies, logos and product names are registered trademarks of the respective companies. Errors and omissions excepted – Last Update 10/2020 - Copyright © 2020 - Bird Home Automation GmbH – www.doorbird.com...
- Page 4 DoorBird IP Video Door Station. Click “Close” to dismiss this window. Click “Next”. All companies, logos and product names are registered trademarks of the respective companies. Errors and omissions excepted – Last Update 10/2020 - Copyright © 2020 - Bird Home Automation GmbH – www.doorbird.com...
- Page 5 Synology account name and password (without the { }-braces! ), All companies, logos and product names are registered trademarks of the respective companies. Errors and omissions excepted – Last Update 10/2020 - Copyright © 2020 - Bird Home Automation GmbH – www.doorbird.com...
- Page 6 HTTP(S) call. For calls from the DoorBird IP Video Door Station to be forwarded to the Synology NVR, a schedule for the doorbell needs to be properly set up. Depending on the model of the DoorBird IP Video Door Station, choose one of the following options: a.
Need help?
Do you have a question about the D10 Series and is the answer not in the manual?
Questions and answers