
Related Manuals for Arai Helmet RAM-X


Summary of Contents for Arai Helmet RAM-X
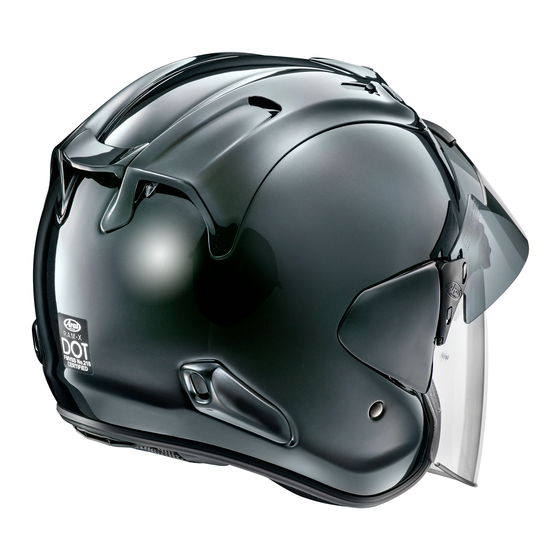
- Page 1 RAM-X OPERATION INSTRUCTIONS For your safety, it is important that you completely read the instructions and warnings.
-
Page 4: Table Of Contents
CONTENTS To open/close shield ................3 To operate browvents ................3 To operate shade ..................3 To operate top vents ................5 To remove/replace shield ................. 5 To remove/replace shade ................. 7 To remove/replace shield holding arms ............ 7 To remove/replace earcups ..............8 To remove/replace chinstrap covers ............ -
Page 5: To Open/Close Shield
TO OPEN/CLOSE SHIELD Pull outward on lower left side of shield to release latch system and then raise the shield. To close the shield, push down the shield until the shield is fully latched. WARNING: If your shield becomes too scratched or uncleanable, replace it with a new one. - Page 6 To lower shade, first, unlock the shade by pulling both ends forward, and push the shade down. WARNING: Before lowering the shade, be sure to unlock the shade. The shade can only be lowered when the lock system is released. There is a stop midway in the travel to allow for use to help reduce the glare of lights that cannot be shaded when the shade is in the fully up position (i.e.
-
Page 7: To Operate Top Vents
TO OPERATE TOP VENTS Simply push the switches/levers on each vent to open/close the vents. OPEN CLOSE OPEN CLOSE OPEN CLOSE CLOSE OPEN TO REMOVE/REPLACE SHIELD It is recommended to do one side at a time until you become familiar with the removal/installation process. - Page 8 To install, with the shield in its fully open position as it was when removed, position the pivot/holder over base plate with the bottom and rear edges of the holder lined up with the base plate edges as shown. NOTE: The shield can only be installed from the fully open position.
-
Page 9: To Remove/Replace Shade
TO REMOVE/REPLACE SHADE To remove shade for cleaning or replacement, first lower the shade. ① ② ③ Push the release lever on the pivot cover down against the sheild ① and slide the pivot cover up to remove it ②. Repeat for the other side, and remove the shade ③. -
Page 10: To Remove/Replace Earcups
① ② ③ To install holding arms, first center the screw of the lower bracket on slot in the shield, being careful to follow the correct angle as illustrated ①. Pressing the arm and shield together firmly at the lower bracket ②, rotate both inward to bring the upper shield hook into place as illustrated ③. - Page 11 Dry them in shade at ambient temperature. RAM-X earcup is equipped with a 5mm surface foam layer. The layer is removable to offer a bit more room if desired. To remove layer, remove white frame from two bosses of the earcup on backside, and pull frame out from earcup.
-
Page 12: To Remove/Replace Chinstrap Covers
TO REMOVE/REPLACE CHINSTRAP COVERS The chinstrap cover is secured to its base plate over the chinstrap anchor by the tab. Push tab upward to release it from the base plate. Slide the cover off the strap. Left chinstrap cover (D-ring side) Note the right and left, inside and outside of the chinstrap covers for replacement. - Page 13 WARNING: Never use petrol, thinner, benzene or any other solvents. To replace the left chinstrap cover (D-ring side), ensure the female chinstrap end snap side of the chinstrap and the leatherette side of the chinstrap cover both face outward, slip the chinstrap cover onto the chinstrap. Position the tab on the chinstrap cover over the base plate on the chinstrap anchor.
-
Page 14: To Remove/Replace Comfort Lining
Note the front & back, left & right sides of the lining for replacement. RAM-X lining is equipped with removable temple pads to offer a bit more room if desired. To remove pads, open the pocket on each side of the lining and gently remove pad from the pocket. - Page 20 Helmet Specifications subject to Change Without Notice. Contact to: ARAI HELMET, LIMITED 12 Azuma-cho, 2-chome Omiya, Saitama Japan 330-0841 ARAI HELMET(AMERICAS), INC. P.O. Box 787 Fogelsville, PA 18051-0787 U.S.A. Printed in Japan 2019.10 RAM-X FUKUYAMA PRINTING CO.,LTD.
Need help?
Do you have a question about the RAM-X and is the answer not in the manual?
Questions and answers