Advertisement
Quick Links
Advertisement

Related Manuals for IDTECK RFL200V


Summary of Contents for IDTECK RFL200V
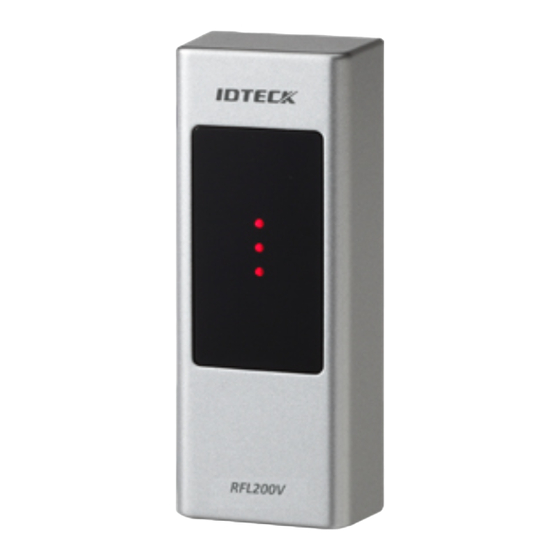
- Page 1 Quick Installation Guide STANDALONE CONTROLLER...
-
Page 2: Table Of Contents
Quick Installation Guide Table of Contents 1. WHAT’S INCLUDED ····················································································································· 2 2. CABLE CODED & WIRING TABLE ····························································································· 3 3. INSTALLATION ····························································································································· 4 4. INPUT / OUTPUT CONNECTION ······························································································ 5 5. PRODUCT MANUAL DOWNLOAD INFORMATION ······························································ 7... -
Page 3: What's Included
Quick Installation Guide 1. WHAT’S INCLUDED Please unpack and check the contents of the box. If any of these parts are missing, please contact a nearby distributor or IDTECK. 1. RFL200V Parts... -
Page 4: Cable Coded & Wiring Table
Quick Installation Guide 2. CABLE CODED & WIRING TABLE 1. RFL200V Cable coded & Wiring table Signal Color Main Power (+12V) Power Ground (GND) Black Aux Input #1(Select a Lock Type) Yellow Door Contact Sensor Blue Exit Button Green Alarm Out... -
Page 5: Installation
Quick Installation Guide 3. INSTALLATION 1. Drill a 1/2-inch (12.7 mm) hole on to the center of the door frame or the wall where RFL200V is installed, which makes room for the cable of the reader module. 2. Drill a 6-32 inch hole at the 43.1mm point straight higher from the center hole and at 22.1mm straight Lower, respectively. -
Page 6: Input / Output Connection
Quick Installation Guide 4. Input / Output CONNECTION 4-1 Input Connection To Connect the power supply unit 1. Connect the DC+12V to the red line. 2. Connect GND to the black line. To Connect the Door Contact Sensor 1. Connect the COM port of the sensor to the blue line. 2. - Page 7 Quick Installation Guide 4-2 Output connection To Connect the power supply unit 1. Connect the DC+12V to the red line. 2. Connect GND to the black line. To Connect the Door lock device 1. Connect the plus(+) line of the lock device to DC+12V. 2.
-
Page 8: Product Manual Download Information
For registered users of our homepage Visit IDTECK’s homepage (www.idteck.com). Click the Sign in button at the top of the homepage and log in using your registered ID and P/W. - Page 9 Quick Installation Guide Memo...
- Page 10 The specifications contained in this manual are subject to change without notice at any time. 5F, Ace Techno Tower B/D, 684-1, Deungchon-Dong, Gangseo-Gu, Seoul, 157-030, Korea Tel : +82-2-2659-0055 Fax : +82-2-2659-0086 E-mail : webmaster@idteck.com FFQG0194 April. 2014 Copyright ©2014 IDTECK Co., Ltd.