Table of Contents
Advertisement
Advertisement
Table of Contents

Related Manuals for Proteco MATRIX


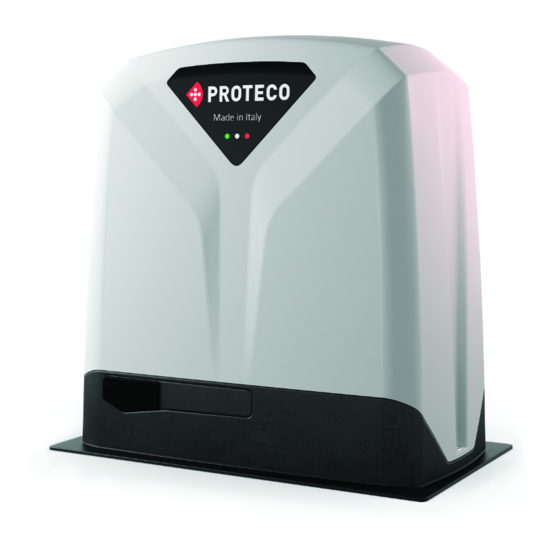
Summary of Contents for Proteco MATRIX
- Page 1 MATRIX RACK-DRIVEN SLIDING GATE SYSTEM Installation and User manual...
-
Page 2: Table Of Contents
3.10 Wirings 3.11 Master and Slave configuration 3.12 General test 3.13 Cabinet installation MAINTENANCE 4.1 Release system test END USER GUIDELINES 5.1 Safety tips 5.2 Manual operation 5.3 Maintenance 5.4 Disposal 5.4.1 Disposal of the system 5.4.2 Disposal of packing MATRIX - rev. 1.1_09_2020... -
Page 3: Warnings
All models grant the mechanical locking of the gate with an irreversible gear system; it is therefore not necessary to install any type of lock. MATRIX works by electricity, in case of power cut the motor can be manually unlocked using a special lever system protected by key. -
Page 4: Dimensions
20 ° C, as per EN 60335-2-103 regulations. The number of working cycles depends very much on the length and weight of the gate, as well as the Matrix model choosen for the installation. Table 1: Gate Length... -
Page 5: Installation
Matrix High Speed/ Matrix BLDC Matrix 1800 Up to 600 Kg Matrix must be installed by qualified personnel, complying with law regulations and instructions contained in this manual. From 600 to 1000 From 1000 to 1500 For a proper installation, strictly follow the following... -
Page 6: Electric Layout
400mm deep. We recommend to consider an extra concrete surface of 100 mm all around the basement. (Picture 4). Picture 6: Basement and ground plate Picture 7: Top view Picture 4: ferro concrete basement PROPERTY VIEW MATRIX - rev. 1.1_09_2020... -
Page 7: Fixing On Ground
Figura 11: It is possible to adjust the heigth of the aluminium base calibrating the 4 screws 10x50 and springs (this will be necessary only if Matrix serves as replacement of a previous installation, refer to picture 11) Heigth can be adjusted up to max. 19mm (without washer). -
Page 8: Rack Installation
Make sure as well the gate is free of friction points during cruising. IMPORTANT: Avoid the gate overloads the gearmotor. Keep a small gap between the rack and the cogwheel (Picture 17). > 5 mm MATRIX - rev. 1.1_09_2020... -
Page 9: Limit Switches Installation
Limit switches installation 3.9.2 Magnetic limit switches 3.9.1 Mechanical limit switches LH LIMIT SWITCH LH LIMIT SWITCH RH LIMIT SWITCH RH LIMIT SWITCH Picture 18 Picture 22 Once the motor position is determined, adjust limit switches Once the motor position is determined, adjust limit switches accordingly. -
Page 10: Wirings
30 and 31. Picture 27: Wirings terminal block 3.11 Master and Slave configuration Picture 28: TWIN mode - full opening Picture 30: Matrix section view Picture 29: TWIN mode - pedestrian/partial opening PARTIAL/PEDESTRIAN start command is performed only by MASTER motor. The TWIN function allows to synchronize two mirror sliding gates as shows Picture 28. -
Page 11: Maintenance
MAINTENANCE Attention! Maintenance service must be carried out by qualified technical personnel, in full compliance with the safety standards required by the laws in force. Maintenance has to be carried out every six months. Regular maintenance is required to keep the automation safe and in good operation over time. In order to proceed to maintenance service, follow the below CABINET checks:... - Page 12 DATE NOTES INSTALLER'S SIGNATURE END USER'S SIGNATURE MATRIX - rev. 1.1_09_2020...
-
Page 13: End User Guidelines
END USER GUIDELINES The following pages contain important information for your safety To lock the gearmotor back, put the release lever to its original and for complying with standing safety regulations. closing position and turn the key clockwise (Picture 32). Keep this manual for future reference. - Page 14 Proteco S.r.l. Via Neive, 77 12050 CASTAGNITO (CN) ITALY Tel. +39 0173 210111 - Fax +39 0173 210199 info@proteco.net - www.proteco.net...
Need help?
Do you have a question about the MATRIX and is the answer not in the manual?
Questions and answers