Table of Contents
Advertisement
Advertisement
Table of Contents

Related Manuals for Proteco ASTER NEW


Summary of Contents for Proteco ASTER NEW
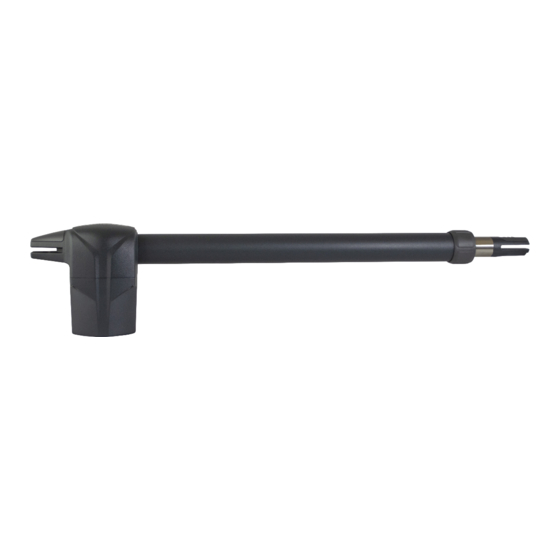
- Page 1 ASTER NEW AUTOMATION FOR SWING GATES Installation Manual...
-
Page 3: Table Of Contents
INDEX WARNINGS DESCRIPTION AND INTENDED USE Content Technical features Dimensions Life line INSTALLATION Introduction Preliminary checks Electric layout Installing the operator 3.4.1 Quotes from ground 3.4.2 Pillar quotes 3.4.3 Outward opening 3.4.4 Fixing the pillar bracket 3.4.5 Fixing the gate bracket 3.4.6 Wirings MAINTENANCE END USER GUIDELINES... -
Page 4: Warnings
Use only original spare parts. Any alteration to the system is prohibited. Proteco Srl will not respond in case of using additional and/or fake spares. Before commissioning the system, deliver the last pages of this manual to the user (section 5. END USER’S TIPS ). -
Page 5: Description And Intended Use
In case of power cut the gate operator can be easily released by manual operation. (See 5.2. Manual operation). Content DESCRIPTION CODE UNITS PAN..A0D ASTER NEW - RH operator PAN..A0S ASTER NEW - LH operator FITTINGS BAG SSAB12 (For TI version - double gate) ..... -
Page 6: Life Line
INSTALLATION Life line Introduction The life of the gearmotor may be affected by multiple waste factors. The life expectation can be calculated using the criteria outlined in ATTENTION! the below table. Matrix must be installed by qualified personnel only, complying with law regulations and instructions In order to get the waste rate add together all values that comply contained in this manual. -
Page 7: Electric Layout
Electric layout Motor 230V/115V Motor 24V 3 x 1,5 mm² + Terra 2 x 1,5 mm² Operator 2 x 1,5 mm² + Terra 2 x 1,5 mm² + Terra Control unit 4 x 0,5 mm² 4 x 0,5 mm² RX photocell C¹... -
Page 8: Quotes From Ground
Distance between hinge and pillar Values are expressed in mm. The Aster New can replace the Bracket previous model ensuring the same excursions and the same Minimum leaf... -
Page 9: Outward Opening
3.4.4 Fixing the pillar bracket ASTER 4 NEW (110°) ASTER 3 NEW (110°) Fixing the pillar bracket. Distance between Distance between hinge and pillar hinge and pillar Bracket Bracket Minimum leaf Minimum leaf length length 3.4.3 Outward opening It's possible to have your gate opening outward (picture E/F) Cut line Picture E In order to properly cut the bracket start 12 mm from the hole... -
Page 10: Fixing The Gate Bracket
3.4.5 Fixing the gate bracket NB: Check the manual opening of the leaf before definitively fixing the bracket to make sure the gate can open fully to your required Follow the below procedure to determine the bracket position on angle. the gate: NB: If you wish to remove the pin, take the cap off, and push using a screwdriver (Ø... -
Page 11: Maintenance
MAINTENANCE ATTENTION! Maintenance service must be carried out by qualified technical personnel, in full compliance with the safety standards required by the laws in force. Maintenance has to be carried out every six months. In order to proceed to maintenance service, follow the below checks: •... -
Page 12: End User Guidelines
END USER GUIDELINES Picture U Dear Customer, the following pages contain important information for your safety and for complying with standing safety regulations. Keep this manual for future reference. Safety tips Keep the operator away from children. Children and people with reduced physical, sensory, mental or limited experience and / or knowledge can use automation only if provided with supervision or specific instructions... -
Page 13: Maintenance
Maintenance To keep the automation safety and in good operation over time, it is advisable to schedule a periodic maintenance plan with the installer, or at least report any anomalous behaviors that may require inspection. In case of malfunctions it is advisable to contact the installer who carried out the whole installation, rather than others. -
Page 14: Warranty
Installation and any maintenance works are responsibility of the person installing the system. In no case and in no way will Proteco Srl be liable to the end user for damages, including any loss of profits, savings or other accidental or indirect damages, resulting from the use or inability to use PROTECO products.
Need help?
Do you have a question about the ASTER NEW and is the answer not in the manual?
Questions and answers