Sign In
Upload
Download
Table of Contents
Contents
Add to my manuals
Delete from my manuals
Share
URL of this page:
HTML Link:
Bookmark this page
Add
Manual will be automatically added to "My Manuals"
Print this page
×
Bookmark added
×
Added to my manuals
Manuals
Brands
Kedacom Manuals
Security Camera
IPC425
User manual
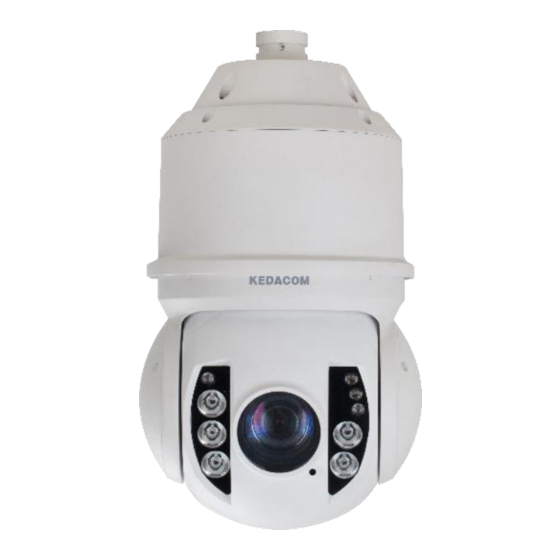
Kedacom IPC425 Series User Manual
Hd intelligent speed dome camera
Hide thumbs
Also See for IPC425 Series
:
User manual
(25 pages)
,
Quick start manual
(24 pages)
1
2
3
4
Table Of Contents
5
6
7
8
9
10
11
12
13
14
15
16
17
18
19
20
21
22
23
24
25
26
27
28
29
30
31
32
33
34
35
36
37
38
39
40
41
42
43
44
45
46
47
48
49
50
51
52
53
54
55
56
57
58
59
60
61
62
63
64
65
66
67
68
69
70
71
72
73
74
75
76
77
78
79
80
81
82
83
84
85
86
87
88
89
90
91
92
93
94
95
96
97
98
99
100
101
102
103
104
105
106
107
108
109
110
111
112
113
114
115
116
117
118
119
120
121
122
123
124
125
126
127
128
page
of
128
Go
/
128
Contents
Table of Contents
Bookmarks
Table of Contents
2020 Suzhou Keda Technology Co., Ltd. All Rights Reserved
Notice
Target Audience
Table of Contents
Applicable Models
Related Document
Convention
1 Product Brief
Product Appearance
Applicable Scenarios
2 Start up
Activate Camera
Quick Setting of Network Parameters
Login and Log out
Password Reset
Main Interface
Installation
Preset
Calibration
3 Basic Functions
Live View
PTZ Control
Preset
Image Adjustment
Live View Window
Playback
Snapshot
Local Setting
4 Intelligent
Intelligent Live View
Intelligent Settings
Path
Dpss
Viias
Guard Area
Arming
Parameters
Vehicle Detection
Patrol
Vehicle OSD
Protocol Setting
LED Setting
Event Setting
Version
5 Network
IP and Port
Lan
Port
Positioning
Multicast
Access Protocol
Vsip
Onvif
Sip
VIID
Pdns
Other Protocol
Ddns
Ftp
Pppoe
K-Snmp
Qos
Upnp
Snmp
Smtp
Cloud Service
6 Camera
Image
Image Adjustment
Exposure
Focus
White Balance
Night Cut
Image Enhancement
Image Stabilization
Rotate and BNC
Effect Parameters
Osd
Video
Encoding Format
Roi
Privacy Mask
Video Info Overlay
Audio
Audio Encoding
Audio Decoding
Ptz
Basic Configuration
Guard Tour
Preset Position
Restricted Patrol
Path Mode
Mixed Mode
Scheduled Task
Positioning
7 Event
Intelligent Function
Motion Detection
Video Blocked
Guard Line
Entry Guard Area
Exit Guard Area
Enter Guard Area
Object Left
Object Removal
Gathering
Audio Surge
Alarm Input
Alarm Output
Abnormality Linkage
8 Storage
Storage Management
Recording
Snapshot
9 System
Device Info
User Security
User
RTSP Authorization
IP Filter
Security Service
Time
Serial Port
Log
Logs
System Health
Service Status
System Maintenance
Network Test
Lifetime
10 Appendix: Glossary of Terms
Advertisement
Quick Links
1
Password Reset
2
Installation
Download this manual
KEDACOM
User Manual for
HD Intelligent Speed Dome Camera
V1.1 (July, 2020)
Table of
Contents
Previous
Page
Next
Page
1
2
3
4
5
Advertisement
Table of Contents
Need help?
Do you have a question about the IPC425 Series and is the answer not in the manual?
Ask a question
Questions and answers
Related Manuals for Kedacom IPC425 Series
Security Camera Kedacom IPC411 User Manual
Hd high speed dome cameras (25 pages)
Security Camera Kedacom IPC425 Quick Start Manual
Network ir speed dome camera (24 pages)
Security Camera Kedacom IPC Series User Manual
Hd ip camera (52 pages)
Security Camera Kedacom IPC2452-HN-SIR Quick Start Manual
4.0mp hd network ir bullet camera (16 pages)
Security Camera Kedacom IPC2251-AN Quick Start Manual
Hd ip camera (20 pages)
Security Camera KEDACOM IPC2860 Series User Manual
Fisheye network camera (68 pages)
Security Camera Kedacom IPC52X Series User Manual
Vehicle ptz camera (55 pages)
Security Camera Kedacom IPC123 Series User Manual
Bullet and box and semi-dome cameras (144 pages)
Security Camera Kedacom IPC524 Series User Manual
Long-range medium-load ptz camera (114 pages)
Security Camera Kedacom IPC981 Quick Start Manual
Vehicle panoramic speed dome (25 pages)
Security Camera Kedacom IPC4X2 Series User Manual
Hd mini dome camera (112 pages)
Security Camera Kedacom IPC445 Series User Manual
Hd intelligent speed dome camera (128 pages)
Security Camera Kedacom IPC427-D120-N User Manual
Hd ir dome camera (53 pages)
Security Camera Kedacom IPC2255-Gi4N Series User Manual
(63 pages)
Security Camera Kedacom IPC2860-HN-PIR15 Quick Start Manual
Fisheye ip camera (44 pages)
Security Camera Kedacom IPC2240-HN-SIR30 Quick Start Manual
(20 pages)
This manual is also suitable for:
Ipc445 series
Ipc489 series
Ipc425-i423-nwh
Ipc445-i433-nwh
Ipc489-i440-nwh
Ipc425-i223-nwh
...
Show all
Ipc445-i233-nwh
Ipc489-i240-nwh
Table of Contents
Print
Rename the bookmark
Delete bookmark?
Delete from my manuals?
Login
Sign In
OR
Sign in with Facebook
Sign in with Google
Upload manual
Upload from disk
Upload from URL


Need help?
Do you have a question about the IPC425 Series and is the answer not in the manual?
Questions and answers