RAKwireless RAK7249 Quick Start Manual
Industrial outdoor lora gateway
Hide thumbs
Also See for RAK7249:
- Configuration manual (47 pages) ,
- Quick start manual (30 pages) ,
- User manual (22 pages)

Related Manuals for RAKwireless RAK7249


Summary of Contents for RAKwireless RAK7249
- Page 1 Industrial Outdoor LoRa Gateway RAK7249 Quick Start Guide www.rakwireless.com info@rakwireless.com...
- Page 2 First Time Power Up Step 1: Attach the antennas First and foremost screw on the antennas. All 5 of them should be installed (WiFi, LoRa, LTE on the top, and GPS on the bottom). Note: Do not power the device if the antenna port has been left open (not connected to the antenna).
- Page 3 Your Gateway should now be registered with TTN and you should be able to forward LoRa packets. Note: By Default the Gateway is set to connect to TTN (using it as its LoRa Network server). For detailed information about advanced configuration options refer to the Configuration Guide via the link: https://www.rakwireless.com/en/download/LoRa/DIY-Gateway-RAK7249...
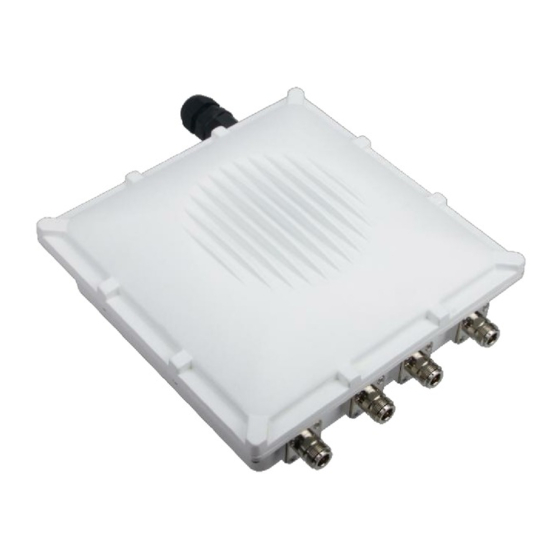
- Page 4 Package Content Gateway Device Mounting Kit PoE Injector GPS WiFi LoRa Casing and Ports...
- Page 5 Assembly The gateway has already assembled before shipment. Also you can refer to the guide or video of the assembly procedure in case you want to know how to put the components together. Please email us for the guide and video. Mounting Step 1: Fix the device bracket to the backside of the enclosure with four M6x12 screws...
- Page 6 Connect the clamp and the bracket on the backside of the casing with hexagonal bolts M6x30, washers and nuts Note: All the necessary components (bolts, washers, buts) come with the mounting kit. Contact Us Support center: https://forum.rakwireless.com/ Email us: info@rakwireless.com...
Need help?
Do you have a question about the RAK7249 and is the answer not in the manual?
Questions and answers