Table of Contents
Advertisement
Segway PT Coach's Manual
This is a reference tool that is in addition to the User Manual, and the Safety Video ("User Materials").
The User Materials should always be consulted.
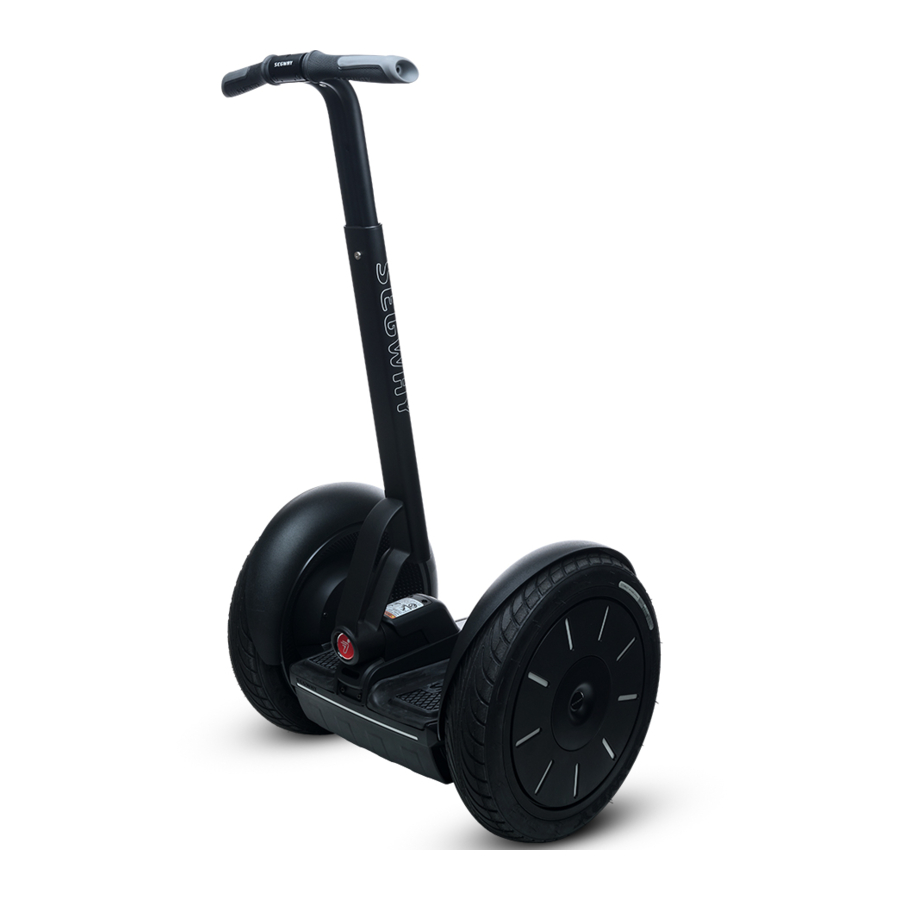
The Segway PT photos shown in this Manual are of SE models. Please refer to prior/future Coach's
Manuals for specifics on prior/future model lines.
>i2 SE
>x2 SE
© Segway Inc. 2015, Coach's Manual, p/n __________________
Corporate Headquarters: Segway Inc., 14 Technology Drive, Bedford, NH 03110 USA 1-866-4SEGWAY
Advertisement
Table of Contents

Related Manuals for Segway i2 SE


Summary of Contents for Segway i2 SE
- Page 1 This is a reference tool that is in addition to the User Manual, and the Safety Video (“User Materials”). The User Materials should always be consulted. The Segway PT photos shown in this Manual are of SE models. Please refer to prior/future Coach’s Manuals for specifics on prior/future model lines.
-
Page 2: Table Of Contents
Power/Standby Button ..................5 Beginner Button ....................5 Information Display Button ................. 5 Security Button ....................5 Unpack and Assemble the Segway PT and Charge the Batteries ....6 Charge Indicator Lights ..................7 Safety Alerts ......................8 Speed Limiter ....................8 Stick Shake Warning .................. - Page 3 Navigating Stairs and Curbs .................. 24 Riding Etiquette ....................25 Safety Tips and Guidelines ................26 Sharing the Experience ..................27 Segway PT Product Orientation Checklist ... Error! Bookmark not defined. ® Segway PT Guided Tour Rider Orientation ........... 29 Getting Started &...
-
Page 4: Introduction
EXPLAIN DO/COACH Introduction This Product Orientation covers safety and warning Point out each component. information to help make every ride you take safe and fun. Your Segway PT includes the following components: InfoKey™ Controller InfoKey Controller Dock Handlebar LeanSteer™ Frame... -
Page 5: Infokey Controller Buttons
Power/Standby Button The Power/Standby button allows you to power the Segway PT on and off and switch from Balance Mode to Standby Mode. Beginner Button The Beginner button allows you to toggle the Beginner Setting on and off and illuminate the Backlight. -
Page 6: Unpack And Assemble The Segway Pt And Charge The Batteries
Two Li-ion Batteries come in a separate box and must Briefly explain battery installation be installed on the base of the Segway PT. Simply tilt and point out the directions in the the Segway PT backwards to expose the base and User Manual. -
Page 7: Charge Indicator Lights
The Charge Indicator lights on the Console give you Point out Charge Indicator Lights. information about the charging status of your Segway PT. Make sure that when you plug in your machine, both Charge Indicator Lights are green. Solid green indicates the Batteries are charging. -
Page 8: Safety Alerts
Limiter pushes the Handlebar back, you should tilt the Handlebar back toward your torso. The Segway PT’s Speed Limiter is an alert that you <<respond>> are moving too fast. When the Segway PT pushes the As you explain that the Rider Handlebar back, stop leaning forward and slow down. -
Page 9: Stick Shake Warning
Explain that the Rider MUST Safety Shutdown recognize and respond to the Safety Shutdown. If the Segway PT detects a fault in any of its <<recognize>> redundant systems or a Battery is depleted beyond its When the Segway PT shakes, safe limit, it performs a Safety Shutdown. -
Page 10: Activating The Training Safety Shutdown
1. Make sure the Segway PT is in Balance Mode. 2. Stand on the Mats with the Segway PT remaining stationary. - Page 11 > i2 > x2 For the Rider: The Coach spots the Rider as the Rider experiences a Safety 1. Make sure the Segway PT is in Balance Mode. Shutdown. 2. The rider should stand on the Mats with the Segway PT remaining stationary.
-
Page 12: Understanding Balance Mode
Segway PT Product Orientation > i2 > x2 Understanding Balance Mode You ride your Segway PT in Balance Mode. In this Coach stands on Segway PT and mode, the Segway PT detects when you lean forward shows Rider how Segway PT or backward, or tilt the LeanSteer Frame left or right, responds to movements. -
Page 13: Understanding The Rider Detect Sensors
Show Rider Detect Sensor Mats. Rider Detect Sensors detect the presence or positions by pointing to Mats and absence of a rider while the Segway PT is powered showing the locations. When your feet are properly positioned on the Mats, all four Rider Detect sensors depress, allowing the Segway PT to operate normally in Balance Mode. -
Page 14: Riding Form
Point the LeanSteer Frame in the direction you want to travel. Make sure the Handlebar is set to the correct height. Page 14 of 29 p/n __________________ Coach’s Manual © Segway Inc. 2015 All rights reserved... -
Page 15: Avoiding Hazards
Balance Mode to move your Segway PT over unsafe surfaces or terrain. Avoiding Slips The Segway PT Tires must be able to grip the ground Emphasize that if you slip, you will for the machine to stay upright! probably fall. -
Page 16: Avoiding Trips
Use caution when riding over any terrain change such as pavement to grass, or over a threshold or speed bump. Avoiding Tips The Segway PT balances front to back but not side- Emphasize if you tip you will most to-side. likely fall. -
Page 17: Riding Your Segway Pt
Point out battery charge level in left-hand side of the InfoKey Controller. the display. You will hear a tone from the Segway PT and the Point out Balance Indicator Lights. Balance Indicator lights (located on the Console) will illuminate to indicate the power is ON and the Segway PT is in Standby Mode. -
Page 18: Step 3: Confirming The Beginner Setting
“Configuring and Locking the Beginner Setting” in the User Manual. Step 4: Before Stepping On Your Segway PT is on, but it is not balancing. While Move LeanSteer frame around standing behind the Segway PT, center the Handlebar showing how Balance Indicator and level the Powerbase. -
Page 19: Step 5: Stepping On
Mat. Stay calm and relaxed. Look forward. If you feel unstable, step off the Segway PT, one foot at a time, and pause before stepping back on. ... -
Page 20: Step 7: Stopping
First, practice turning in place. To turn in place, slowly pivot the Handlebar to the side in the direction that you want to turn. The Segway PT will rotate so that you turn in place. Practice turning to the right and to the left using this technique. -
Page 21: Step 9: Stepping Off
To step off the Segway PT: Spot closely. To step off the Segway PT remove one hand from the Point out Balance Indicator Light handlebar and loosen the other hands grip. and InfoKey Controller Display after Rider steps off. -
Page 22: Step 10: Securing Your Segway Pt
InfoKey Controller stored separately. The Security function is intended for use when you remain in the general area of the Segway PT and are able to respond to an alarm. If you must leave your Segway PT unattended in a location that is not... -
Page 23: Practice Riding
> i2 > x2 Practice Riding You will need to become very familiar with your Segway PT before you attempt to ride outside of your controlled practice environment. The more you practice, the safer you will be when you move into new places. -
Page 24: Terrain Compensation
Check the Console and verify the Segway PT is in Riderless Balance Mode. Walk around so you are in front of the Segway PT. Carefully guide the Segway PT to the stairs and align the Wheels perpendicular to the stairs or curb. -
Page 25: Riding Etiquette
Do not park your Segway PT in a way that blocks pedestrian traffic. Cross roads at designated crosswalks or signaled intersections. -
Page 26: Safety Tips And Guidelines
As with any other transportation device, using a Segway PT exposes you to risk of injury and can even result in death. You can reduce the risk by following all the instructions and warnings in the User Manual and Safety Video, but you cannot eliminate the risk. -
Page 27: Sharing The Experience
Sharing the Experience We know you might want to have your friends, family Work with the Rider to ensure s/he and neighbors try your Segway PT. These are the knows the important steps in things you need to remember before anyone tries safely sharing the Segway PT. - Page 28 Segway PT Product Orientation > i2 > x2 Page 28 of 29 p/n __________________ Coach’s Manual © Segway Inc. 2015 All rights reserved...
-
Page 29: Segway ® Pt Guided Tour Rider Orientation
Segway PT. Explain that expertise is developed through independent and continued practice on the Segway PT. Reinforce that the Rider needs to practice and become proficient using the Beginner Setting before disabling the Beginner Setting, or riding the Segway PT outside of the controlled, familiar practice environment.
Need help?
Do you have a question about the i2 SE and is the answer not in the manual?
Questions and answers