Advertisement
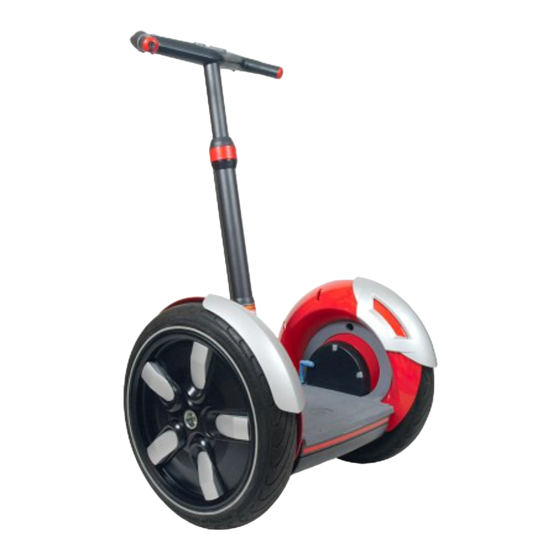
Segway
Splash Guard Replacement Instructions
i180 Model Fenders
Questions?
If you have any questions or are missing a part, please contact an Authorized Segway
Dealer. For a list of Dealers, visit www.segway.com. Check www.segway.com for
updates to these instructions. Thank you.
WARNING!
Always shut down your Segway HT and unplug the Power Cord before performing any
maintenance or installing any part or accessory.
Follow these instructions carefully. Failure to follow these instructions could damage your
Segway HT and render it unsafe to use.
LIMITED WARRANTY
The Segway HT Splash Guards are an "Accessory" covered for 90 days under the Segway
Transporter Limited Warranty (copy delivered with the kit.)
©2005 Segway LLC
®
Human Transporter (HT)
Splash Guards
Page 1 of 3
Contents
>
(2) Splash Guards
>
(4) Fender Tabs
>
(4) T-20 Drive Fender Fasteners
Note: Replace any fasteners you remove
with the new fasteners included in this kit.
Tools Required
>
16 mm deep socket
>
50 N-m Torque Wrench to accommodate
the 16 mm deep socket
>
Rubber Mallet
>
T-20 Six-Lobe bit (Torx T-20)
>
1.5 N-m Torque Wrench to
accommodate the Six-Lobe bit
Product Information
>
Impact-resistant construction
>
Identical/interchangeable for left/right
side and all 3 positions along the fender
®
Human
18987-00001aa
Advertisement
Table of Contents

Related Manuals for Segway i180


Summary of Contents for Segway i180
- Page 1 3 positions along the fender Questions? If you have any questions or are missing a part, please contact an Authorized Segway Dealer. For a list of Dealers, visit www.segway.com. Check www.segway.com for updates to these instructions. Thank you.
- Page 2 Wheel Insert Replacement Instructions Remove the Tire/Wheel Assembly Step 1 Tip the Segway HT onto its side so that the outside of one wheel lays flat against a clean, smooth surface Step 2 Remove the Wheel Nut with a 16 mm deep socket wrench.
- Page 3 We hope this document provided clear step-by-step instructions. If you feel these instructions are incorrect in any way, we would like to hear from you. Please contact Segway Customer Support at 1-866-4SEGWAY (1-866-473-4929) or go to www.segway.com if you have any questions, comments or suggestions.
Need help?
Do you have a question about the i180 and is the answer not in the manual?
Questions and answers