Advertisement
Installation
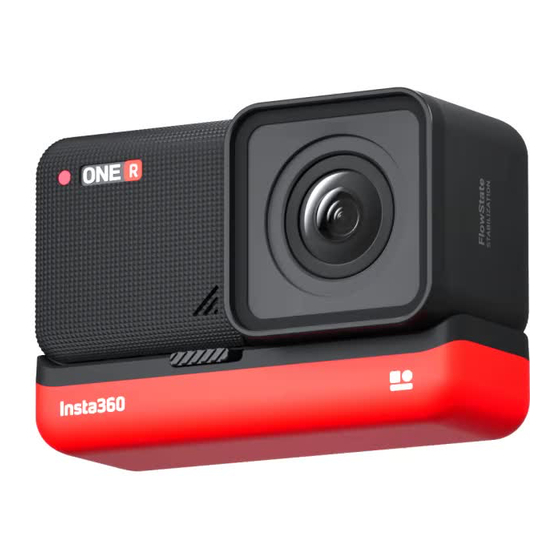
Insert the lens and the four positioning posts on the camera body into the
positioning holes, and tighten the two parts of the use case.
Once the lens and body are installed, align them with the metal slots of
the battery and press firmly to ensure that the battery clips completely
catch the lens and body.
MicroSD card slot cover installation
Place the SD card with a gold-red side and place it in the SD card slot
toward the side where the camera has no screen. Then align the cover to
Advertisement
Table of Contents


Need help?
Do you have a question about the ONE R and is the answer not in the manual?
Questions and answers