Sign In
Upload
Download
Table of Contents
Contents
Add to my manuals
Delete from my manuals
Share
URL of this page:
HTML Link:
Bookmark this page
Add
Manual will be automatically added to "My Manuals"
Print this page
×
Bookmark added
×
Added to my manuals
Manuals
Brands
Crem Manuals
Coffee Maker
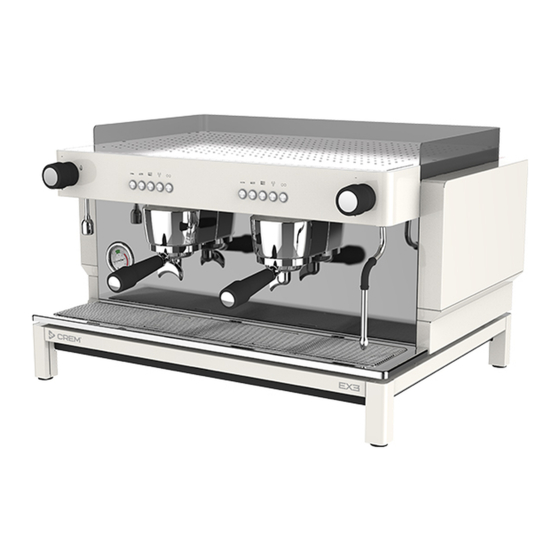
EX3 1B
Technical manual
Crem EX3 1B Technical Manual
Hide thumbs
1
Table Of Contents
2
3
4
5
6
7
8
9
10
11
12
13
14
15
16
17
18
19
20
21
22
23
24
page
of
24
Go
/
24
Contents
Table of Contents
Troubleshooting
Bookmarks
Table of Contents
Table of Contents
Contents
Manual Revisions
Notifications
Explanation of Descriptions
Routine Maintenance Schedule
Service Intervals
Changing the Group Gasket
All Versions
Buttons and Controls
Machine Controls
Service Programming
Stand-By [Off] Status
Factory Preset
Service Menu - Access
Service Menu - Settings Summary Chart
Tou - Boiler Filling Time-Out
Cle - Automatic Group Cleaning Cycles
Prd - Enabling/Disabling Dose Programming
Sen - Level Probe Sensitivity
Pif - Enabling/Disabling Electronic Preinfusion
Tea - Enabling/Disabling Automatic Hot Water Function
Eco - Enabling/Disabling Eco Mode Function
Tec - Eco Mode Boiler Temperature
SLA - Service Liter Alarm (Water Filter Maintenance)
Sca - Service Coffee Alarm (Maintenance)
Tu - Temperature Units
Skp - Ski - Skd - PID Parameters Kp, Ki & Kd
Sb - PID Band Zone
SE - Display Temperature Offset
Aut - Enabling/Disabling Auto On/Off Function
Electrical Diagrams
PCB & LED Lights Connections - EX3 1B Control Versions
PCB & LED Lights Connections - EX3 1B Display PID Versions
Power Diagram - EX3 MINI 1Gr & MINI 2Gr Control - 1Ph+N 220-240V
Power Diagram - EX3 MINI 1Gr & MINI 2Gr Display PID - 1Ph+N 220-240V
Power Diagram - EX3 2Gr Control - 1Ph+N 220-240V
Power Diagram - EX3 2Gr Display PID - 1Ph+N 220-240V
Machine Alerts
Alarms and Warnings
Troubleshooting
Machine Faults
Brewing Faults
Limescale Faults
Advertisement
Quick Links
1
Routine Maintenance Schedule
2
Machine Controls
3
Buttons and Controls
4
Service Programming
5
Service Menu - Access
6
Service Menu - Settings Summary Chart
7
Prd - Enabling/Disabling Dose Programming
Download this manual
Crafted for every taste
Technical Manual
TM_EN
Part No.: 1964229_2
Table of
Contents
Previous
Page
Next
Page
1
2
3
4
5
Advertisement
Table of Contents
Need help?
Do you have a question about the EX3 1B and is the answer not in the manual?
Ask a question
Questions and answers
Related Manuals for Crem EX3 1B
Coffee Maker Crem EX Series User Manual
(32 pages)
Coffee Maker Crem EX Series Service Manual
(32 pages)
Coffee Maker Crem EX3 2GR Technical Manual
(24 pages)
Coffee Maker Crem EX3 2 group Instruction Manual
(4 pages)
Coffee Maker Crem UNITY Cleaning &Care Manual
(28 pages)
Coffee Maker Crem spengler PSL50 Series Cleaning Manual
(18 pages)
Coffee Maker Crem Diamant Pro 2GR User Manual
(48 pages)
Coffee Maker Crem ONE 1B VP User Manual
(28 pages)
Coffee Maker Crem ONE 2B VP User Manual
(28 pages)
This manual is also suitable for:
Ex3 mini 1gr
Ex3 mini 2gr
Ex3 2gr
Table of Contents
Save PDF
Print
Rename the bookmark
Delete bookmark?
Delete from my manuals?
Login
Sign In
OR
Sign in with Facebook
Sign in with Google
Upload manual
Upload from disk
Upload from URL


Need help?
Do you have a question about the EX3 1B and is the answer not in the manual?
Questions and answers