Table of Contents
Advertisement
Quick Links
Advertisement
Table of Contents

Subscribe to Our Youtube Channel
Related Manuals for Acnodes RP1150 Series


Summary of Contents for Acnodes RP1150 Series
-
Page 1: User Manual
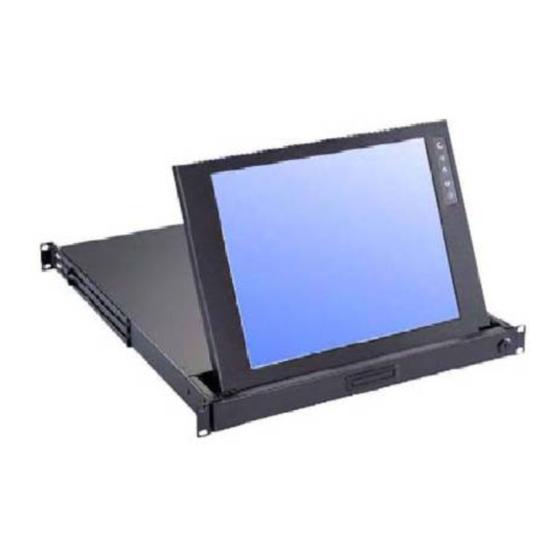
Model : RP1150 Series User Manual Rev. NOV-03... - Page 2 Introduction Thank you for purchasing RP1150 Rackmount LCD Drawer. LCD Drawer is ideal for application where space is critical. RP1150 is TFT LCD packed into a drawer with features such as monitor flip up design, adjustable mounting brackets, built in LCD OSD. Features •...
-
Page 3: Packing Contents
Packing Contents RP1150 LCD Keyboard Drawer User’s manual AC to DC Power Adapter w/power cord Rack Mount Kit 6 ft VGA cable Before Unpacking It is very important to locate the LCD Drawer in a suitable environment. The surface for placing and fixing the LCD Drawer should be stable and level or mounted into a suitable cabinet. -
Page 4: Important Safeguards
Important Safeguards Please read all of these instructions carefully before you use the device. Save this manual for future reference. Unplug the LCD Drawer from the power outlet before cleaning. Do not spray liquid cleaners or aerosol directly on the device. Wet a cloth with a neutral detergent (e.g. clean water) and squeeze it tight, then clean the screen slightly with it. -
Page 5: On-Screen Display (Osd)
OSD is the convenient way for a user to adjust the screen performance to his satisfaction. Power Menu/Selection Left Right 1. Entering the OSD Menu 2. Press the to display the OSD main menu. 3. Selecting icons for adjusting 4. Use buttons to scroll through the icons within the main menu and other sub-menus. -
Page 6: Customizing The Settings
Customizing the Settings Main Menu 1. Bright / Contrast • To enter into the Bright, Black level & Contrast sub-menu 2. Auto Adjust • To perform automatic optimization of all functions • An “ Adjusting” message is displayed during the process 3. - Page 7 Sub-menu - Bright / Contrast 1. Brightness • To perform brightness adjustment of the input RGB signal • Use the Left & Right button to adjust and button 2. Contrast • To adjust the contrast level of the input signal •...
- Page 8 Sub-menu - MISC 1. Information • To enter into the information screen ο The first header row shows the current resolution setup ο The second header row shows the horizontal frequency of the current input signal ο The third header row shows the vertical frequency of the current input signal 2.
-
Page 9: Resolution Setting
Resolution Setting Step 1 – Press right click on the desktop Step 2 – Choose “Properties” Step 3 – change the “Screen Resolution” Step 4 – change the “Screen refresh rate” Rev. NOV-03... - Page 10 My display doesn’t work, even though the computer appears to work 1. Make sure the power cable is securely plugged into the display Make sure the display is turned on 3. Try turning the display off and then turning it on again 4.
- Page 11 FAQ – Sun Server Sun Server are using resolution at 1152 x 900 x 76Hz Supported resolution mode 640 x 480 x 70/75Hz 800 x 600 x 70/75Hz 1024 x 768 x 70/75Hz 1280 x 1024 x 75Hz (17” LCD) Note the Max.
-
Page 12: Technical Information
Technical Information Size Screen Type Display Area Contrast Ratio Viewing Angle Resolution Pixel pitch Response Time Brightness Panel Color Back Light Video Synchronization Range Range Input Signal Power Management Control Power OSD Control External Connection Power Input Video Input Rev. NOV-03 15”...
Need help?
Do you have a question about the RP1150 Series and is the answer not in the manual?
Questions and answers