Table of Contents
Advertisement
Quick Links
Advertisement
Table of Contents

Related Manuals for GeoVision GV-FR


Summary of Contents for GeoVision GV-FR
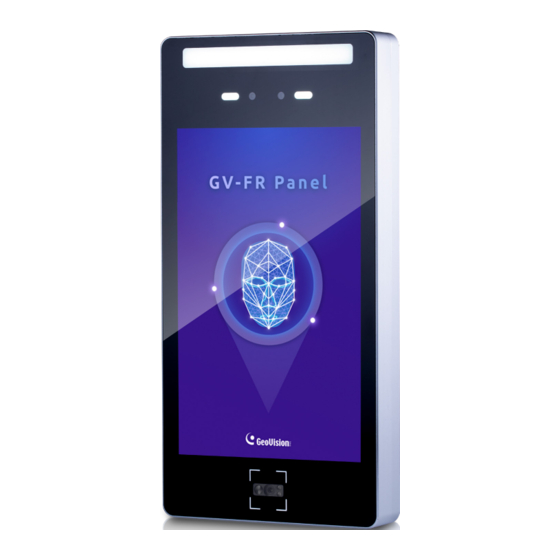
- Page 1 Quick Start Guide GV-FR Panel Thank you for purchasing GV-FR Panel. This guide is designed to assist the new user in getting immediate results from the panel. For advanced information on how to use GV-FR Panel, please refer to GV-FR Panel User’s Manual.
- Page 2 GeoVision. Every effort has been made to ensure that the information in this manual is accurate. GeoVision, Inc. makes no expressed or implied warranty of any kind and assumes no responsibility for errors or omissions. No liability is assumed for incidental or consequential damages arising from the use of the information or products contained herein.
-
Page 3: Table Of Contents
1. Introduction ..................3 1.1 Packing List ................3 1.2 Overview ................... 4 2. Installation ..................6 2.1 Connecting GV-FR Panel ............6 2.2 Installation ................. 7 3. Accessing GV-FR Panel ..............9 3.1 Looking Up the IP Address ............10 4. -
Page 4: Recognition And Authentication Considerations
1 meter (3 ft) of the GV-FR Panel. Lighting Conditions: • GV-FR Panel is designed for indoor use only. Avoid exposing it to direct sunlight as it may affect its face recognition performance. Face Recognition Limitations: •... -
Page 5: Introduction
1. Introduction Welcome to the GV-FR Panel Quick Start Guide. In the following sections, you will learn the basic installations and configurations of GV-FR Panel. For details, see the GV-FR Panel User’s Manual. 1.1 Packing List • GV-FR Panel •... -
Page 6: Overview
Reads QR codes used for access control. The QR code LED QR Code Reader turns on when detecting motion around. Contains all the ports of the GV-FR Panel, see No. 6 – 10. Rear Panel Reset Button Restarts the GV-FR Panel. - Page 7 Introduction Connects to power via the supplied 2-pin power cable and an 2-Pin Power connector optional power adapter. Microphone (Currently non-functional) Sounds when typing the settings on the touchscreen, swiping Speaker a card and scanning the QR code. Note: The SIM card slot, RS-485 and RS-232 ports are not functional.
-
Page 8: Installation
1. Connect the GV-FR Panel to the network using the supplied RJ-45 cable with a user-supplied Ethernet cable. 2. Optionally connect an output device, e.g. door lock, to the GV-FR Panel via its digital relay. 3. Connect the GV-FR Panel to power using the supplied 2-pin power cable and an optional power adapter. -
Page 9: Installation
Insert the 4 plastic screw anchors into the holes drilled and secure the mounting bracket onto the wall with the screws provided. Secure the large sealing rubber and the back cover onto the back of the GV-FR Panel with the screws provided. - Page 10 Secure the small sealing rubber and the mounting plate onto the GV-FR Panel with the screws provided. Secure the GV-FR Panel onto the wall by attaching its mounting plate onto the wall mount bracket. Insert a screw onto each side of the wall mount to secure and complete the installation.
-
Page 11: Accessing Gv-Fr Panel
There are several methods to register faces: 1. From the Web interface of GV-FR Panel. See how to look up the IP address of GV-FR Panel below in the Quick Start Guide, and select Face Management > Face Profiles on the Web interface. -
Page 12: Looking Up The Ip Address
3.1 Looking Up the IP Address By default, GV-FR Panel is assigned with an unused IP address by the DHCP server when it is connected to a network. This IP address remains unchanged unless you unplug or disconnect your reader from the network. - Page 13 Advanced Settings 3. On a PC, open a Web browser and type the IP address and web port of the GV-FR Panel as exemplified below, e.g. 192.168.4.236:8080. The login page appears. IMPORTANT: For accessing GV-FR Panel, it is required to add a colon and the port number (default port: 8080) after the IP address, e.g.
-
Page 14: Advanced Settings
3. Click the Search button to locate available devices on the LAN, or click the New button and assign an IP address to locate a GV-FR Panel on the network. 4. Double-click on the IP address of the GV-FR Panel. This dialog box appears. -
Page 15: Restoring To Factory Default
5. Click the Browse button to locate the firmware files (.img) saved at your local computer. 6. If you like to upgrade all the GV-FR Panels in the list, check Upgrade all devices. 7. Type Password of the GV-FR Panel, and click Upgrade to start the upgrade.
Need help?
Do you have a question about the GV-FR and is the answer not in the manual?
Questions and answers