Table of Contents
Advertisement
Quick Links
Overview ............................................................... 2
Tools Needed ........................................................ 2
Hardware............................................................... 2
Assembly............................................................ 3-6
Document # 101291 0507
Models 2110 and 2120
Installation.......................................................... 7
Maintenance ....................................................... 8
Accessories ...................................................... 8
Limited Warranty ................................................ 8
Printed in USA ©2007
Advertisement
Table of Contents

Related Manuals for brewer BrewerElement


Summary of Contents for brewer BrewerElement
- Page 1 Models 2110 and 2120 Installation............7 Overview ............... 2 Tools Needed ............2 Maintenance ............8 Hardware............... 2 Accessories ............8 Assembly............3-6 Limited Warranty ..........8 Document # 101291 0507 Printed in USA ©2007...
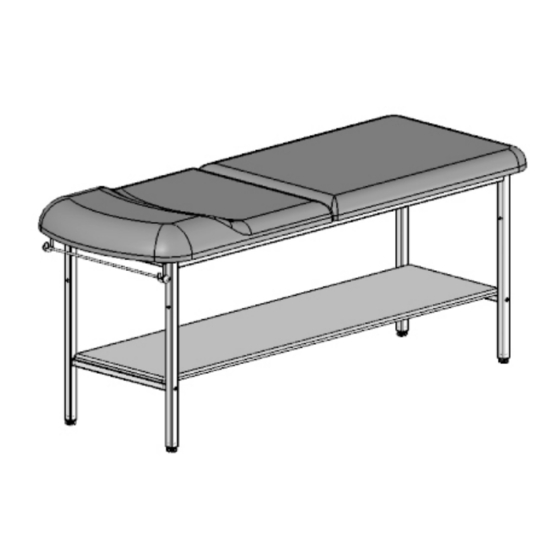
- Page 2 OVERVIEW COMPONENT IDENTIFICATION Perform the following sequence in order when setting up NOTE: Save all packaging in case re-shipment is re- the table: quired. Unpacking NOTE: Inspect all boxes and contents for damage. Assembly Report any damage to the carrier immediately. Leveling the Table Installing the Paper Roll MODELS 2110 &...
- Page 3 MODELS 2110 and 2120 STEP 1 Notch Screw C Screw C Note orientation of holes relative to Frame Mounting Holes Legs C & D are the same. Frame Mounting Holes Legs A& B are the same. STEP A: Start with table frame inverted: note the position of the Notch in the drawing above is facing upwards.
- Page 4 MODEL 2110 and 2120 STEP 2 Table Frame Screw B Screw B Screw B Screw B Shelf Support STEP A: With table in the upright position install Shelf Support using 4 Screws B (1/4”-20 x 2”). Tighten screws using Allen Wrench provided. STEP B: Tighten eight screws attaching legs to Table Frame from STEP 1.
- Page 5 MODELS 2110 and 2120 STEP 3 STEP A: Install J-Bolts as shown in Figure A. Nut L Thread Nut L (3/8”) completely onto J-Bolt. Place Washer M onto J-Bolt and thread Washer M J-Bolt R into Backrest as shown in Figure A. Position J-Bolt toward head of table as shown and tighten nut against backrest.
- Page 6 MODELS 2110 and 2120 STEP 4 Shelf Snap Rivets Snap Rivets Lower Shelf Support STEP A: Insert the Shelf through either end of the table. Positon the Shelf so that the locating blocks, on the bottom of the Shelf, are straddling the Lower Shelf Support. STEP B: Install Snap Rivets into 10 locations on frame (see illustration above).
- Page 7 INSTALLATION Leveling the Table A Leveling Screw Pad is located at each corner under the table’s base. Adjust the four Leveling Screw Pads, by turning them up or down, to achieve a solid, level installation. Leveling Screw Pad CAUTION DO NOT USE SHELF AS A STEP! 101291 0507 ©...
- Page 8 Warranty: The Brewer Company warrants its products to be free from defects in parts and workmanship under normal use and service for a period of three (3) years from date of shipment. The Brewer Company warrants its power tables to be free from defects in parts and workmanship under normal use and service for a period of three (3) years from date of shipment.
Need help?
Do you have a question about the BrewerElement and is the answer not in the manual?
Questions and answers