auto maskin Marine Pro 400 Series Installation Manual
Remote i/o unit
Hide thumbs
Also See for Marine Pro 400 Series:
- Configuration manual (99 pages) ,
- Installation manual (15 pages) ,
- User manual (10 pages)

Related Manuals for auto maskin Marine Pro 400 Series


Summary of Contents for auto maskin Marine Pro 400 Series
- Page 1 Publication P/N 1500215 Installation Manual 400 Series / 200 Series RIO 410 Remote I/O Unit, P/N 1006453 RIO 210 Remote I/O Unit, P/N 1006462...
- Page 2 Table of contents 1 Preface 1.1 About this Manual 1.2 Responsibilities 1.3 Revisions 2 Ordering Information 3 Installation 3.1 General 3.1.1 Power LED 3.2 Wiring 3.2.1 Power Supply 3.2.2 I/O Connections 3.2.3 Communication 3.3 Configuration 4 Schematic Page 2 (7)
- Page 3 1 Preface 1.1 About this Manual This manual has been published primarily for professionals and qualified personnel. The user of this material is assumed to have basic knowledge in marine systems, and must be able to carry out related electrical work. Work on the low-voltage circuit should only be carried out by qualified and experienced personnel.
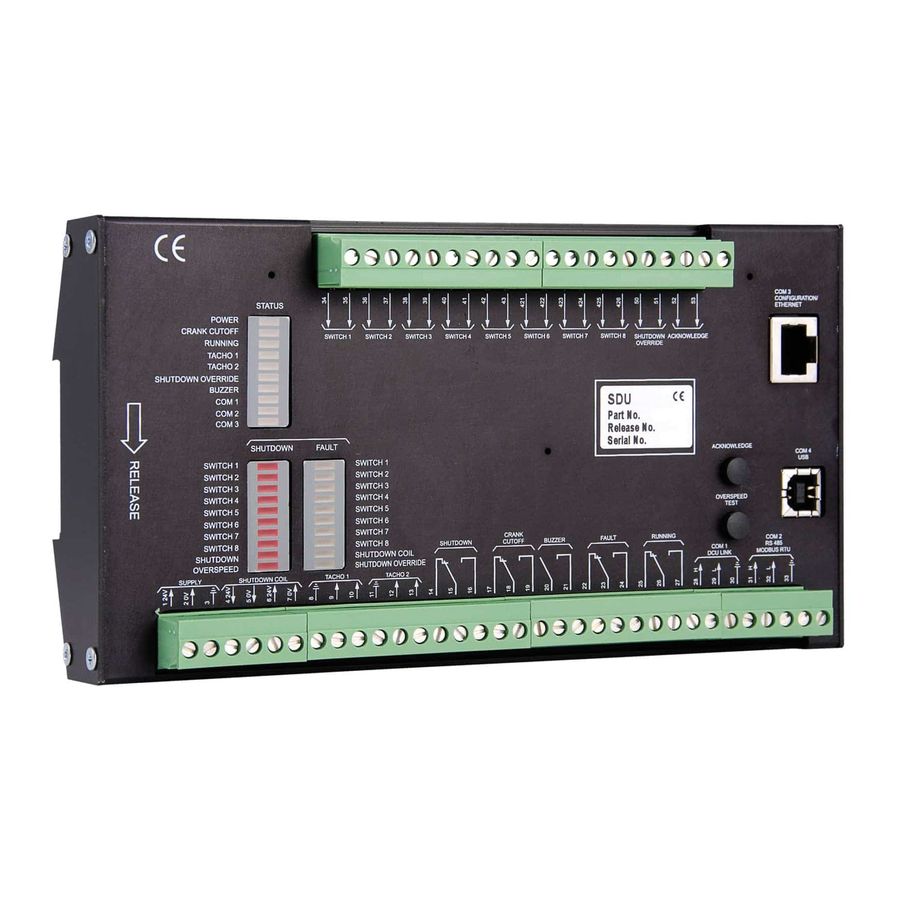
- Page 4 3 Installation This chapter covers the installation of the RIO 410 and RIO 210. 3.1 General The RIO 410 and RIO 210 are remote I/O expansion units. They are designed to be used together with the Marine Pro family. They can be installed separate from the DCU or in the same cabinet. Maximum distance to the DCU is 1000 meter.
- Page 5 Physical interface RS-485 Baudrate 19200 Start bits Stop bits Parity Even RIO Modbus Address The RIO 410/210 can have four different addresses; meaning up to four units can be used on the same Modbus network. This can be a mix of RIO 410 and RIO 210. Make sure ...
- Page 6 When used with the DCU 200 Series, connect the same power supply to the RIO 410/210 as used to supply the DCU 200 Series. Terminator Resistor The 120 ohm terminator resistor shall be connected at the last RIO unit (furthest away from the DCU) in the RIO link chain.
- Page 7 Page 7 (7)
Need help?
Do you have a question about the Marine Pro 400 Series and is the answer not in the manual?
Questions and answers