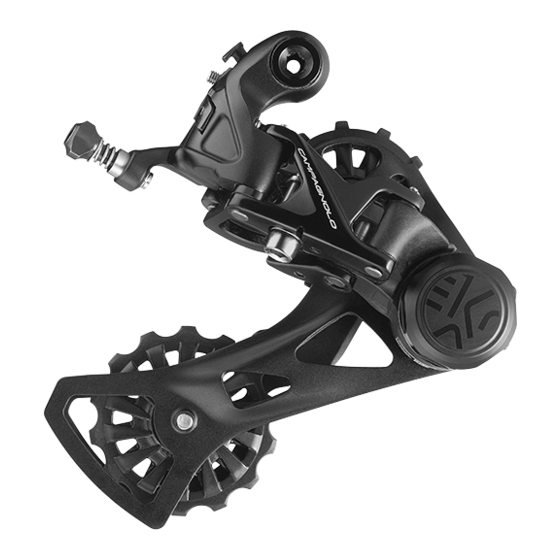
CAMPAGNOLO Ekar 13S Rear Derailleur Technical Manual
Hide thumbs
Also See for Ekar 13S Rear Derailleur:
- User manual (124 pages) ,
- Installation instructions manual (12 pages)
Advertisement
Quick Links
Advertisement

Related Manuals for CAMPAGNOLO Ekar 13S Rear Derailleur


Summary of Contents for CAMPAGNOLO Ekar 13S Rear Derailleur
- Page 1 1 3 S RE AR DE RAI LLE UR C A M PA G N O L O. CO M...
- Page 2 WARNING! Always wear protective gloves and glasses while working on the bicycle. R EAR DE RAIL L E UR - Rev. 00 / 0 9- 2 0 2 0 C AM PA G NO LO C O M P O NENT S - T EC HNIC A L M A NUA L...
-
Page 3: Technical Specifications
1 3 s R E A R D E RA IL LE U R THIS TECHNICAL MANUAL IS INTENDED FOR USE BY PROFESSIONAL MECHANICS. Anyone who is not a qualified professional for bicycle assembly must not attempt to install and operate on the components independently due to the risk of carrying out incorrect operations which could cause the components to malfunction, resulting in accidents, physical injury or even death. -
Page 4: Frame S Pecif I C At I On S
Fig.1 The stroke of the cage in relation to the cable throw is checked WARNING! by Campagnolo Quality Control for each single piece produced. Campagnolo rear derailleurs are designed to work with dro- The distance of the rear derailleur hanger from the first sprocket ®... - Page 5 4 - ASS EM BLY 4 . 1 - PRE PARIN G T H E F RA ME • Check that the Campagnolo plate ® (Fig. 1) is fitted under the bottom bracket shell. Different plates can also give rise to a serious loss of performance.
- Page 6 • During assembly, ensure that the rear derailleur tooth (B - Fig.5) is resting correctly on the tooth in the drop-out (C - Fig. 6). Tightening torque : 10-12 Nm (89-106 in.lbs). 10-12 Nm (89-106 in.lbs) Fig.5 Fig.6 • Carry out this operation with the chain positioned on the smallest sprocket (Fig.
- Page 7 • Use only “The Maximum Smoothness” cables and housings, and ferrules like the ones shown in Fig.11. • Pay particular attention not to drag the cables of the rear derailleur and of the front derailleur on the metallic or sharp edges to prevent damage to the Teflon™...
- Page 8 • Cut the excess cable to about 2 cm from the fixing screw and protect the end of the cable with a cable protector. • Position the rear derailleur on the smal- lest sprocket and check that the screw (Fig.16) is correctly adjusted so that the upper wheel is in line with the teeth of the sprocket (Fig.17).
- Page 9 • The upper wheel must be at the cor- rect distance from the largest sprocket (Fig.21). • The MAXIMUM distance between the tip of the teeth of the upper wheel and the tip of the teeth of the largest sprocket must be MAX 3 mm.
- Page 10 4. 3 - JOCKE Y CAGE LO CK /UN L O CK B UTTON If you have to remove the rear wheel, it is useful to be able to lock the jockey cage in the rearward position; follow the steps below for locking and subsequent unlocking.
-
Page 11: Tightening Torque
• Never spray your bicycle with water under pressure. Pressurized water, even form the nozzle of a small garden hose, can pass under seals and enter your Campagnolo components, thereby affecting its operation. Wash your bicycle and Campagnolo components by wiping them down with water and neutral soap. For cleaning the bicycle only use environmentally-friendly and neutral products without caustic sub- stances and safe to use for you and for the environment. -
Page 12: Pe Riodic Ma I Ntena Nce Table
WARNING! Salty environments (such as winter roads or roads near the sea) may lead to galvanic corrosion of most of the bicycle’s exposed components. To prevent damage, malfunctions and accidents, rinse, dry and carefully re-lubricate all components which are subject to this phenomenon. •...
Need help?
Do you have a question about the Ekar 13S Rear Derailleur and is the answer not in the manual?
Questions and answers