Advertisement
ZoellerAtHome.com
Zoeller
is a registered trademark
®
of Zoeller Co. All Rights Reserved.
ATTACH YOUR RECEIPT HERE
Serial Number
Questions, problems, missing parts? Before returning to your retailer, call our customer
service department at 1-800-584-8089, 7:30 a.m. - 5:00 p.m., EST, Monday - Friday.
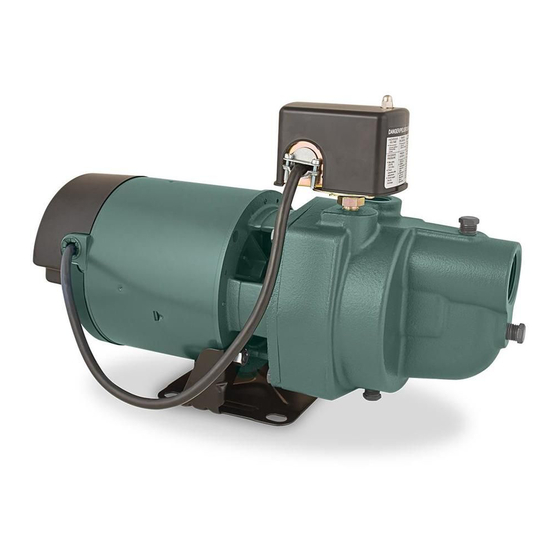
SHALLOW WELL JET PUMP
Purchase Date
1
CAST IRON
MODEL #1461-0006
Español p. 21
IL1102
024987 D
Advertisement
Table of Contents

Related Manuals for Zoeller 1461-0006


Summary of Contents for Zoeller 1461-0006
- Page 1 ZoellerAtHome.com MODEL #1461-0006 Español p. 21 Zoeller is a registered trademark ® of Zoeller Co. All Rights Reserved. IL1102 ATTACH YOUR RECEIPT HERE Purchase Date Serial Number Questions, problems, missing parts? Before returning to your retailer, call our customer service department at 1-800-584-8089, 7:30 a.m. - 5:00 p.m., EST, Monday - Friday.
- Page 2 HAZARDOUS PRESSURE ALERT. 0 FT. 5 FT. 15 FT. 25 FT. AMPS Install pressure relief valve in discharge pipe. Release all pressure on system before working on 1461-0006 115/230 13/6.5 36.0/18.0 any component. • EXPLOSION ALERT Do not use to pump flammable or explosive fluids such as gasoline, fuel oil, kerosene, etc. Do not SAFETY INFORMATION use in flammable and/or explosive atmospheres.
-
Page 3: Package Contents
PACKAGE CONTENTS 2. Jet pumps can also be used with dug wells, 1 in. Discharge driven wells, or with cisterns or lakes. Discharge Pipe Check to Home Valve Suction Lift Description Quantity CAUTION Pump 1-1/4 in. Suction Pipe 25 ft. Pipe Support Water Level... - Page 4 WELL TO PUMP CONNECTION (SUCTION PIPE) 3b. For driven wells, a check valve is required at the top of the well to maintain prime. Flow arrow must point toward pump. CAUTION: Dry-fit entire assembly to ensure proper fit before gluing or taping parts. Flow Pump Arrow...
- Page 5 2. Install a 1 x 1 x 1 in. galvanized tee fitting. 2. Use a pressure gauge to ensure it’s set to 18 PSI. Pressure a. Use a tire pump to adjust the PSI to 18 PSI gauge Air release valve b.
- Page 6 PUMP ELECTRICAL CONNECTIONS 4. Attach a 1 in. pipe (not included) to the reducer bushing. Install an optional 1 in. WIRE SIZE CHART union (not included) and continue with pipe WARNING: Recommended Copper and 1 in. x 1 in. x 1 in. tee (not included). Glue •...
- Page 7 2. Insert an electrical wire strain relief into the 6. Insert an electrical wire strain relief into the opening in the side of the pressure switch opening in the opposite side of the pressure Wire from closest to the motor. switch.
- Page 8 LR90197 starwatersystems.com UL Std. No. 778 ENCLOSURE 3 ES05S Pump: Rev: To change from 115V to 230V PUMP PRIMING & STARTUP 98L105 Motor: 1. The motor of this pump is dual voltage and CAUTION: All pumps must be primed can run on either 115V or 230V. In general, Priming Plug Volts 115/230...
-
Page 9: Care And Maintenance
5. Thread in priming plug and then open optional IMPORTANT: If the pump fails to prime ball valve if installed by turning handle to line within five minutes: up with the pipe. Turn power off at the breaker box and check all pipe connections for leaks. -
Page 10: Quick Trouble-Shooting Checklist
TROUBLESHOOTING QUICK TROUBLE-SHOOTING CHECKLIST Please review the following troubleshooting questions before returning a pump as defective. PROBLEM POSSIBLE CAUSE CORRECTIVE ACTION If you have any questions, please call Customer Service at (800) 584-8089. Little or no 1. Casing not initially filled with water 1. -
Page 11: Warranty
WARRANTY This product is warranted for two years from the date of purchase. Subject to the conditions hereinafter set forth, the manufacturer will repair or replace to the original consumer any portion of the product which proves defective due to defective materials or workmanship. To obtain warranty service, contact the dealer from whom the product was purchased.
Need help?
Do you have a question about the 1461-0006 and is the answer not in the manual?
Questions and answers