Sign In
Upload
Download
Table of Contents
Contents
Add to my manuals
Delete from my manuals
Share
URL of this page:
HTML Link:
Bookmark this page
Add
Manual will be automatically added to "My Manuals"
Print this page
×
Bookmark added
×
Added to my manuals
Manuals
Brands
Pulsar Manuals
Monocular
AXION XQ Series
User manual
Pulsar AXION XQ Series User Manual
Thermal imaging scope
Hide thumbs
1
2
3
4
5
6
7
8
9
10
11
12
Table Of Contents
13
page
of
13
Go
/
13
Contents
Table of Contents
Troubleshooting
Bookmarks
Table of Contents
Technical Specifications
Package Contents
Components and Controls
Buttons Operation
Battery Pack Charging
Installing Battery Pack
External Power Supply
Operation
Main Menu Functions
Status Bar
Maintenance
Troubleshooting
Advertisement
Quick Links
1
Technical Specifications
2
Buttons Operation
3
Components and Controls
4
Operation
5
Main Menu Functions
Download this manual
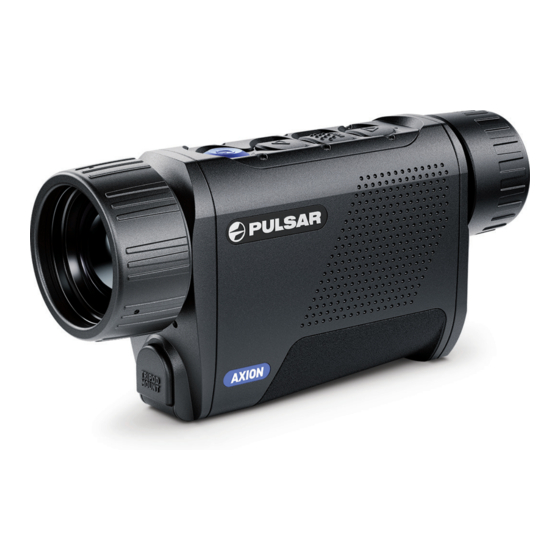
THERMAL IMAGING SCOPE
AXION XQ38
USER
MANUAL
Table of
Contents
Previous
Page
Next
Page
1
2
3
4
5
Advertisement
Table of Contents
Need help?
Do you have a question about the AXION XQ Series and is the answer not in the manual?
Ask a question
Questions and answers
Related Manuals for Pulsar AXION XQ Series
Monocular Pulsar Axion XQ38 Manual
(61 pages)
Thermal cameras Pulsar AXION XQ38 Quick Start Manual
Thermal imaging scope (41 pages)
Monocular Pulsar AXION X?30 Operating Instructions Manual
Thermal imaging monoculars (51 pages)
Monocular Pulsar AXION LRF XQ38 User Manual
Thermal imaging scope (11 pages)
Monocular Pulsar Axion 2 Manual
(62 pages)
Monocular Pulsar AXION 2 Manual
(76 pages)
Monocular Pulsar AXION 2 Manual
(65 pages)
Monocular Pulsar IM256PU Assembly Instruction
(4 pages)
Monocular Pulsar Axion F Series User Manual
(54 pages)
Monocular Pulsar Axion 2 LRF Manual
(68 pages)
Monocular Pulsar AXION COMPACT Manual
(55 pages)
Monocular Pulsar Axion 2 XG35 Manual
(68 pages)
Monocular Pulsar AXION KEY X?22 Quick Start Manual
Thermal imaging scope (37 pages)
Monocular Pulsar Axion 2 LRF XQ35 Manual
(63 pages)
Monocular Pulsar AXION XM30 Operating Instructions Manual
Thermal imaging monoculars (52 pages)
Monocular Pulsar Axion XQ38 LRF Manual
(52 pages)
This manual is also suitable for:
Axion xq38
Axion 2 xq38
77427
Table of Contents
Print
Rename the bookmark
Delete bookmark?
Delete from my manuals?
Login
Sign In
OR
Sign in with Facebook
Sign in with Google
Upload manual
Upload from disk
Upload from URL


Need help?
Do you have a question about the AXION XQ Series and is the answer not in the manual?
Questions and answers