Table of Contents
Advertisement
Advertisement
Table of Contents

Summary of Contents for Pulsar AXION LRF XQ38
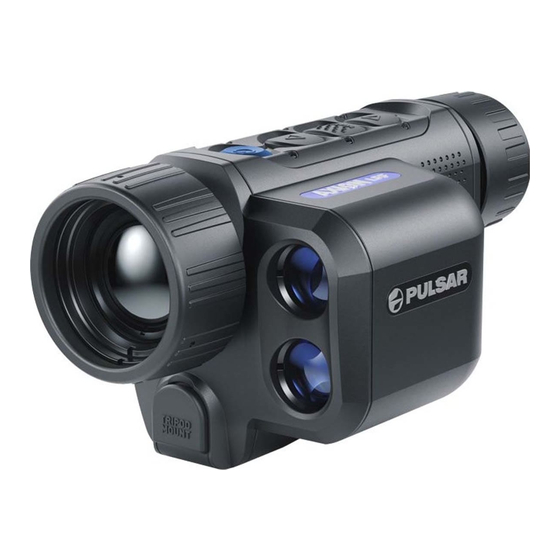
- Page 1 THERMAL IMAGING SCOPE AXION LRF XQ38 USER MANUAL...
- Page 2 LRF Laser For detailed information on the device, download the complete manual: Aperture https://www.pulsar-nv.com/glo/products/33/thermal-imaging-scopes/axion-xq-lrf/ Caution! Use of controls or adjustments or performance of procedures other than those specified herein may result in hazardous radiation exposure. Attention! Les imageurs thermiques AXION nécessitent l’obtention d’une licence s’ils sont exportés hors de votre pays.
-
Page 3: Technical Specifications
Pixel Pitch, µm Improvements may be made to the design of this product to enhance its user features. Frame Rate, Hz The current version of the User Manual can be found on the website www.pulsar-vision.com Optical Characteristics Optical Magnification, x... -
Page 4: Components And Controls
COMPONENTS AND CONTROLS Option 1 • Install the APS 5 battery (11) in the battery compartment (19) of the device. Eyepiece focus ring • Connect the USB cable (16) to the USB Type-C connector (9) of the device. DOWN/REC button •... -
Page 5: External Power Supply
OPERATION • Lock the battery (11) by turning the Lock-cover (18) clockwise until it stops. WARNING! Never point the lens at intensive energy sources such as laser radiation emitting devices or the sun. • Turn the Lock-cover (18) counter- It can damage electronic components in the device. The warranty does not cover damage arising from failure to clockwise to remove the batteries (11). -
Page 6: Main Menu Functions
IMAGE DETAIL BOOST Mode Observation mode selection. There are four observation modes: Forest (mode for low temperature contrast conditions), The Image Detail boost function increases the contour sharpness of heated objects to improve the image Rocks (mode for high temperature contrast conditions), Identification (high detail mode), and detail. - Page 7 Calibration Mode Calibration mode selection Units of Measure Rangefinder units of measure • • Press the MENU (3) button briefly to enter the Units of Measure submenu. There are three calibration modes: Manual, Semi-Automatic and Automatic. • • Press and hold the MENU (3) button to enter the main menu. Press the UP (4) / DOWN (2) buttons to select either Meters or Yards as the unit of measure.
-
Page 8: Status Bar
• Defective Pixel Color Mode (shown only when the Black Hot color mode is selected) • option by briefly pressing the MENU (3) button. Select the Defective Pixel Repair Repair • Observation Mode • (H) will appear on the left side of the display. A marker •... -
Page 9: Maintenance
DISPLAY OFF FUNCTION MAINTENANCE This function deactivates the image transmission to the display by minimizing its Maintenance should be carried out at least twice a year and include the following steps: brightness. This helps prevent accidental disclosure. However, the device stays on. •... - Page 10 PulsarVision pulsar.vision pulsarvision...


Need help?
Do you have a question about the AXION LRF XQ38 and is the answer not in the manual?
Questions and answers