Advertisement
Quick Links
Success?
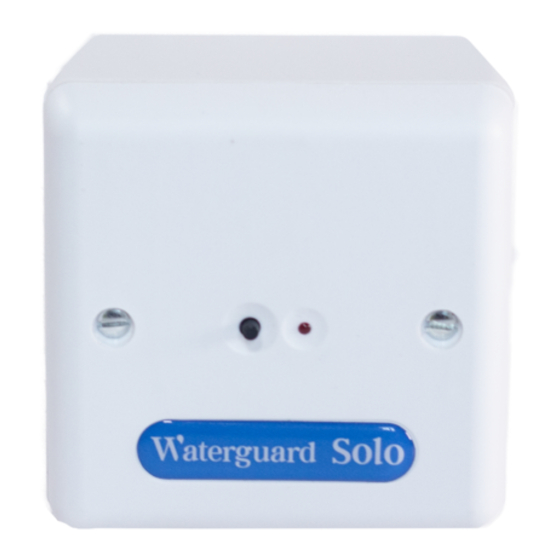
Power and unit operation are indicated by a solid red light on the controls. The LED will flash once per
second for approximately 2 minutes.
Setup....
All Waterguard Solo controls are pre-set to allow a maximum of 30 minutes continuous water flow, unless
an alternative time is requested at time of purchase. In order to change this default setting, follow the
instructions below:
Press and hold the valve driver button for 25 seconds, the valve driver is now in set up mode. Ensure you
do not release the button after the initially 25 seconds and the valve driver will flash as below in 5 second
intervals.
•
1 flash = 10 minutes
•
2 flashes = 20 minutes
•
3 flashes = 30 minutes
•
4 flashes = 40 minutes
Release the valve driver button once the LED indicator has shown the required number of flashes for the
time limited required. Set up complete.
Test....
To check the correct installation and operation of the Solo firstly change the maximum continuous flow
allowance to 10 minutes using the setup instructions. Run the water in the property and if the water supply
is cut off after 10 minutes the installation of the Solo is complete. Push the valve driver and after 10
seconds the controller will reopen the valve. Ensure to change the settings back to the preferred time once
testing is complete.
Technical Support....
Technical support and further product information is available during office hours. Please check all
electrical connections before contacting us.
Please call 01226 397987 to speak with one our technical experts, ensure to have your order details ready
so we can handle your query as efficiently as possible.
Waterguard Services Limited. Registered address: 22 Oakwell Business Centre, Oakwell View, Barnsley, South
Yorkshire, S71 1HX. Tel: 01226 244200. Email: enquiries@waterguard.co.uk.
Water Leak Detection Equipment
Waterguard Solo
Installation Guide V19
IMPORTANT!
INSTALLATION MUST BE CARRIED OUT ONLY BY THOSE COMPETENT IN
ELECTRICAL INSTALLATION. ANY DAMAGES INCURRED DUE TO IMPROPER
INSTALLATION ARE NOT COVERED UNDER WARRANTY.
© 2019 Waterguard Services Limited, All Rights Reserved
Advertisement

Subscribe to Our Youtube Channel
Related Manuals for WATERGUARD Solo


Summary of Contents for WATERGUARD Solo
- Page 1 10 minutes using the setup instructions. Run the water in the property and if the water supply is cut off after 10 minutes the installation of the Solo is complete. Push the valve driver and after 10 seconds the controller will reopen the valve. Ensure to change the settings back to the preferred time once testing is complete.
- Page 2 Red to V • Black to C 4. Wire the flow sensor to Solo Controls. One wire to C and one wire to F (colours connected not Step 5. relevant). 5. Connect power to the Solo controls using the 12V power pack or mains power supply.
Need help?
Do you have a question about the Solo and is the answer not in the manual?
Questions and answers