Advertisement
ASPEN-32UFX Quick Start Guide
This guide helps you install and use your ASPEN-32UFX for the first time.
Go to
firmware upgrades are available.
Scan for full manual
Step 1: Check what's in the box
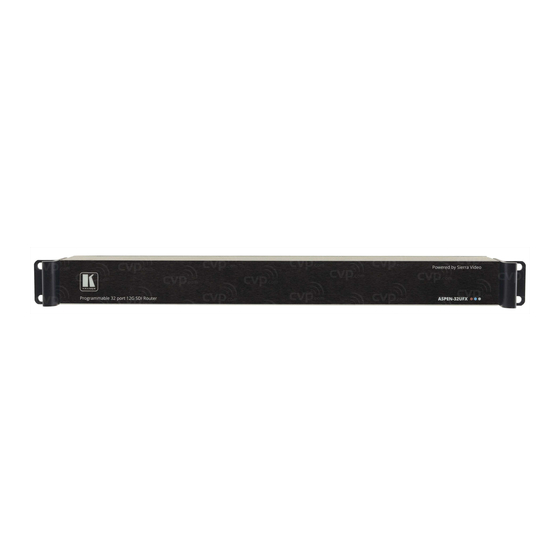
ASPEN-32UFX Programmable 32 port 12G SDI Router
1 Power adapter and cord
Step 2: Get to know your ASPEN-32UFX
#
Feature
1
RS-232 (G,Rx,Tx) Terminal Block Connector
2
POWER 12V DC Terminal Block Connector
3
RESET Button
4
ETHERNET RJ-45 Connector
5
LOOP BNC Connector
6
GENLOCK BNC Connector
7
PORTS BNC Connectors (32)
Step 3: Install ASPEN-32UFX
Install ASPEN-32UFX using one of the following methods:
•
Remove the three screws from each side of the unit, reinsert those screws through the
rack ears and mount on a 19" rack.
•
Attach the rubber feet and place the unit on a flat surface.
ASPEN-32UFX Quick Start (P/N: 2900-300942QS REV 2)
www.kramerav.com/downloads/ASPEN-32UFX
Function
Connect to a PC or remote controller.
Dual power supply for redundancy:
PS 1 – primary power connector
PS 2 – redundant power connector (optional).
Connect each power adapter into a separate branch circuit employing a
separate service ground.
Press briefly to restart the system.
Press for 5 seconds to reset IP settings to factory default values.
The device powers up and loads the factory default values:
IP address: 192.168.1.39; Mask: 255.255.255.0; Gateway 192.168.1.1.
Connect to a PC via LAN and also used for firmware upgrade.
Connect to the GENLOCK connector of the next unit in the daisy chain or
terminate with 75Ω.
Connect to the GENLOCK source.
Connect to sources and acceptors.
to download the latest user manual and check if
1 Set of rack ears
4 Rubber feet
P/N:
2 9 0 0 - 3 0 0 9 4 2 QS
1 Quick start guide
Rev:
2
Advertisement
Table of Contents

Related Manuals for Kramer ASPEN-32UFX


Summary of Contents for Kramer ASPEN-32UFX
- Page 1 ASPEN-32UFX Quick Start Guide This guide helps you install and use your ASPEN-32UFX for the first time. Go to www.kramerav.com/downloads/ASPEN-32UFX to download the latest user manual and check if firmware upgrades are available. Scan for full manual Step 1: Check what’s in the box...
- Page 2 Brown / White Brown Step 5: Connect the power Connect the 12V DC power supply to ASPEN-32UFX and plug it into the mains electricity. You can add a second power supply (not supplied in the package) for backup. Safety Instructions Caution: There are no operator serviceable parts inside the unit.
- Page 3 Step 6: Control ASPEN-32UFX Web Pages: RS-232 and Ethernet: RS-232 Protocol 3000 Baud Rate: 115,200 Stop Bits: Data Bits: Parity: None Command format example (define #PORT-DIRECTION 1,IN port 1 as an input port): ~01@PORT-DIRECTION 1,IN TCP/IP Parameters IP Address: 192.168.1.39...
- Page 4 Technical Specifications 75Ω on BNC connectors (by default, 1 to 16 are set as inputs and Ports 32 12G HD-SDI/HD-SDI/SDI Video 17 to 32 are set as outputs) 75Ω on a BNC connector 1 Genlock 1 Genlock Loop Passive loop output on a BNC connector SMPTE Standards 12G-SDI SMPTE ST-2082-1...
Need help?
Do you have a question about the ASPEN-32UFX and is the answer not in the manual?
Questions and answers