Advertisement
Setting Up the AT-LP120-USB Turntable –
Part 1
01.13.2015Audio-Technica 84 Comments
The
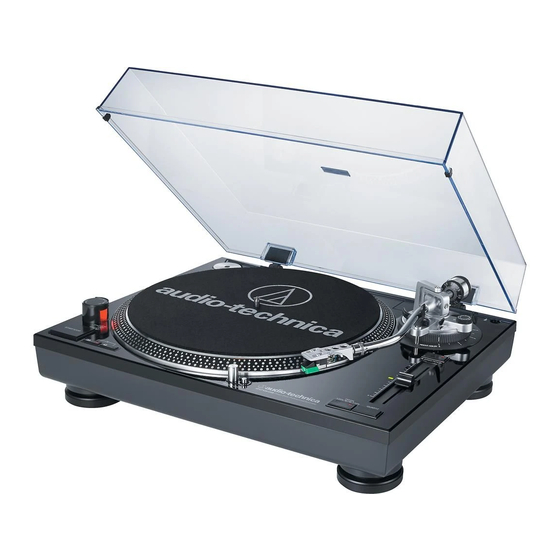
AT-LP120-USB Turntable
is a professional direct-drive turntable with both analog and USB
connection capability, so you can use it with all standard audio equipment or plug it directly into
your computer. But make no mistake, this isn't just a tool to transfer records to MP3s – it's
loaded with all the tools you'd expect from a professional turntable, including adjustable tone
arm and pitch control, ½-inch Dual Magnet™ cartridge, three speeds (33/45/78), DJ
functionality and more.
But, as with most professional gear, proper setup is critical to getting the most out of the AT-
LP120-USB and ensuring long-lasting operation of the stylus and enjoyment of your records. In
this post we'll cover headshell and counterweight installation, and tone arm balance. In Part 2
we'll tell you have how to set the tracking force and pre-amp selector switch, and make anti-
skate and tone arm height adjustments.
The first order of business is to put all the pieces in place. So set the platter and slip mat onto the
turntable spindle, making sure the platter is fully seated. Next, lock the tone arm in place in the
tone arm rest and attach the headshell assembly by inserting it into the end of the tone arm.
While continuing to hold the headshell, rotate the locking ring on the tone arm counterclockwise
to pull the headshell securely into place.
Advertisement
Table of Contents

Summary of Contents for Audio Technica AT-LP120BK-USB
- Page 1 Setting Up the AT-LP120-USB Turntable – Part 1 01.13.2015Audio-Technica 84 Comments AT-LP120-USB Turntable is a professional direct-drive turntable with both analog and USB connection capability, so you can use it with all standard audio equipment or plug it directly into your computer.
- Page 2 Now install the counterweight. With the black stylus force gauge facing forward, screw the counterweight onto the back of the tone arm. Then, if you intend to use the dust cover, slip its hinges into the slots on the back of the turntable and slide the cover into place on the hinges. Once you have all that taken care of, you can move on to the important matter of balancing the tone arm.
- Page 3 (identifiable by its green stylus). Prior to September 2011, the turntable was equipped with the now discontinued ATP-2XN (white stylus). If you are working with the AT95E, we recommend setting the force to 2 grams; if you have the ATP-2XN, set the force to 3.5 grams. (If you ever install an alternate cartridge, you’ll need to adjust the tracking force according to the manufacturer’s recommended setting.) As you’ll recall from the previous post, the stylus force gauge is located on the front of the...
- Page 4 Finally, adjust the PHONO/LINE selector switch on the back of the turntable to set the proper output. If the turntable is connected to a receiver or other device with a dedicated phono input, move the switch to PHONO. If the turntable is connected to a sound card, powered speakers or AUX-type inputs, set the selector to LINE, which will activate the turntable’s internal pre-amp.


Need help?
Do you have a question about the AT-LP120BK-USB and is the answer not in the manual?
Questions and answers