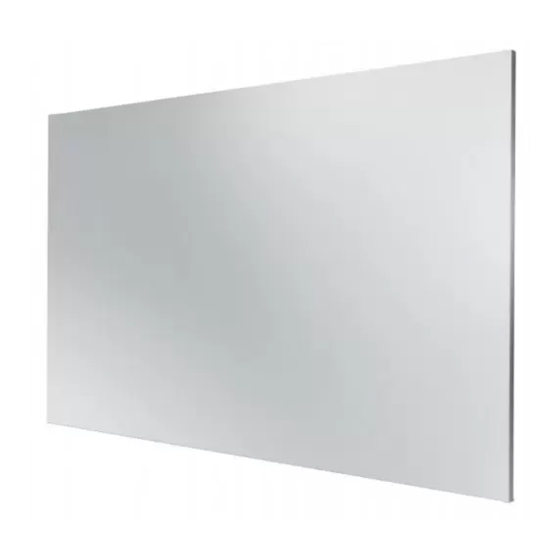
Celexon Expert Pure White User Manual
Fixed frame screen
Hide thumbs
Also See for Expert Pure White:
- Installation manual (3 pages) ,
- Operating instructions manual (11 pages) ,
- Operating instructions manual (88 pages)
Summary of Contents for Celexon Expert Pure White
- Page 1 User manual celexon Expert fixed frame Pure White Thank you for choosing a quality product from celexon. Please read the instructions carefully before you use the screen and keep them for future reference!
-
Page 2: Safety Instructions
Safety Instructions • Do not start assembly before reading and understanding the complete manual. • This product should only be installed by specialized personnel with mechanical knowledge • Tighten the screws, but do not over tighten them. Turning them too tight can cause damage. -
Page 3: Care Instructions
Care instructions NEVER clean the screen with alcohol or other cleaning agents that contain solvents. Use only a soft and clean cloth. A mild soapy water may be used to remove dirt from the surface. Be sure to avoid contact with sharp objects. These could damage the projection screen. -
Page 4: Installation
Lieferumfang 24 x mounting screws (J) 8x plastic plugs (K) Note: If (A) is split, 8 extra pieces are also included in delivery and if support strut (L) is required, extras are also included (2 per strut) Support strut (L) Note: For screens with a picture width up to 200cm, there is no support strut included For screens with an image width of 250cm 1x support strut is included (except 4:3 format =... - Page 5 Installation 2. For each horizontal frame piece (A), insert the following number of sliding threads (G) as shown: For screens with a picture width up to 250cm = 2x (G) per frame part For screens with a picture width from 280cm = 3x (G) per frame part 3.
- Page 6 Installation 6. Slide the lower horizontal frame part (A) on the vertical frame parts (B) (Fig. 4) Fig. 4 7. Once all the frame parts are nested, each corner is secured into place with 4x screws (J) (Fig. 5) Fig. 5 8.
- Page 7 Installation 3x Support strut (L) included B. Attaching the fabric 1. Lay the projection fabric with the projection side down on a soft clean surface. Make sure that the surface is not dirty. Carefully position the frame in the center with the flat side down on the projection cloth.
- Page 8 Installation Proceed as follows: • Start with a horizontal side and pull the pro- jection fabric with the Velcro strip on the back of the frame. Ensure that you are doing so in a good alignment to the frame and the projecti- on screen in the corners (Fig.
- Page 9 Installation 2. Measure the distance H and L (as shown in Fig. 10) and transfer it on the wall (Fig. 11) Fig. 11 3. Mount the mounting bracket (C) with the screws (F) and the plastic dowels (K) onto a suitable and stable surface. You can use your own screws / plugs if they are more suitable for your surface.
- Page 10 Europe GmbH Gutenbergstraße 2 D-48282 Emsdetten www.celexon.com...


Need help?
Do you have a question about the Expert Pure White and is the answer not in the manual?
Questions and answers