Table of Contents
Advertisement
Quick Links
Q
S
H
UALITY
PACE
EATERS
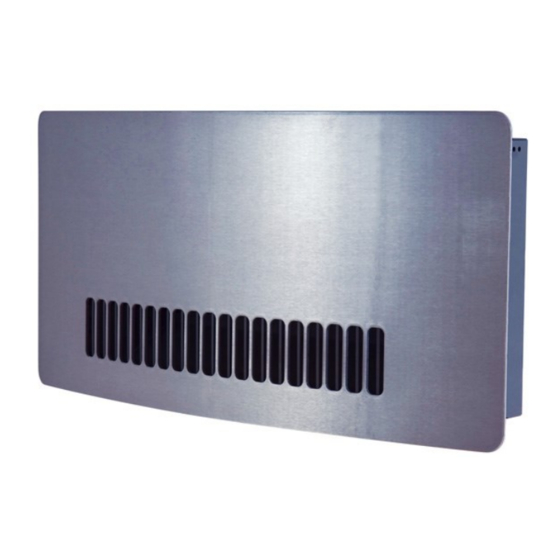
Installation & guide for operation of wirelessly controlled
Chelsea Wall Mounted Fan Heater.
Model
WMH3RX
All electrical appliances produced for the Company are guaranteed for one year against
faulty material or workmanship.
This applies only if the appliance has been used for
purposes in accordance with the instructions provided and has not been connected to an
unsuitable electricity supply, or subject to misuse, neglect, damage or modified or repaired
by any person not authorised by us. This guarantee is offered to you as an extra benefit and
does not affect your legal rights.
The correct electricity supply voltage is shown on the rating label attached to the
appliance.
Reasonable care has been taken to ensure that this guide is accurate at the time of
printing. In the interest of progress the Company reserve the right to vary specifications from
time to time without notice.
58000361 Iss 04
Advertisement
Table of Contents

Subscribe to Our Youtube Channel
Related Manuals for Consort WMH3RX


Summary of Contents for Consort WMH3RX
- Page 1 Installation & guide for operation of wirelessly controlled Chelsea Wall Mounted Fan Heater. Model WMH3RX All electrical appliances produced for the Company are guaranteed for one year against faulty material or workmanship. This applies only if the appliance has been used for...
- Page 2 Overview Ensure that the appliance is functioning correctly. If the TOC control operates Please read this guide carefully and retain again, the appliance should be checked for future use and maintenance. by a competent electrician. The heater carries a ‘Do Not Cover’ label to warn This appliance has been designed and the user that if the appliance is covered, there is a risk of overheating.
- Page 3 Wall Mounting Remove the front cover (2 screws on the side and 2 screws on the bottom). Mark top 2 screw fixing positions ‘A’ in accordance with the dimension shown on the diagram. The unit must be screwed to the wall with 3 screws through the holes provided in the case. Drill 2 holes in the wall to suit No 10 wood screws (round head) and insert wall plugs.
- Page 4 USTOMER ELPLINE Should you need any advice on the use of your new Consort product please contact our Helpline: Consort Equipment Products Limited Thornton Industrial Estate, Milford Haven, Pembrokeshire, SA73 2RT Tel: 01646 692172 Fax: 01646 695195 Email: technical@consortepl.com Web: www.consortepl.com...
Need help?
Do you have a question about the WMH3RX and is the answer not in the manual?
Questions and answers