
Subscribe to Our Youtube Channel
Related Manuals for Inscape Data AirGoggle NVC 910


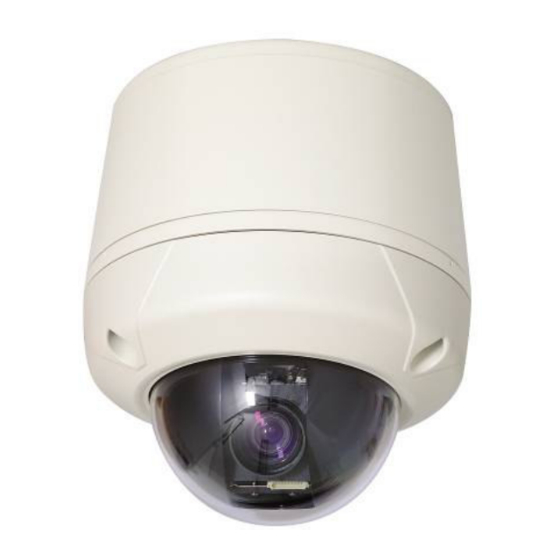
Summary of Contents for Inscape Data AirGoggle NVC 910
- Page 1 Quick Reference Guide NVC 910 Vandal & Weather Proof Speed Dome Network Camera Rev.0.1 (December 2007)
- Page 2 Please check to make sure the following items are in the box. NVC 910 1. Camera main body 2. CD(Manual, S/W) 3. Screw (Ø 4x16 screw 5EA, Ø4x16 screw 5EA ) 4. Manual 5. Terminal Block (5Pin 2EA) 6. Power Supply NVC 1000/3000 IP-Installer NVR100 &...
- Page 3 1.3.1 Connection Diagram Fig. 1-1 I/O ports of the NVC 910 series network camera Rev.0.1 (December 2007)
- Page 4 2. Installation and Configuration Brief information for rapid installation is provided in this section. For more detailed information you are recommended to refer to pertinent documentations provided with the product or refer to Inscape Data’s home page (http://www.Inscape Data.com) 1. Apply power to NVC 910 and Connect NVC 910 to LAN like the following picture.
- Page 5 Page Parameter Setup value Factory default value Set the resolution of the video transmitted Video Size from NVC 910. Make sure that you press Check Set this value smaller than the upload Max Upload Rate button to find out the number of Basic speed of your network.
- Page 6 6. Remote video connection to NVC 910 Run NVR100 on your PC. Before connecting to NVC 910 it is needed to configure the connection information on the NVR100. More detailed information of using “NVR100” can be found in [NVR100 User’s Guide].
- Page 7 Fig 3-2 NVR100 IP Address Setting Mode ④ Click the start button, , and the live video connected to the unit will be transmitted and appear on your pc screen as shown in Fig 3-3. Fig 3-3 Showing Live Images via NVR100 The NVC is designed to be accessed via Internet Explorer version 5.0 or better and/or the NVR100 software.
-
Page 8: Preparations For The Installation
the browser. Fig 3-4 is an example of the web interface. Fig 3-4 Viewing the Live Video via Web Viewer Preparations for the installation A-1. Ceiling Mount Type 1. Fix the surface mount adaptor with 4pcs of screws on the place where you want to install. (FIG.4) 2. - Page 9 A-2. Set the DIP switches as in the following picture. When using system controller for the control of the dome, always set the RS-485 communication channel to be : 2400 bps, 8 bit, 1 stop bit, no parity. . Wall Mounting using Wall Mount Bracket The wall should be strong enough to hold 4 times of the weight of the camera (5.3 KG).
-
Page 10: Corner Mounting
E. Corner Mounting E-1. Install a corner mount adaptor on the corner of wall. E-2. Use wall or gooseneck mount bracket to finish installation. F. Pole Mounting F-1. Install a pole mount adaptor on the pole. Rev.0.1 (December 2007) - Page 11 F-2. Use wall or gooseneck mount bracket to finish installation PLEASE REFERENCE TO THE NVC 1000 / NVC 3000 USER MANUAL CONTAINED IN THE PRODUCT CDROM FOR ADDITIONAL INFORMATION NOT COVERED IN THIS GUIDE Rev.0.1 (December 2007)
Need help?
Do you have a question about the AirGoggle NVC 910 and is the answer not in the manual?
Questions and answers