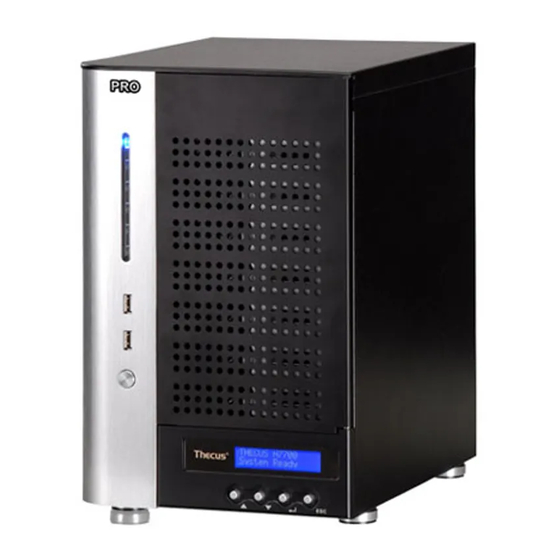
Thecus N7700 Manual
Motherboard and power supply replacing sop
Hide thumbs
Also See for N7700:
- User manual (150 pages) ,
- User manual (119 pages) ,
- User manual (119 pages)
Advertisement
1. Purpose: replacing the motherboard and power supply of N7700
2. Procedures
2-1. Prepare for two screw drivers. Pull out HDD trays one by one.
2-2. Loosen four screws on back plate by a screw driver, and then pull out the back plate
module. Detach the fan header.
N7700 motherboard and power supply replacing SOP
N7700 motherboard and power supply replacing SOP
1/4
11/11/2008
Advertisement
Table of Contents

Summary of Contents for Thecus N7700
- Page 1 N7700 motherboard and power supply replacing SOP 1. Purpose: replacing the motherboard and power supply of N7700 2. Procedures 2-1. Prepare for two screw drivers. Pull out HDD trays one by one. 2-2. Loosen four screws on back plate by a screw driver, and then pull out the back plate module.
- Page 2 N7700 motherboard and power supply replacing SOP 2-3. Loosen two screws on back plate by a short screw driver, and then slide out the motherboard. 2-4. You may have to lift up the backplane board to slide out the motherboard, and then detach the backplane board from the motherboard.
- Page 3 N7700 motherboard and power supply replacing SOP 2-5. Detach ATX 20 pin power connecter to slide out the motherboard, and then detach two flat cable connectors to slide out the motherboard. 2-6. Detach ATX 12V power connectors completely slide out the motherboard from the chassis.
- Page 4 N7700 motherboard and power supply replacing SOP 2-8. Unscrew the power supply unit and then take it away from the metal frame. 2-9. Reverse above steps 2-1 to 2-6 to assemble the NAS unit with new motherboard or new backplane board.


Need help?
Do you have a question about the N7700 and is the answer not in the manual?
Questions and answers