Advertisement
Quick Links
Advertisement

Related Manuals for Thecus N2800


Summary of Contents for Thecus N2800
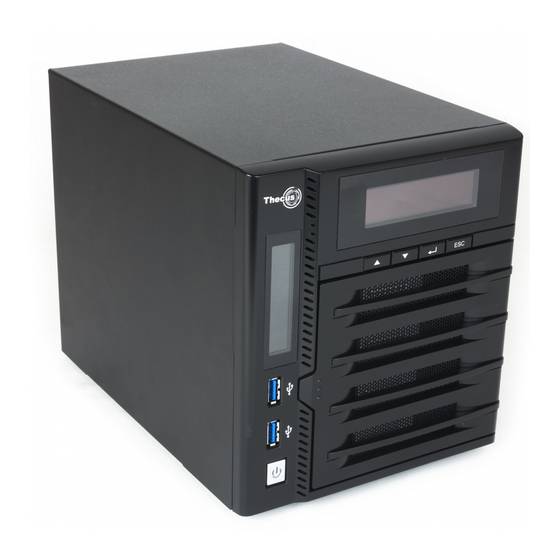
- Page 1 N2800/W2000 MB & DRAM assemble steps V1.2 Mar 09, 2015...
- Page 2 Remove top cover 4 screws M3*4mm 4304001111 背板螺絲 For BTN Board Round Head,Ni Coating...
- Page 3 Remove back panel 4 screws 4304007311 薄皿型頭 M3x5 screw M3*0.5,L=5mm,Flat Head,NI...
- Page 4 Remove FAN cable...
- Page 5 SD card reader cable red line=PIN1 IP_USB1 red line PIN1 Remove MB screw M3*4mm 4304001111 背板螺絲 For BTN Board Round Head,Ni Coating...
- Page 6 LOGO CABLE LOGO_LED1 ICON CABLE LED_J1 Remove ICON & LOGO board CABLE (The cable red line=Pin1)
- Page 7 Remove HDD BP 2 screws 4304007311 薄皿型頭 M3x5 screw M3*0.5,L=5mm,Flat Head,NI...
- Page 8 Slide MB out and replace DRAM module * If install single DRAM module, it is must install at upper DIMM slot.
- Page 9 After the MB is slid out, DRAM will be displayed. Please note that DRAM is installed in the upper slot.
- Page 10 If replacing DRAM is needed, please spread out the DRAM lock latches. So the DRAM will pops up. Remove the original DRAM. And then insert the new DRAM into the connection at an angle 45 degrees. Press down on the DRAM so that it is secured with both memory lock latches.
- Page 11 ICON CABLE LOGO CABLE Additional check point 1...
- Page 12 Additional check point 2 Check all cables inside the cage...
Need help?
Do you have a question about the N2800 and is the answer not in the manual?
Questions and answers