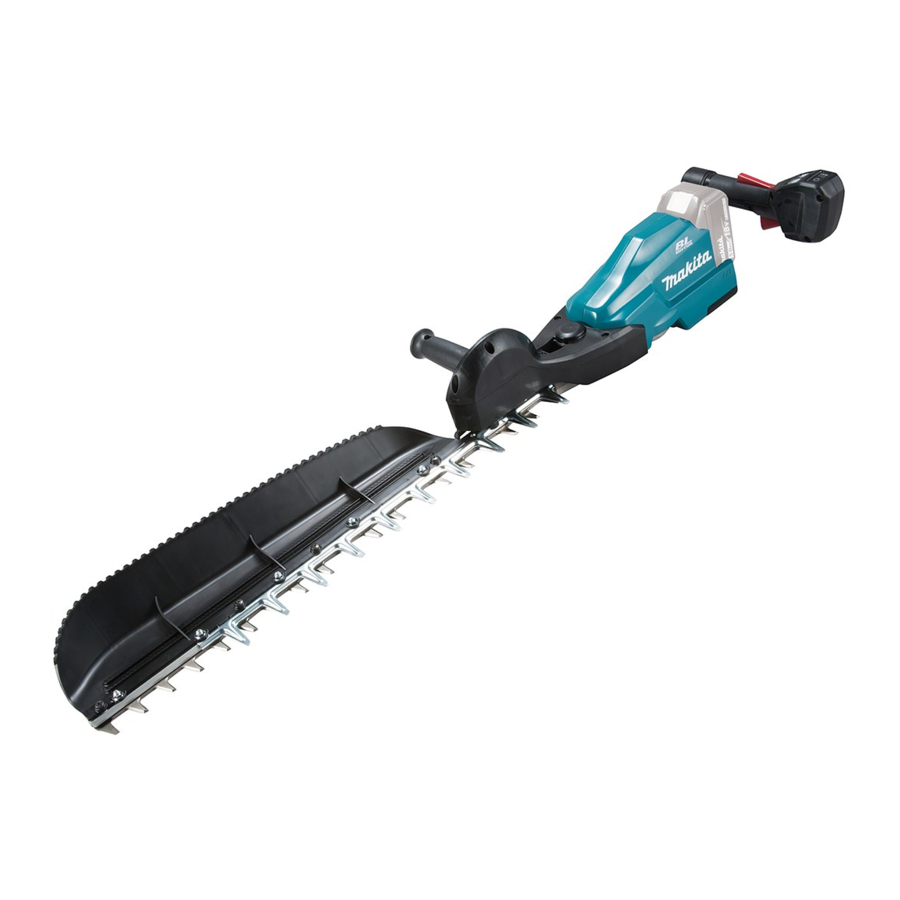
Makita DUH604S Instruction Manual

Makita DUH604S Instruction Manual

Cordless hedge trimmer
Hide thumbs Also See for DUH604S:

Advertisement

Quick Links

INSTRUCTION MANUAL
Cordless Hedge Trimmer
DUH604S
DUH754S
Read before use.

Advertisement

Table of Contents
loading

Summary of Contents for Makita DUH604S

  • Page 1 INSTRUCTION MANUAL Cordless Hedge Trimmer DUH604S DUH754S Read before use.
  • Page 2: Specifications

    Symbols Intended use The followings show the symbols used for the equipment. The tool is intended for trimming hedges. Be sure that you understand their meaning before use. Noise Read instruction manual. The typical A-weighted noise level determined accord- ing to EN62841-4-2: Do not expose to moisture. Model DUH604S Sound pressure level (L ) : 79.3 dB(A) Sound power level (L ) : 90.3 dB (A) Beware of pinching. Uncertainty (K) : 3 dB(A) Model DUH754S Sound pressure level (L ) : 80.6 dB(A) Wear safety glasses.
  • Page 3: Ec Declaration Of Conformity

    Electrical safety The vibration total value (tri-axial vector sum) deter- Power tool plugs must match the outlet. Never mined according to EN62841-4-2: modify the plug in any way. Do not use any Model DUH604S adapter plugs with earthed (grounded) power Vibration emission (a ) : 2.5 m/s or less tools. Unmodified plugs and matching outlets will Uncertainty (K) : 1.5 m/s...
  • Page 4 Remove any adjusting key or wrench before Maintain power tools and accessories. Check for turning the power tool on. A wrench or a key left misalignment or binding of moving parts, breakage of parts and any other condition that may affect the attached to a rotating part of the power tool may power tool’s operation. If damaged, have the power result in personal injury.
  • Page 5: Additional Safety Instructions

    Operation Cordless Hedge Trimmer Safety Hold the tool firmly with both hands when Warnings using the tool. The tool is intended to be used by the operator Keep all parts of the body away from the blade. at ground level. Do not use the tool on ladders Do not remove cut material or hold material or any other unstable support.
  • Page 6: Functional Description

    DO NOT let comfort or familiarity Only use genuine Makita batteries. with product (gained from repeated use) replace Use of non-genuine Makita batteries, or batteries that strict adherence to safety rules for the subject have been altered, may result in the battery bursting product. MISUSE or failure to follow the safety causing fires, personal injury and damage. It will...
  • Page 7 To install the battery cartridge, align the tongue on the Speed adjusting battery cartridge with the groove in the housing and slip it into place. Insert it all the way until it locks in place You can adjust the tool speed by pressing the main with a little click. If you can see the red indicator on the power button. Each time you press the main power upper side of the button, it is not locked completely. button, the level of speed changes. CAUTION: Always install the battery cartridge fully until the red indicator cannot be seen. If not, it may accidentally fall out of the tool, causing injury to you or someone around you. CAUTION: Do not install the battery cartridge forcibly. If the cartridge does not slide in easily, it is not being inserted correctly.
  • Page 8: Overload Protection

    Overload protection Press the main power button to turn on the tool. The power lamp lights up when the tool is turned on. To turn If the tool is overloaded by entangled branches or other off the tool, press and hold the main power button. The debris, the indicators for "2" and "3" start blinking and power lamp goes off when the tool is turned off. the tool automatically stops. In this situation, turn the tool off and stop the application that caused the tool to become overloaded.
  • Page 9 To reverse the shear blades movement, press the Remove 4 screws (for DUH604S) or 5 screws (for reverse button when the shear blades have stopped, DUH754S), and then remove the chip receiver from the then pull the front switch trigger, and then pull the rear tool. switch trigger while pressing the lever. The power lamp starts blinking, and the shear blades move in reverse direction.
  • Page 10 Remove the rod and the bearing. Adjust the crank so that 2 holes are lined up on the alignment line. ► 1 . Rod 2. Bearing ► 1 . Hole 2. Alignment line NOTE: The rod or bearing may remain on the cover. Remove 3 screws, 3 washers, 3 sleeves and the Align the protrusions on the shear blades vertically felt pad, and then remove the shear blades. at the same position.
  • Page 11 10. Insert the protrusion on the shear blades to the 12. Attach a new sleeve. hole on the rod, then align the position of the felt pad with the holes on the tool. Attach 2 new sleeves and 2 washers. ► 1 .
  • Page 12: Operation

    Install the shear blades again. NOTICE: If the parts other than the shear blades such as the rods are worn out, ask Makita Authorized Service Centers for parts replacement or repairs. 12 ENGLISH...
  • Page 13 To cut a hedge top evenly, tie a string at the desired height and trim along it. ► ( 1) Cutting height (2) 10 cm The chip receiver gathers discarded leaves and makes clean-up afterward much easier. NOTICE: Do not cut down dead trees or similar hard objects. Doing so may damage the tool. NOTICE: Do not trim the grass or weeds while using the shear blades. The shear blades may become tangled in the grass or weeds.
  • Page 14: Maintenance

    Store the tool out of the reach maintenance. of children. Store the tool in a place not exposed to To maintain product SAFETY and RELIABILITY, moisture or rain. repairs, any other maintenance or adjustment should be performed by Makita Authorized or Factory Service Centers, always using Makita replacement parts. Cleaning the tool Clean the tool by wiping off dust with a dry cloth or one dipped in soapy water and wrung out. NOTICE: Never use gasoline, benzine, thinner, alcohol or the like.
  • Page 15: Grease Lubrication

    Set the angle of a file to 45°, and grind the upper Grease lubrication blade from 3 directions with the file. Interval of lubrication: Every 100 operating hours Remove the bolt from the hole for lubrication. ► ( 1) File (2) 45° CAUTION: Before grinding the shear blades, ► 1 . Bolt make sure that the tool is switched off and the battery cartridge is removed from the tool.
  • Page 16: Troubleshooting

    Remove the battery and ask your local authorized service center for repair. Remove the battery immediately! OPTIONAL ACCESSORIES CAUTION: These accessories or attachments are recommended for use with your Makita tool specified in this manual. The use of any other accessories or attachments might present a risk of injury to persons. Only use accessory or attachment for its stated purpose. If you need any assistance for more details regard- ing these accessories, ask your local Makita Service Center.
  • Page 20 Makita Europe N.V. Jan-Baptist Vinkstraat 2, 3070 Kortenberg, Belgium Makita Corporation 3-11-8, Sumiyoshi-cho, Anjo, Aichi 446-8502 Japan 885758-226 www.makita.com 20191018...

This manual is also suitable for:

Duh754sDuh604szDuh754srtDuh604srt

Table of Contents