Advertisement
Quick Links
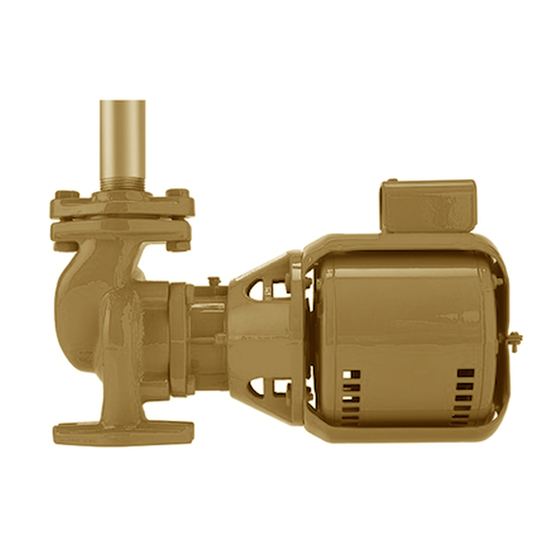
GO LD S E R I E S - PUM P LE SS VO LUTE K IT S
FO R SELEC T 2, 3 , 4 , AN D 5 , AN D 1050 SER IE S IN - LIN E CIRCU L ATO R
|
MO DEL S
I N S TA L L AT I O N A N D O P E R AT I N G I N S T R U C T I O N S
1.0
Application
2 .0 Installation
3 .0 Starting up
4 .0 Lubrication
5 .0 Seal replacement
caution
Always disconnect power supply from motor before
servicing.
1.0 application
Armstrong Gold series – Pump Less Volute kits may be used to
replace,upgrade, and renew all working parts of any compatible
3 piece circulator. The kits are suitable for both hydronic fluid
and potable water applications. Refer to Armstrong cross refer-
ence information to determine compatibility.
2.0 installation
In-line circulators should always be installed with the shaft in
a horizontal position. The circulator should be mounted by the
volute pipe connections only. No other support for the circula-
tor should be used.
Circulator replacement should only be performed by qualified
personnel. To avoid personal injury or property damage, before
attempting circulator replacement:
1 Hydraulically isolate the circulator from the system in which
it isinstalled.
2 Disconnect / lockout power at the electrical panel.
3 Carefully alleviate pressure and drain the fluid from the
circulator.
4 Avoid spillage of, or physical contact with, the system fluid.
To remove the original circulator:
1 Disconnect the power wiring at the terminal box.
2 Remove the screws that connect the sealed bearing
assembly tothe volute (casing).
1
1
1
2
2
3 Pull the circulator straight out, avoiding impeller contact
with the inside of the volute.
4 Remove any remaining gasket from the mating surface of
the volute.
5 Be careful not to damage gasket mating surfaces.
To install the new Gold Series – Pump Less Volute kit:
1 Apply the new gasket (supplied) to the volute
mating surface.
2 Position the kit with the oil filling cup located on top of the
sealed bearing assembly.
3 Mate the kit up with the original volute, ensuring the
gaskets seats squarely.
4 Ensure the impeller does not contact the inside volute
surfaces.
5 While holding the kit steady, start two screws, diagonally
opposed, to secure the mating parts.
6 Insert the remaining screws finger-tight, noting the gap
between the bearing body and volute.
7 Progressively tighten the mating screws in a diagonal
pattern. Avoid over-tightening.
8 Rotate the pump shaft at the coupler to ensure it turns freely
and impeller doesn't bind.
9 Verify nameplate voltage before connecting power wiring.
3 .0 starting up
The pump must be fully primed on start-up. Fill system piping
and pump body with liquid and vent complete system, turning
pump by hand to dislodge air from body. Make sure fittings and
drain valves are airtight, then add any additional fill required.
|
File No: 10.801
Date: october 26, 2015
Supersedes: 10.801
Date: october 15, 2013
Advertisement

Related Manuals for Armstrong Gold Series


Summary of Contents for Armstrong Gold Series
- Page 1 1.0 application To install the new Gold Series – Pump Less Volute kit: Armstrong Gold series – Pump Less Volute kits may be used to replace,upgrade, and renew all working parts of any compatible 1 Apply the new gasket (supplied) to the volute 3 piece circulator.
- Page 2 Before operating pump, carefully check: motor lubrication 1 Is the pump primed? Gold series – Pump Less Volute motors are permanently 2 Is rotation correct? lubricated and require no maintenance. 3 Is pump properly lubricated?