Advertisement
Table of Contents
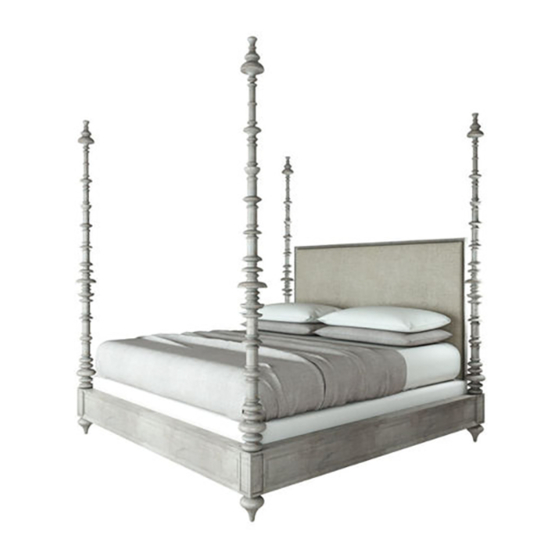
PARTS INCLUDED
A
[1]
HEADBOARD
B
[2]
SIDE RAILS
C
[1]
FOOTBOARD
D
[7]
BED SLATS
E
[1]
SLAT SUPPORT
F1
[1]
SHORT SUPPORT LEG
F2
[1]
LONG SUPPORT LEG
G
[4]
FEET
H
[4]
SHORT POSTS
I
[4]
LONG POSTS
J
[4]
FINIALS
ASSEMBLY INSTRUCTIONS
1. Gently lay the headboard (A) and footboard (C) on a flat and
non-abrasive surface.
2. Attach the feet (G) to bottom of the headboard (A) and footboard (C). Refer
to FIGURE 1.
3. Place the headboard (A) upright in the location you wish the bed to be in
when fully assembled. Secure the threaded rod (1) to the fixed nut in the
headboard by simply turning it manually. Raise the side rail (B) and place the
rod (1) to align with the bore holes on the end of the side rails (B). Put the
side rail (B) up against the headboard (A) so the threaded rods go through
the bore holes. Insert curved washer (2) and lock washer (3), place hex nuts
(4) on threaded rod (1) and tighten hex nuts (4) with wrench (5). See FIGURE
2.
4. Repeat the above procedure with the other side rail (B) to attach it to the
headboard (A), and then repeat to connect both side rails (B) to the
footboard (C).
B
10/1/18
18TH C. SPINDLE TURNED QUEEN BED ASSEMBLY INSTRUCTIONS
B
HARDWARE INCLUDED
ITEM
NO.
1
2
3
4
5
6
C
G
FIGURE 1
2
3
4
DESCRIPTION
QTY.
Threaded Rod
8 pcs.
Curved Washer
8 pcs.
8 pcs.
Lock Washer
Hex Nut
8 pcs.
Wrench
1 pc.
Allen Wrench
1 pc.
1
FIGURE 2
5
Page 1 of 4
Advertisement
Table of Contents

Subscribe to Our Youtube Channel
Related Manuals for RH 18TH C. SPINDLE TURNED QUEEN BED


Summary of Contents for RH 18TH C. SPINDLE TURNED QUEEN BED
- Page 1 18TH C. SPINDLE TURNED QUEEN BED ASSEMBLY INSTRUCTIONS HARDWARE INCLUDED PARTS INCLUDED ITEM DESCRIPTION QTY. HEADBOARD SIDE RAILS FOOTBOARD Threaded Rod 8 pcs. BED SLATS SLAT SUPPORT Curved Washer 8 pcs. SHORT SUPPORT LEG LONG SUPPORT LEG 8 pcs. Lock Washer...
- Page 2 18TH C. SPINDLE TURNED QUEEN BED ASSEMBLY INSTRUCTIONS Attach the short support leg (F1) to the slat support (E) by turning it manually. See FIGURE 3. There are pre-installed metal brackets on inside of both headboard (A) and footboard (C) for the slat support (E). Set the slat support (E) on the metal brackets as shown in FIGURE 4.
- Page 3 18TH C. SPINDLE TURNED QUEEN BED ASSEMBLY INSTRUCTIONS NOTE: Before starting this step, securely remove all slats, support slat and short support leg from the assembled bed. For the default setting, the slat support rail will be attached to the lower setting on the side rail. If you want to attach the slat support rail to the higher setting, please unscrew all bolts and move the slat support rail to the top setting on side rail.
- Page 4 18TH C. SPINDLE TURNED QUEEN BED ASSEMBLY INSTRUCTIONS Install all the posts (H / I) and finials (J) on the headboard (A) and footboard as shown in FIGURE 10. NOTE: You can remove segments of the posts (H / I) to shorten.
Need help?
Do you have a question about the 18TH C. SPINDLE TURNED QUEEN BED and is the answer not in the manual?
Questions and answers