Advertisement
Table of Contents
Thank you for choosing this quality product. Be sure to check all packaging materials carefully for small parts that may have
become loose during shipment and place all parts on a non-abrasive surface.
These bed parts can be cumbersome and heavy; the assistance of two or more people is recommended in order
to prevent personal injury and ensure the bed parts are not damaged during the assembly process.
PARTS INCLUDED
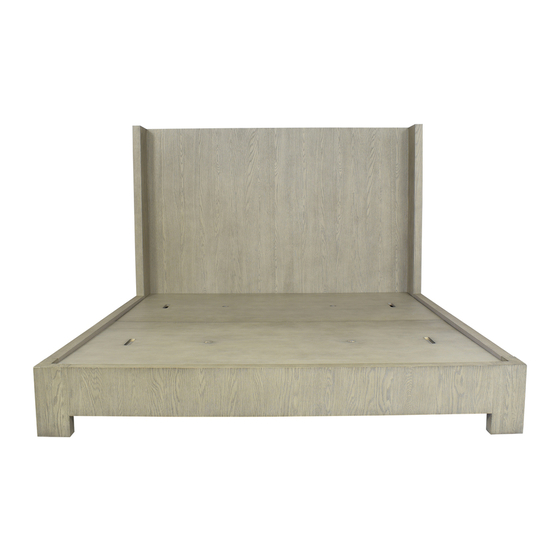
A [1] HEADBOARD
B [1] FOOTBOARD
C [2] SIDE RAILS
D [1] SUPPORT SLAT
E [3] LEG
F [2] FLAT FORM PANEL
NO. ITEM
DESCRIPTION
1
Threaded rod
2
Hex nut
3
Lock washer
4
Curved slotted washer
5
Wrench
6
Screws
STEP 1:
Place the headboard (A) upright in the location
you wish the bed to be in when fully assembled.
The headboard (A) fast hardware should be
facing the inside, toward the mattress. Secure
the threaded rods (1) to the fixed nuts in the
headboard (A) by turning manually. Raise the
side rail (C) up and align the threaded rods (1)
with the bore holes on the end of the side rails
(C). Put the side rails (C) up against the
headboard (A) so the threaded rods (1) go
through the bore holes. Insert the curved slotted
washers (4), lock washers (3) and hex nuts (2)
onto the threaded rods (1). Tighten with the Allen
wrench (5) provided. Refer to FIGURE 01.
STEP 2:
Repeat the above procedure with the other side
rail (C) to attach it to the headboard (A).
Repeat to connect the side rails (C) to the
footboard (B).
10/1/18
BEZIER SHELTER BED INSTRUCTIONS
F
QTY.
8 pcs.
8 pcs.
B
8 pcs.
1 pcs.
2 pcs.
FIGURE 01
A
D
C
E
Page 1 of 2
Advertisement
Table of Contents

Related Manuals for RH BEZIER SHELTER BED


Summary of Contents for RH BEZIER SHELTER BED
- Page 1 BEZIER SHELTER BED INSTRUCTIONS Thank you for choosing this quality product. Be sure to check all packaging materials carefully for small parts that may have become loose during shipment and place all parts on a non-abrasive surface. These bed parts can be cumbersome and heavy; the assistance of two or more people is recommended in order to prevent personal injury and ensure the bed parts are not damaged during the assembly process.
- Page 2 (B) with the screws (6) provided, as illustrated in FIGURE 02-B. FIGURE 02-A FIGURE 02-B FIGURE 03 STEP 4: Set the flat form panel (F) in the middle, as shown in FIGURE 03. Assembly is complete. 10/1/18 Bezier Shelter Bed - Page 2 of 2...
Need help?
Do you have a question about the BEZIER SHELTER BED and is the answer not in the manual?
Questions and answers