Table of Contents
Advertisement
Quick Links
Blazing Fast
OWC Aura NVMe SSD delivers
up to 3200MB/s real-world speed
Bandwidth-Heavy Ready
Able to handle intense creative workflows,
gaming, and massive backups
Cool and Silent
Heat sink for cool, distraction-free operation
Certified
Verified compatible with 2019 Mac Pro,
2012/2010 Mac Pro, and PC towers
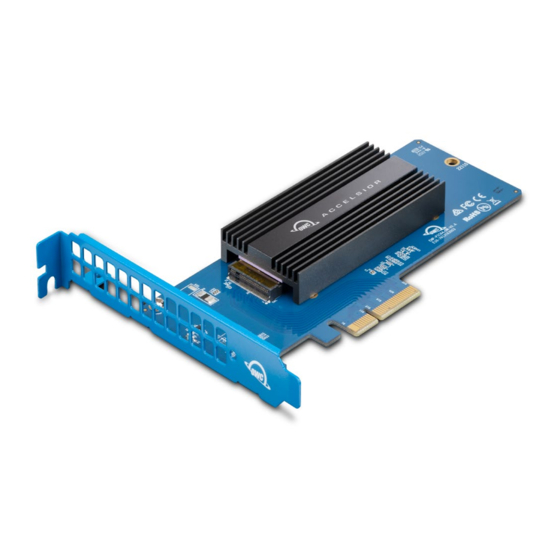
ACCELSIOR
PCIE 4.0 NVME M.2 SSD Storage Solution
1M2
Advertisement
Table of Contents

Related Manuals for OWC ACCELSIOR 1M2


Summary of Contents for OWC ACCELSIOR 1M2
- Page 1 ACCELSIOR PCIE 4.0 NVME M.2 SSD Storage Solution Blazing Fast OWC Aura NVMe SSD delivers up to 3200MB/s real-world speed Bandwidth-Heavy Ready Able to handle intense creative workflows, gaming, and massive backups Cool and Silent Heat sink for cool, distraction-free operation...
-
Page 2: Table Of Contents
TABLE OF CONTENTS INTRODUCTION 1.1 Minimum System Requirements ..............3 1.2 Package Contents.................... 3 1.3 About This Manual ................... 3 1.4 Side View ......................4 INSTALLATION 2.1 Drive Installation ....................5 2.2 Installing the Card in a Host Computer or PCIe Enclosure ......8 2.3 Drive Guide ....................... -
Page 3: Introduction
The images and descriptions may vary slightly between this manual and the unit shipped. Functions and features may change depending on the firmware version. The latest product details and warranty information can be found on the product web page. OWC’s Limited Warranty is not transferable and subject to limitations. INTRODUCTION... -
Page 4: Side View
1.4 SIDE VIEW 1. PCIe connector - align this part of the device with a compatible PCIe slot on the host computer or enclosure. Power On Disk Activity Solid Green Flashing Green 1. Solid green may only apply to OWC SSDs INTRODUCTION... -
Page 5: Installation
For reference, the steps that follow show how to install an NVMe M.2 drive with a 2280 form factor (the default). If you purchased the Accelsior 1M2 with a drive pre-installed, please skip to Section 2.2. Note that each supported form factor has a drive post location silkscreened onto the PCBA, which you can see once the heat sink is removed (Step 2). - Page 6 3. Next you need to determine if the drive post should be moved from its default location. For 2280 M.2 drives, the post is pre-installed at the correct location; please skip ahead to Step 4. All other M.2 form factors – you will need to move the drive post to the correct location.
- Page 7 5. While holding down the M.2 drive so that it is level with the top of the drive post, use the flat-top screw from the included packet, to affix the drive to the post. 6. (Optional) This step is not required if your M.2 drive ships with a heat sink from the manufacturer.
-
Page 8: Installing The Card In A Host Computer Or Pcie Enclosure
2.2 INSTALLING THE CARD IN A HOST COMPUTER OR PCIE ENCLOSURE Please follow the steps below to install the Accelsior 1M2 PCIe SSD into a host computer or enclosure with a compatible PCIe slot. Note: this card is susceptible to invisible damage if not protected during installation. For proper grounding, we recommend using a grounding strap. -
Page 9: Support Resources
If everything is installed normally and you’re still having trouble, please contact technical support. 3.2 CONTACTING TECHNICAL SUPPORT Phone: M–F, 8am–8pm CT 1.866.692.7100 (N. America) | +1.815.338.4751 (Int’l) Chat: M–F, 8am–8pm, Sat 9am–5pm CT www.owc.com/support Email: Answered within 48 hours www.owc.com/support SUPPORT RESOURCES... - Page 10 The material in this document is for information purposes only and subject to change without notice. While reasonable efforts have been made in the preparation of this document to assure its accuracy, OWC, its parent, partners, affiliates, officers, employees, and agents assume no liability resulting from errors or omissions in this document, or from the use of the information contained herein.
Need help?
Do you have a question about the ACCELSIOR 1M2 and is the answer not in the manual?
Questions and answers