Advertisement
Quick Links
Commissioning
(first commissioning after delivery from factory)
Heed the WMF 1000 user manual, especially the hazard instructions and the
Safety chapter.
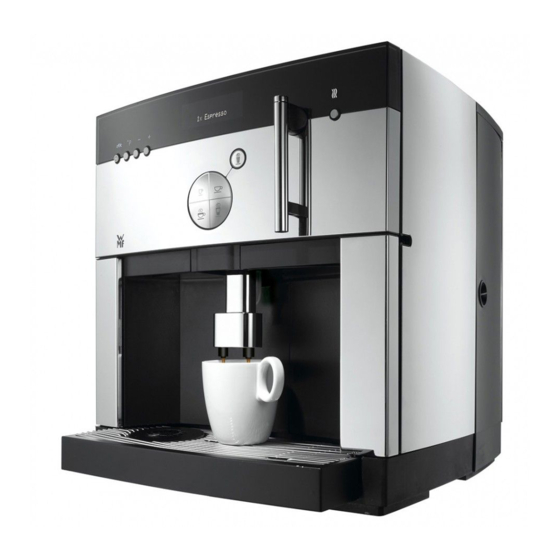
Unpacking and Setting up
Unpack coffee machine and set up on a stable, horizontal support
Check the coffee machine for possible transport damage
(in case of doubt: do not put machine into operation and contact WMF service)
Plug the connector into a grounded outlet
Assemble the optional bean hopper attachment
Insert drip tray and drip tray grid
Test water hardness
Plunge included carbon hardness test strips briefly in water (approx. 1 second)
One minute later, read the degree of hardness on the colour scale of the test strip package
The water hardness is set during commissioning.
Prepare water tank
Remove the water tank from the coffee machine
Remove all accessories from the water tank
Rinse the water tank thoroughly with tap water
Do not put the water tank back into the machine yet. The milk hose must be assembled first.
Insert the WMF tank filter
Remove the screen built into the water tank [1]
Place the cartridge adapter on the water spout supports from above (lock pulled) and lock by pressing
the lock down [2]
Unpack the tank filter cartridge and place on the cartridge adapter [3]
1 1
With water hardness 0-4, do not use a tank filter.
Assemble the milk hose
The milk hose is already mounted on the all-in-one spout.
•
For refrigerated milk, use the transparent milk nozzle (assembled on delivery)
•
For non-refrigerated milk, use the grey milk nozzle from the accessories
Push the all-in-one spout to the lowest position
Insert the milk hose into the guide
Fill the water tank
Fill the water tank with cold tap water (max. 2.8 litres)
Push the water tank back into the machine
Fill the water tank only with fresh, cold water. Never use hot water, mineral water, milk or other liquids.
2 2
3 3
WMF 1000
Packaging material in the carton
contains accessories! Do not
throw away!
Keep the original packaging for a
possible return!
For information about the
accessories and the names of
the machine parts, see the user
manual!
For technical data, see the user
manual!
Do not loosen any screws or
remove housing parts - inside
the machine there is deadly peril
due to mains voltage!
Set all-in-One spout:
Press the adjustment lever to the
right of the spout and then move
the spout.
33 2356 5000 09.2006
Advertisement

Related Manuals for WMF 1000


Summary of Contents for WMF 1000
- Page 1 Commissioning (first commissioning after delivery from factory) Heed the WMF 1000 user manual, especially the hazard instructions and the Safety chapter. WMF 1000 Unpacking and Setting up Unpack coffee machine and set up on a stable, horizontal support Check the coffee machine for possible transport damage (in case of doubt: do not put machine into operation and contact WMF service) Plug the connector into a grounded outlet Assemble the optional bean hopper attachment Insert drip tray and drip tray grid Test water hardness...
- Page 2 After the heating up, there is a coffee system rinse. This warms up all the lines. Duration approx. 40 seconds. Now the machine is ready to operate. your selection pls your selection pls 24.10.2006 24.10.2006 08:15 08:15 We wish you great enjoyment with your WMF 1000 !
Need help?
Do you have a question about the 1000 and is the answer not in the manual?
Questions and answers