Advertisement
Advertisement
Table of Contents

Related Manuals for NetComm 3G18WV


Summary of Contents for NetComm 3G18WV
- Page 2 Configuring yo u r 3G18WV for VO I P The following steps will take you through the process of setting up your VOIP connection. Step 1: Checking Computer Network Settings: You will need to connect your computer directly to your VOIP device (modem, or ATA) and set the network connection on your computer to obtain an IP address automatically.
- Page 3 Below are the instructions for setting Windows 7 to obtain an IP address automatically for your ethernet connection: 1. Click on the Start Menu, and go to “Control Panel”. 2. Click on “Network and Sharing Centre”. (If you only see "Network and Internet", open that first, and then click on "Network and Sharing Centre".) 3.
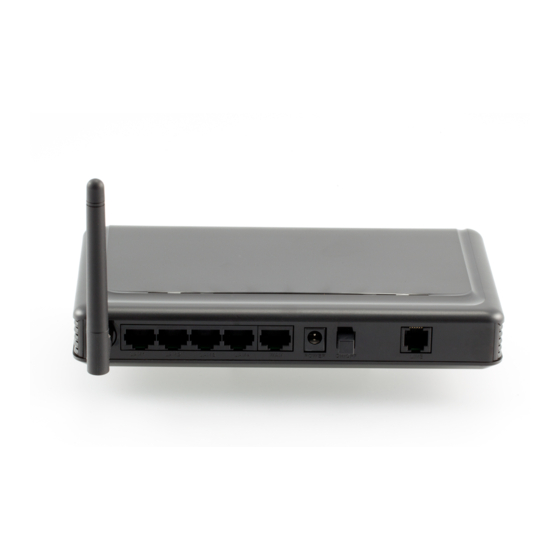
- Page 4 Step 2: Configuring your VOIP settings: Troubleshooti n g Tip One sided VOIP calls may be an indication of a missing or misconfigured port forwarding rule. 1. Open your web browser and go to the address http://192.168.20. 1 , using admin as the system password to login to the router.
- Page 5 3. Select SIP Settings from the VoIP menu options and then Service Domain settings page. 4. Enter the VoIP account settings that GoTalk, your VoIP Service Provider (VSP) has directed you to use as shown by the text box directions in Figure 2 below. 5.
- Page 6 Service Domain Fields Display Name The Display Name for your VoIP Service. This is most often the VoIP phone number you have been assigned by your VoIP Service Provider (VSP). Other options are the VoIP account owner's name or a company name. User Name The VoIP phone number you have been assigned by your VoIP Service Provider (VSP).
- Page 7 7. The Status field in the Service Domain Settings will state that the SIP status is currently Registered after the VoIP account settings have been successfully entered, saved and activated on the 3G18WV. 8. To confirm the VoIP connection status select the Status option from the administrator's menu at the top of the page.
Need help?
Do you have a question about the 3G18WV and is the answer not in the manual?
Questions and answers